How To Fill Nail Holes In Wall
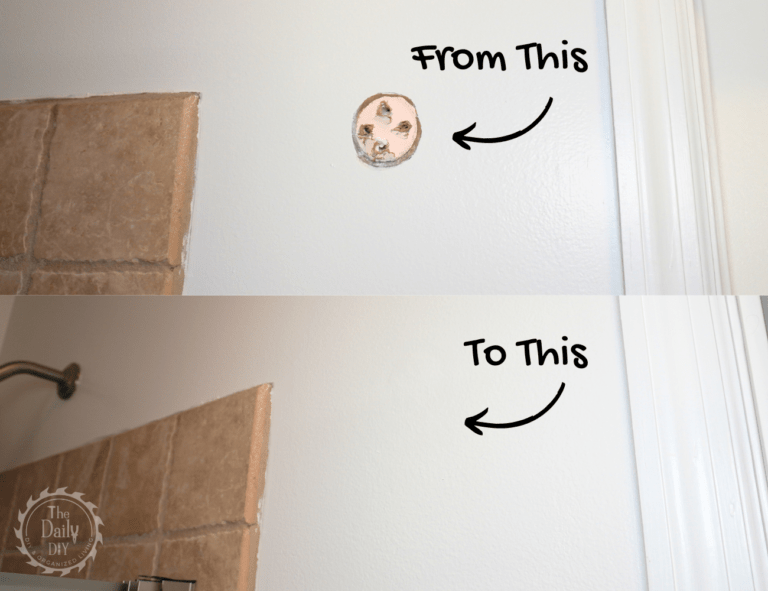
Fixing holes in your walls, especially small ones left by nails or screws, is an essential task for maintaining the aesthetics of your home. We like using DAP DryDex Spackling as it provides an easy and effective solution. This guide will cover how to fill nail holes in wall as well as holes left by screws, anchors, and more.
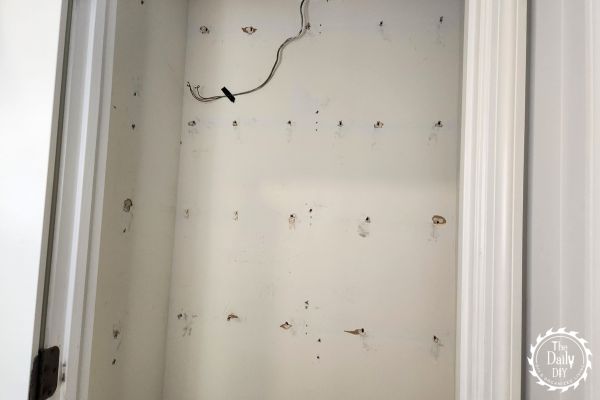
Practical Example: Filling Multiple Holes After Removing Pantry Shelves
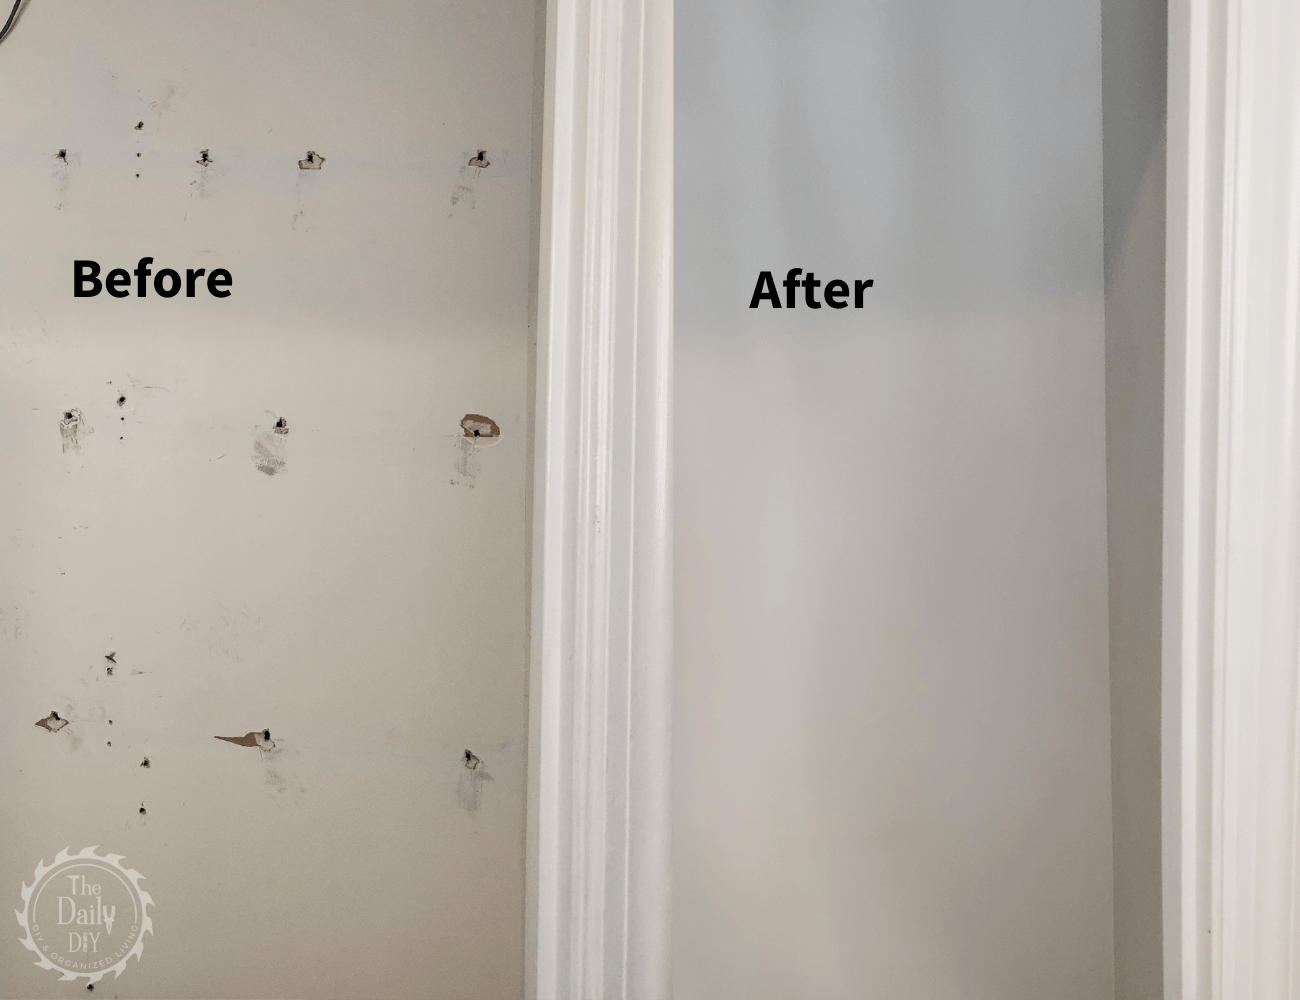
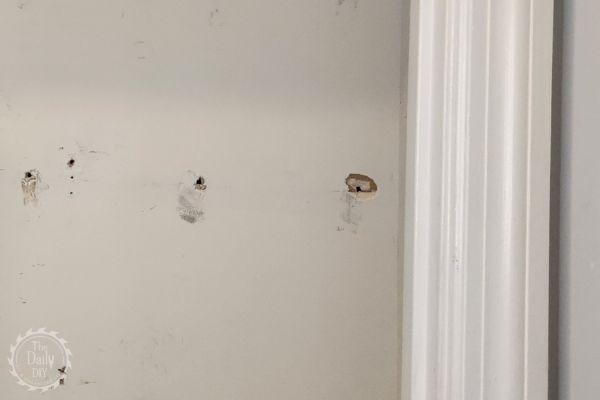
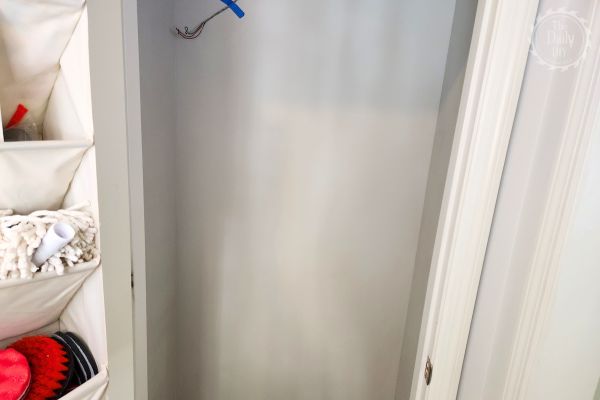
Recently, I undertook the project of removing wire shelves from a pantry closet, which left me with over 60 holes from screws, nails, and anchors. Thanks to DAP DryDex Spackling, I was able to fill all these holes quickly and efficiently. This product’s ease of use and quick-drying formula made the task manageable and helped me move swiftly through the repair process. This experience underscored the effectiveness of DAP DryDex for handling multiple small repairs in one go.
Materials Needed
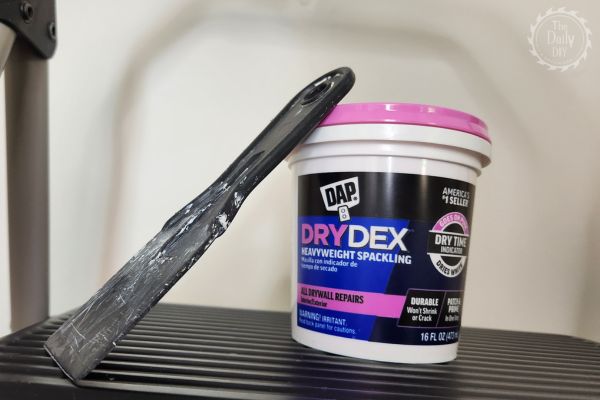
To effectively fill small nail holes in wall, you’ll need lightweight spackle, like DAP DryDex, and a putty knife. This duo is ideal for quickly addressing nail holes or similar minor imperfections, ensuring a smooth, inconspicuous repair that blends well with the surrounding wall surface. You’ll also need sandpaper (120 grit) and paint to match your wall.
Watch Our Step-by-Step Video Tutorial
If you prefer a visual guide to help you through the process, check out our YouTube video where we demonstrate the step-by-step method for filling holes using DAP DryDex. Watch as we tackle each stage from preparation to the final touches, giving you a clear view of the techniques and tips to achieve a seamless repair. Perfect for visual learners, this video complements the detailed instructions in this article.
Identify the size of the hole
The first crucial step in wall repair is to accurately identify the size of the hole, as this determines the materials and methods needed for an effective fix. Holes are generally categorized into three sizes: small, which are less than 1/2 inch in diameter; medium, ranging from 1/2 inch to 5 inches; and large, which are larger than 5 inches in diameter. Recognizing the size is essential because it directly influences the choice of repair approach, from simple spackle application for smaller holes to more complex procedures involving joint compound and drywall patches for bigger openings.
This classification helps streamline the repair process, ensuring that the approach is tailored to the specific damage, leading to a more efficient and successful wall repair.
DAP DryDex can be used to repair most small and medium sized holes, up to 3″ in diameter.
Preparing the Wall
Why Preparation Matters: Before you start any repair, the initial step is to prepare the area around the hole. Proper preparation ensures that the filler adheres correctly and provides a smooth, durable finish.
Cleaning the Area: Begin by removing any dust, dirt, or debris from the wall with a damp cloth. Clean walls are crucial for ensuring that the spackle sticks properly. If there’s any loose paint or wallpaper around the hole, gently scrape it away with a putty knife or lightly sand around the hole to create a smooth, uniform surface for the spackle to adhere.
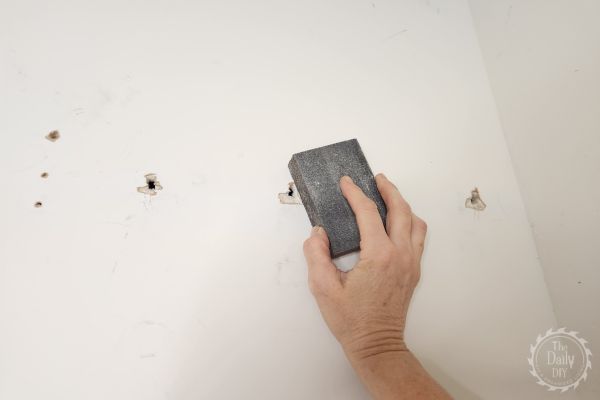
Safety Tips: Always wear gloves to protect your hands from sharp edges and potential irritants in the wall material. Also, keep the room well-ventilated to avoid inhaling any dust.
This preparation phase not only facilitates a smoother application of repair materials but also enhances the durability of the repair, ensuring that the filled hole remains blended and inconspicuous over time.
Applying DAP DryDex Spackling
Choosing the Right Filler: DAP DryDex Spackling is an excellent choice for these repairs because it’s easy to use, dries quickly, and changes color from pink to white as it dries, indicating when it’s ready for sanding.
Application Technique: With your putty knife, apply a small amount of spackle directly into the hole. Make sure to overfill it slightly as the spackle will shrink a bit as it dries. Then, use the flat edge of the knife to smooth it out, ensuring it’s level with the rest of the wall.
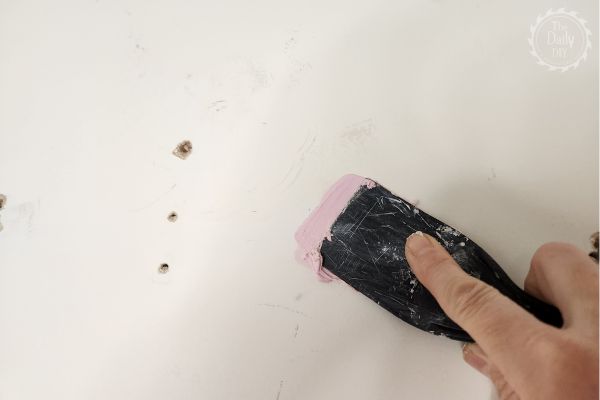
Drying Time: Patience is key. Allow the spackle to dry completely, which could take a few hours depending on the size of the hole and the environmental conditions. Avoid rushing this step as drying is critical for a strong, smooth repair. DAP DryDex is pink when you first apply it, then turns white when it’s completely dry.
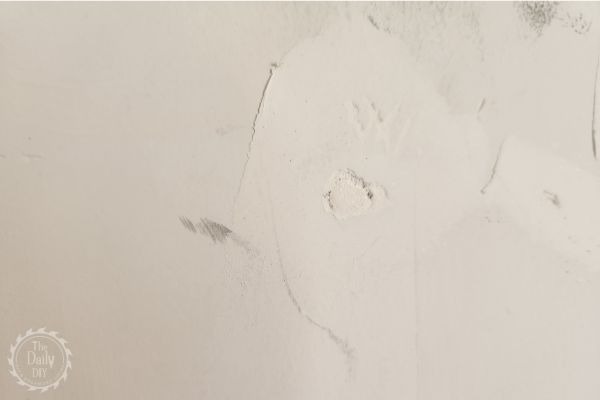
Apply a second coat (if needed): Once the DryDex has turned white indicating it is completely dry, check to ensure it completely filled the hole. If not, apply a second coat using the same techniques outlined above.
Sanding and Finishing
Sanding the Spackled Area: Once the spackle is dry and white, lightly sand the area with fine-grit sandpaper until it is perfectly smooth and flush with the surrounding wall. Always sand in a circular motion to avoid creating grooves in the spackle.
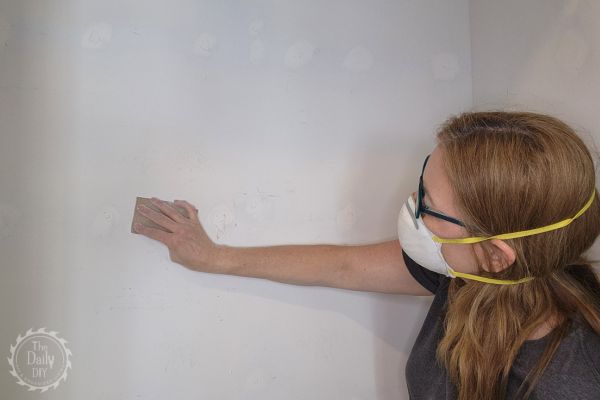
Final Touches: After sanding, remove all dust with a damp cloth to ensure a clean surface for painting. Match the paint to your wall color for a seamless finish. If you’re unsure about the exact match, take a chip of the existing paint to your local hardware store for a perfect color match.
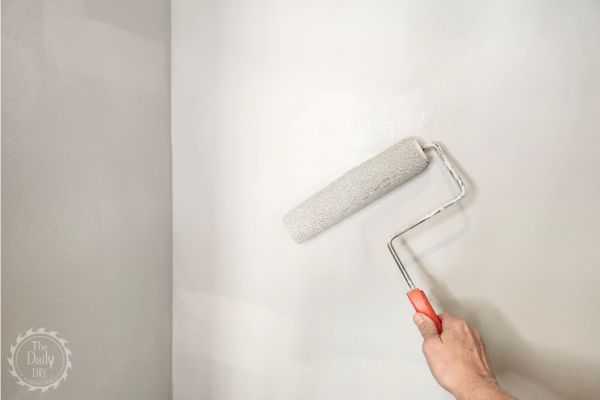
Painting: Finally it’s time to paint. Using a small brush, carefully apply the paint over the repaired area. It may require multiple coats to completely blend with the existing wall color.
Advanced Tips for Perfect Results
Using Primer: If you’re painting over a large patched area or if the original paint is glossy, applying a primer before painting can help achieve a uniform finish and ensure better adhesion of the topcoat.
Tool Care: Clean your tools immediately after use. Spackle can dry quickly and be difficult to remove once hardened.
Practice Makes Perfect: If you’re new to DIY wall repairs, consider practicing your technique on a scrap piece of drywall or an inconspicuous area before tackling more visible sections of your wall.
Alternative Methods for Larger Holes
For larger holes, a patch kit is a great alternative to spackle. These kits handle bigger areas and ensure strong repairs. For more on using a patch kit, see our guide: “How to Fix a Hole in Wall Easily.” This article walks you through the process, step by step.
Summary
Using DAP DryDex Spackling to fill nail holes wall is easy. And it saves both time and money. With the right tools and techniques, you can get professional-looking results. These enhance your home’s overall appearance. Remember, regular maintenance and timely repairs keep your walls in top shape. They also preserve your home’s value and integrity.

