How To Repot Aloe Plant
Aloe vera is a hardy plant that can survive on minimal care, making it a great addition to any home. However, when it starts to outgrow its pot and produce offshoots (called pups), it’s time to repot and split it. In this guide, I’ll walk you through how to repot your aloe vera plant, divide the pups, and make sure each plant thrives.
Why Repot Aloe Vera?
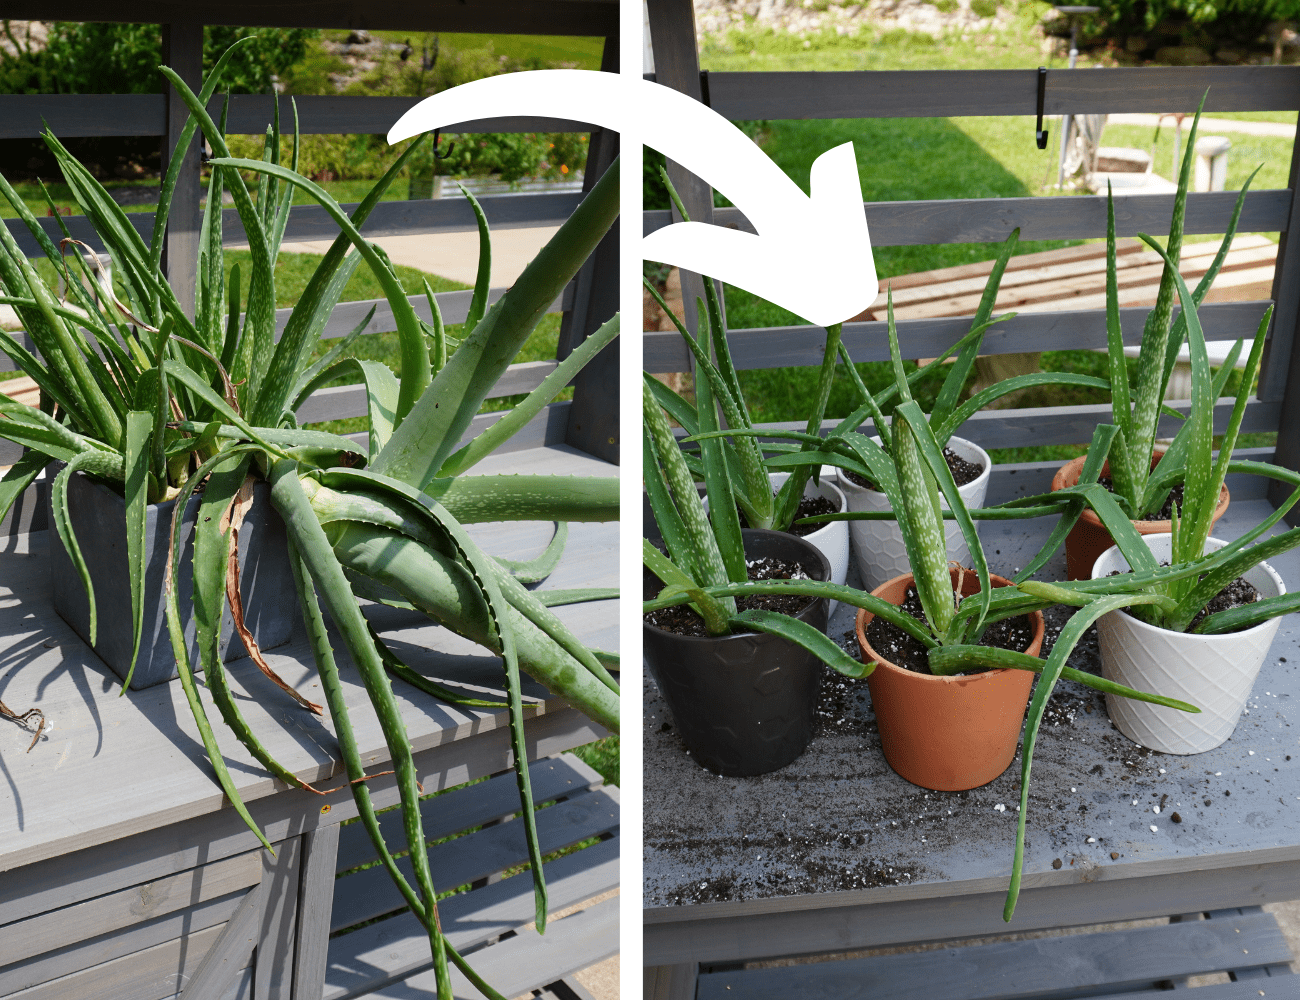
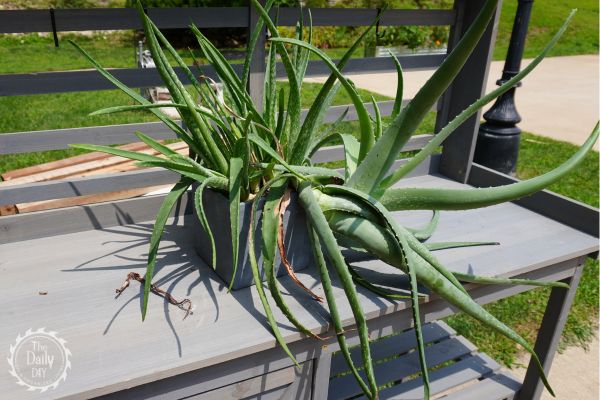
Aloe vera plants can grow for years in the same pot, as mine did. Over time, they tend to produce pups that eventually crowd the main plant, pushing it out of its pot. This is a clear sign that your aloe needs more space. Repotting and splitting the pups ensures that all the plants have enough room to grow and stay healthy.
When to Repot Aloe Plant
Repotting is necessary when your aloe becomes root-bound (the roots start circling the pot) or when pups start crowding the main plant. Typically, repotting is done every 2-3 years, but if you notice new growths forcing the original plant out of its container, it’s time to take action. The best time to repot is during the warmer months when the plant is actively growing.
Related Post: 5 Surprising Benefits of Using Aloe Vera Gel
Step-by-Step Guide to Repotting and Splitting Aloe Vera Plants
Let’s dive in to the step-by-step guide to repot your aloe plant.
If you prefer a video guide, check out YouTube video here:
Step 1: Remove the Aloe Vera Plant
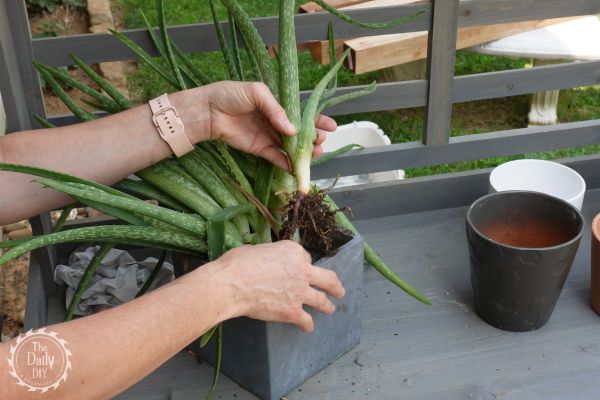
Begin by gently removing the aloe vera from its current pot. You might need to use a trowel or tap the pot to loosen the soil and plant.
Step 2: Separate the Pups
The pups, or baby plants, are typically found clustered around the base of the main plant. Using a sharp knife or garden shears, carefully cut the pups away from the main plant. Make sure to keep as much of their root system intact as possible. If a pup doesn’t have roots, don’t worry—you can still plant it!
Step 3: Choose the Right Pots
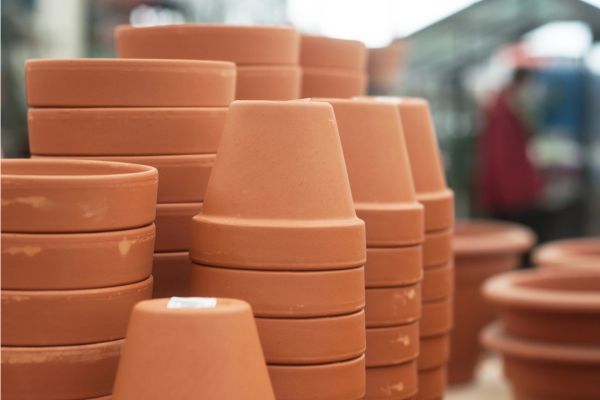
Aloe vera doesn’t need a lot of space, so it’s best to choose smaller pots for each plant. Avoid using overly large pots as they can hold too much moisture, which can lead to root rot. Opt for terracotta pots, which allow the soil to dry out between waterings and provide better drainage. Ensure your pot has a drainage hole on the bottom.
Step 4: Prepare the Soil
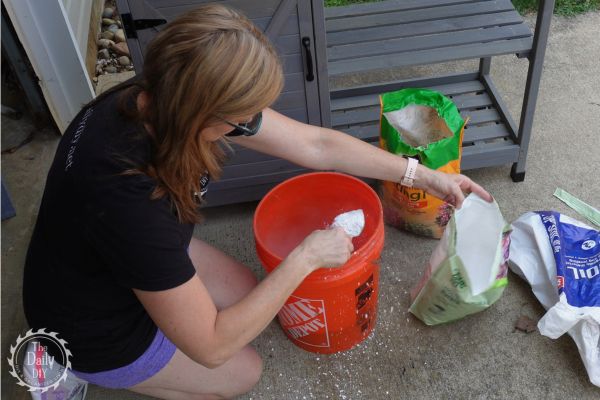
Aloe plants prefer well-draining soil. Use a cactus or succulent potting mix, or create your own by mixing standard potting soil with sand or perlite to improve drainage. Aloe thrives in dry conditions, so avoid compacted soil that retains moisture.
Step 5: Repot the Plants
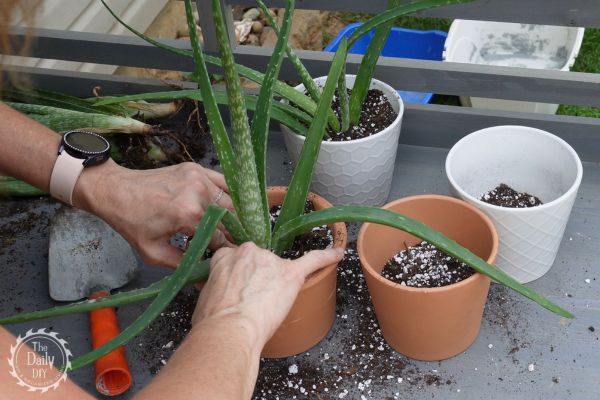
Fill each new pot about one-third full with soil. Place the main plant and the pups into their respective pots, then fill in around the roots with more soil, leaving a small gap between the top of the soil and the rim of the pot. For plants without roots, let the cut ends callus over for a couple of days before planting.
Step 6: Watering
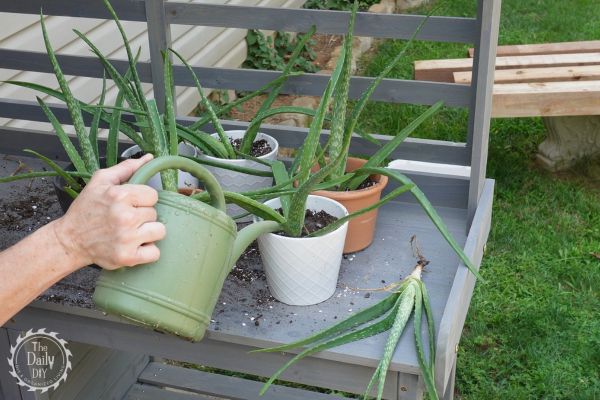
After repotting, let the plants rest for a few days before watering to allow any cuts to heal and reduce the risk of root rot. Once you do water, remember to keep it light. Aloe prefers dry soil, and overwatering is the leading cause of aloe vera death.
Tips for Repotting Aloe Vera Long Stem
If your original aloe plant has a long stem, you may need to trim it down during repotting. Cut away any dead or damaged leaves and allow the stem to callus over for a few days before placing it back into a new pot with fresh soil. This method works well even if the plant has no roots, as the aloe will eventually grow new ones.
How to Transplant Aloe Vera Without Roots
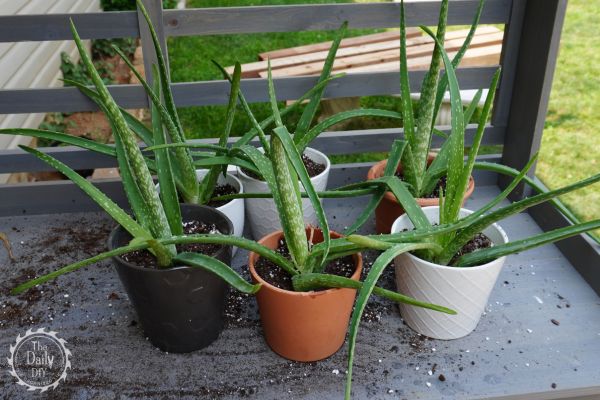
If a pup doesn’t have roots, you can still propagate it! After separating it from the main plant, let the cut end dry and callus over for a couple of days. Once the end has hardened, plant the pup in a small pot with well-draining soil. Keep the soil slightly moist but not wet, and in a few weeks, new roots should begin to form.
Shop for Supplies
Placement: bright, indirect sunlight for 6-8 hours
Finding the right placement for a repotted aloe plant is essential for its recovery and ongoing health. The plant should be situated where it can receive bright, indirect sunlight for 6-8 hours a day. This level of light provides the energy needed for photosynthesis while protecting the plant from the potential harm of direct sunlight, which can lead to stress and sunburn.
Selecting an optimal location for the aloe ensures it has the best conditions to thrive following repotting.
Conclusion
Repotting and splitting an aloe vera plant is a simple process that helps keep your plants healthy and gives you the opportunity to propagate more aloe! With the right pots, soil, and care, your aloe plants will thrive and provide you with plenty of greenery and medicinal uses for years to come.

