How To Make An Easy DIY Treadmill Desk
Have you wondered how you can make a DIY treadmill desk attachment? Have you thought it was too difficult? Whether you’d like one for weight loss or for work, here is a homemade treadmill desk idea that is low cost and easy.
Why even build a treadmill desk? For most of us, the past 2 years living during the pandemic has changed our lives. Many of you are working or schooling from home. Many of you have had lifestyle changes that have led you to be more sedentary. According to The Heart Foundation’s article, Is Sitting The New Smoking?, 25% of adults sit “for more than 8 hours per day. 44% of those people get little to no exercise”. Sitting for prolonged periods of time can put you at higher risk for blood clots, heart disease, and increased fat storage.
One of their suggestions to combat this is to commit to exercise daily. If you have a hard time fitting a daily exercise routine in to your busy schedule, here is a way that you can multi task. You can easily make a desk attachment to take meetings or conference calls from your treadmill.
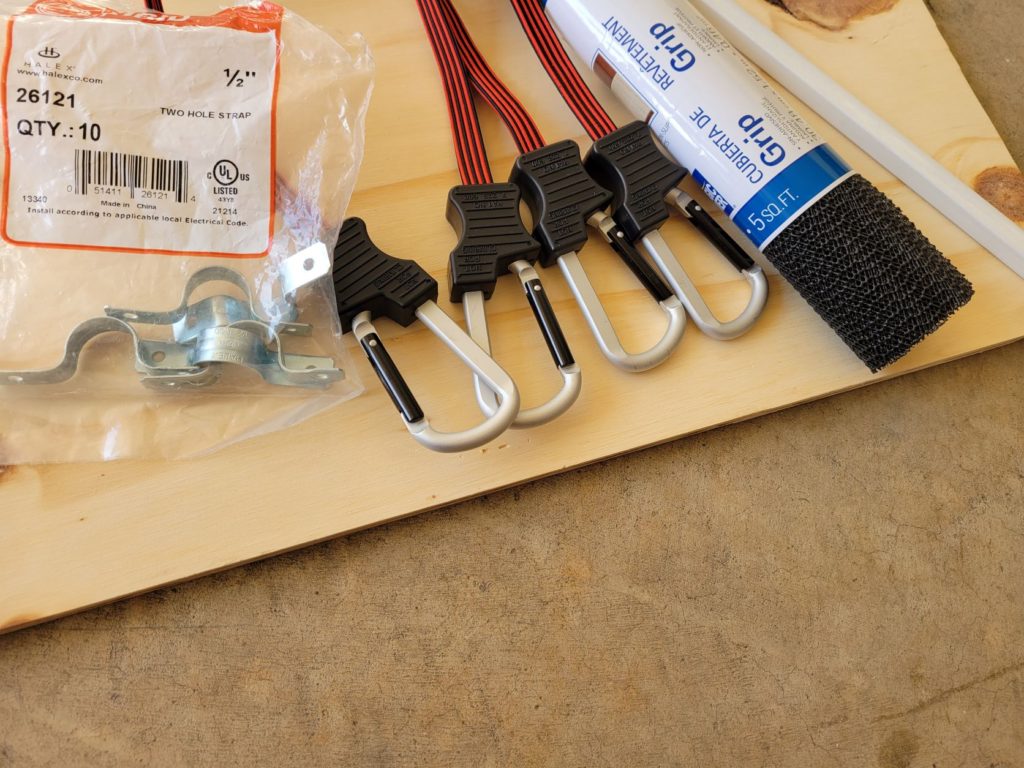
Materials Needed
- Plywood or project board to make your desktop
- (2) Bungee Cords
- (4) Conduit Straps, 1/2″ (2 hole strap type)
- (8) Small wood screws
- Paint, Stain, or Varnish (optional)
- 12-18″ in length Shoe Molding Trim (optional)
Step 1
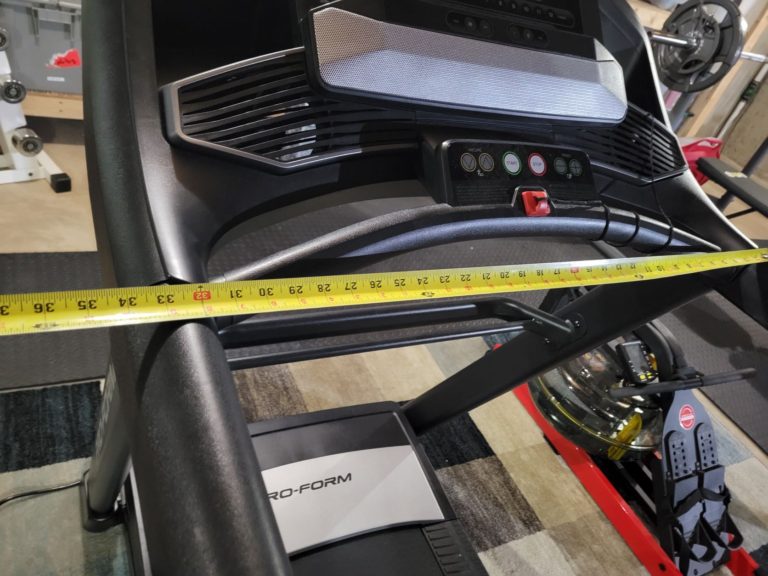
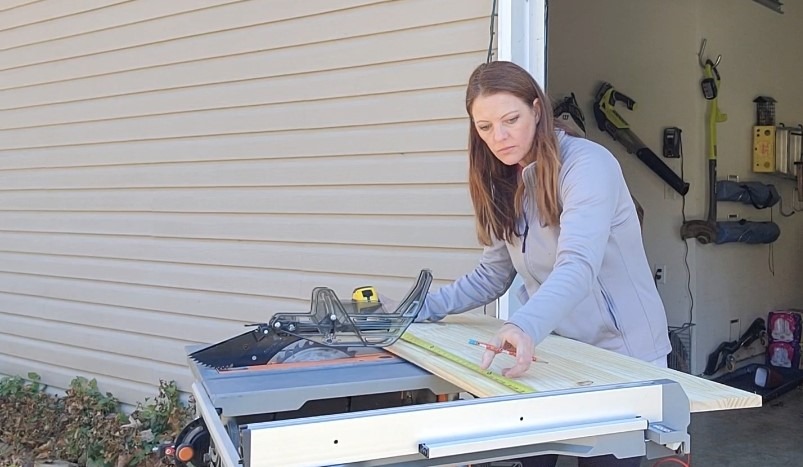
In order to find the custom size of your desktop, measure the hand rails on your treadmill. Measure the width and depth exactly, as this is where the desktop will sit. This one here was 35 1/4″ wide by 13 1/4″ deep.
Step 2
Using the measurements from Step 1, measure and cut your plywood (or project board) the width and depth you need. This will be the desktop for your treadmill desk. If you don’t have a saw, your local home improvement store may be able to cut them for you. Just take your measurements when you shop for your plywood.

Step 3
Sand your desktop board. Use 50 or 60 grit sandpaper to make the first pass. This will sand off any saw blade marks and level out the board. Next, make a second pass with 220 grit sandpaper to ensure a nice, smooth surface.
Step 4
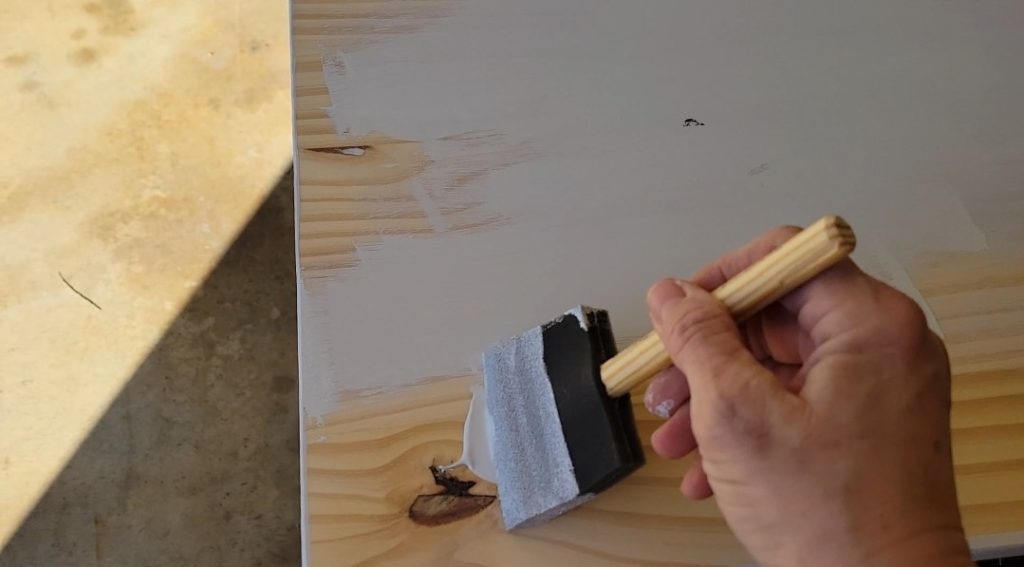
Apply paint, stain, or varnish of your choice to the desktop. Let the first coat dry, then apply a second coat. Ensure both coats dry completely before you continue to the next step.
Step 5
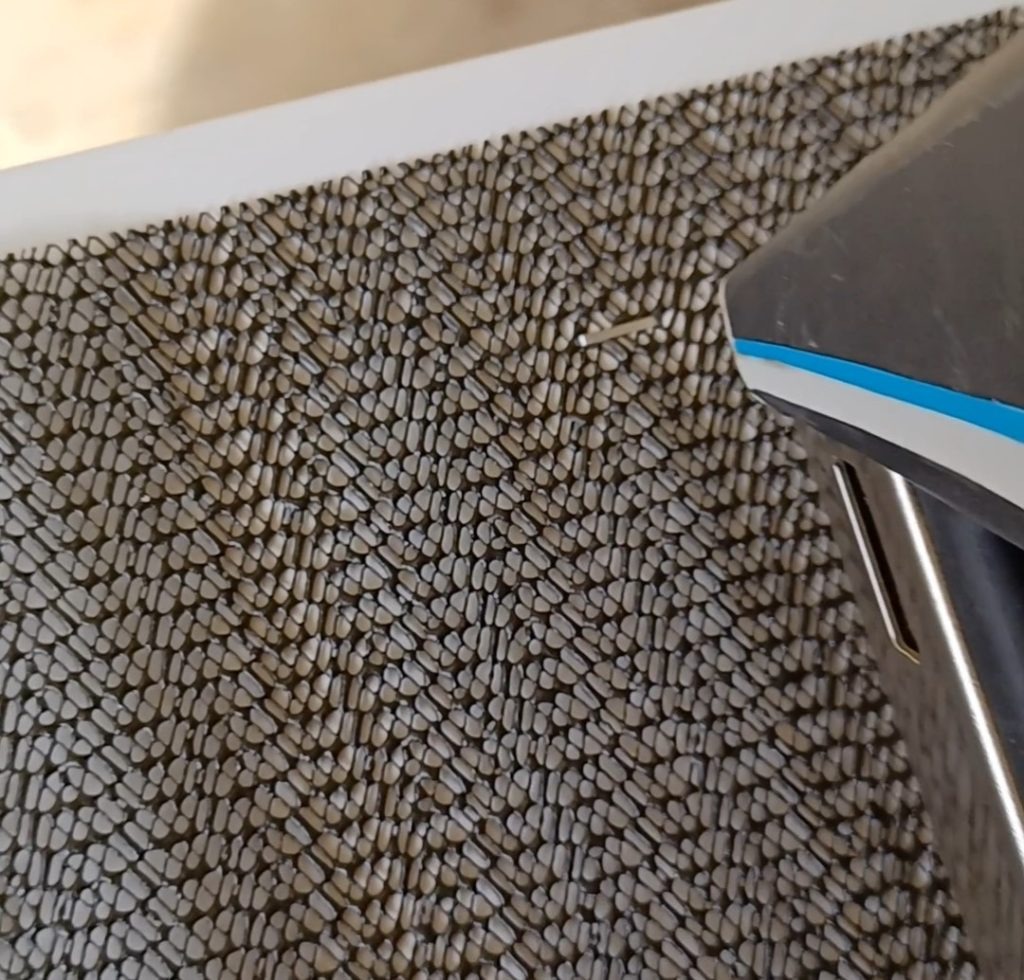
Staple grip shelf liner to the bottom of the desktop board for the purpose of cushioning the board to the top of the hand rails. This will also provide some grip to help prevent slipping.
Step 6
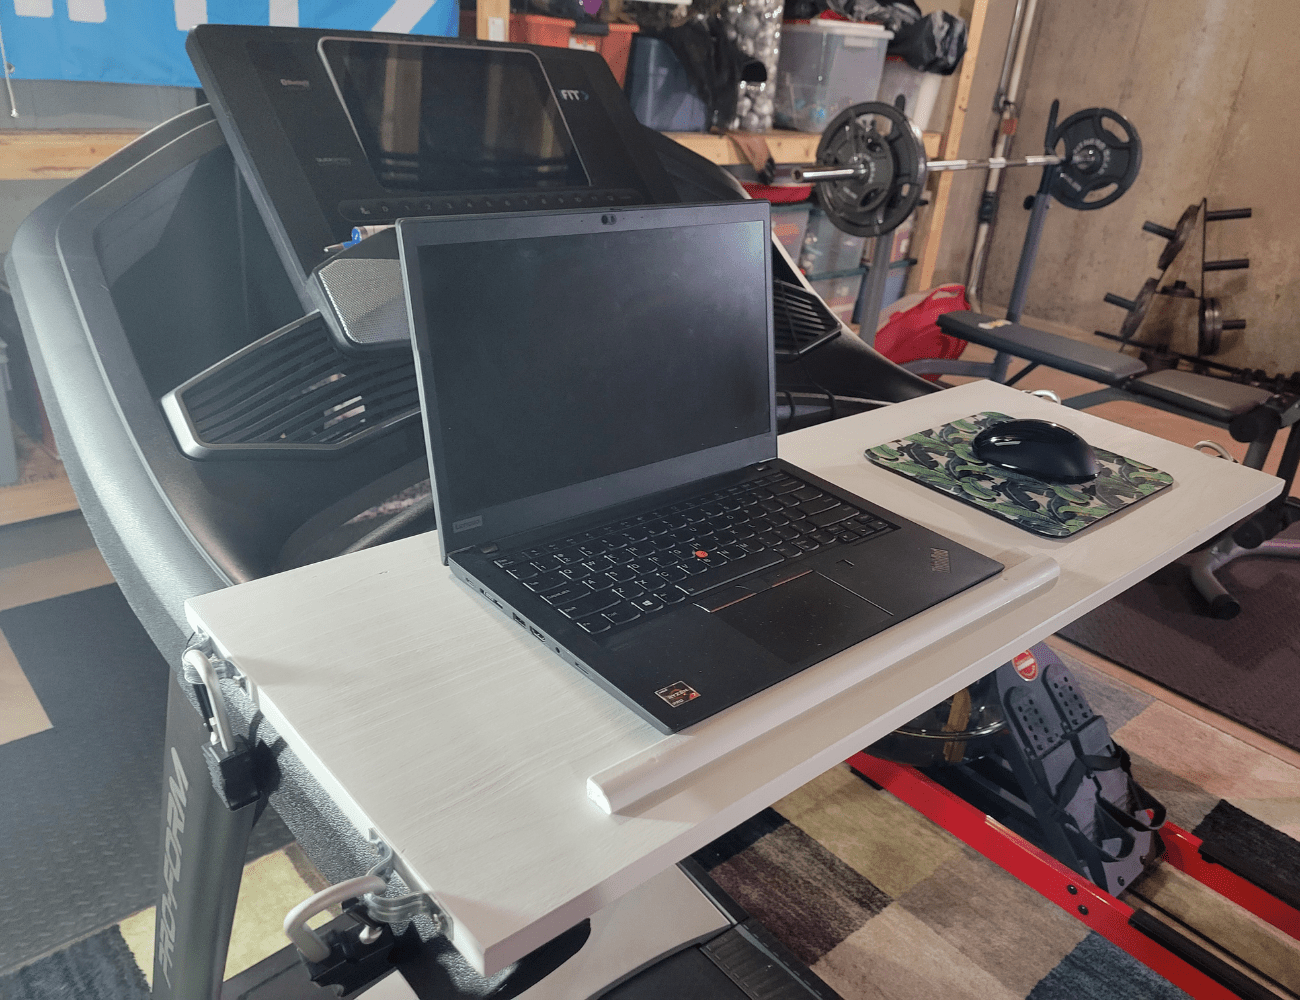
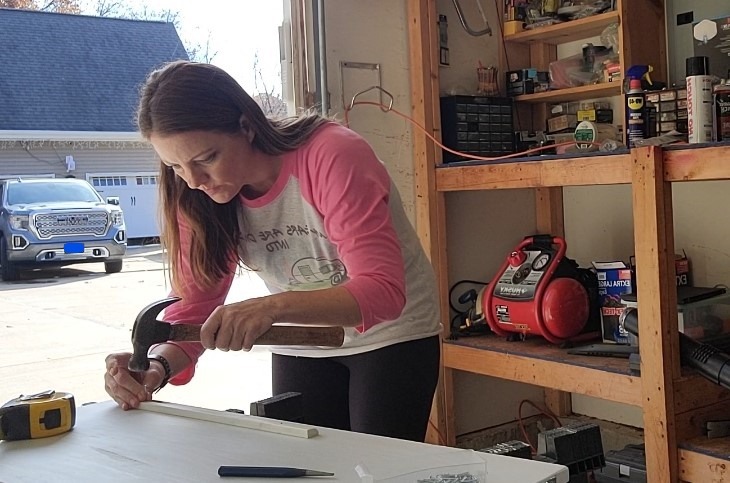
This part is optional, and helps to keep a laptop in place, especially if your hand rails are at a slight angle. First, take an approximate 12-18″ long piece of shoe molding trim and nail it to the desktop board. The length you’ll use depends on the width of your laptop. Secondly, use a nail setter to hammer the nails in below the surface of the trim. Be sure to paint, stain or varnish this piece as well. You can choose to center this, or place it to the left or right, wherever you’d choose to set your laptop. This one pictured above was placed to the side to allow for a mouse pad next to it.
Step 7
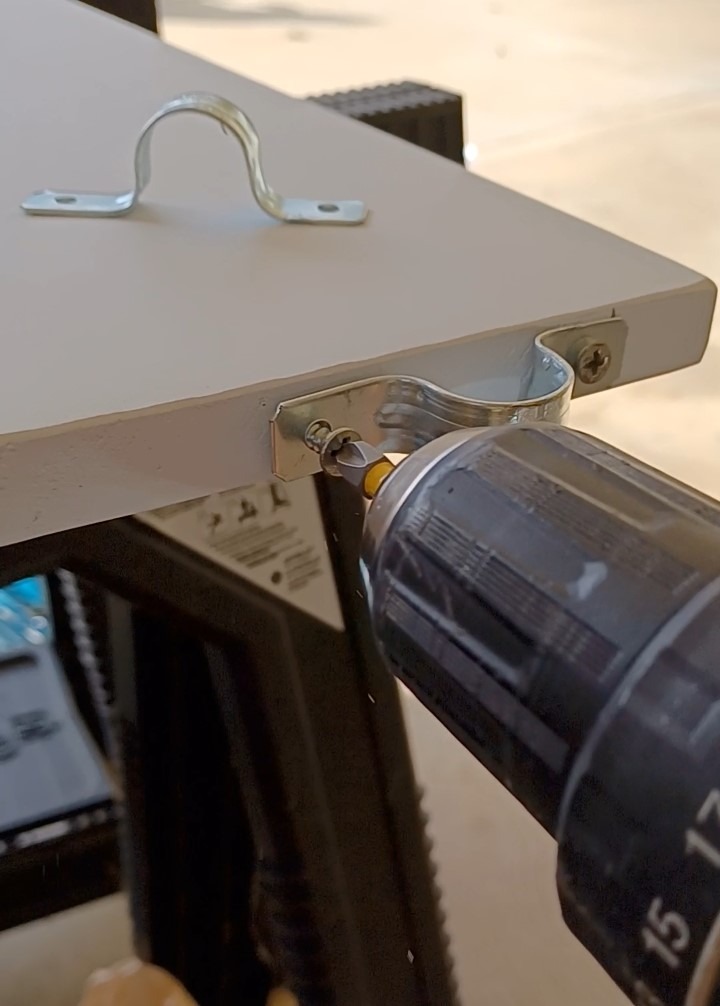
Using 1/2″, two-strap type conduit straps, attach those to each end of your desktop board. These were placed 1 1/2″ from each end. Drill small pilot holes in to each hole on the conduit strap, then drive the screws into the board. Your bungee cords will attach to these to keep the desk in place.
Step 8
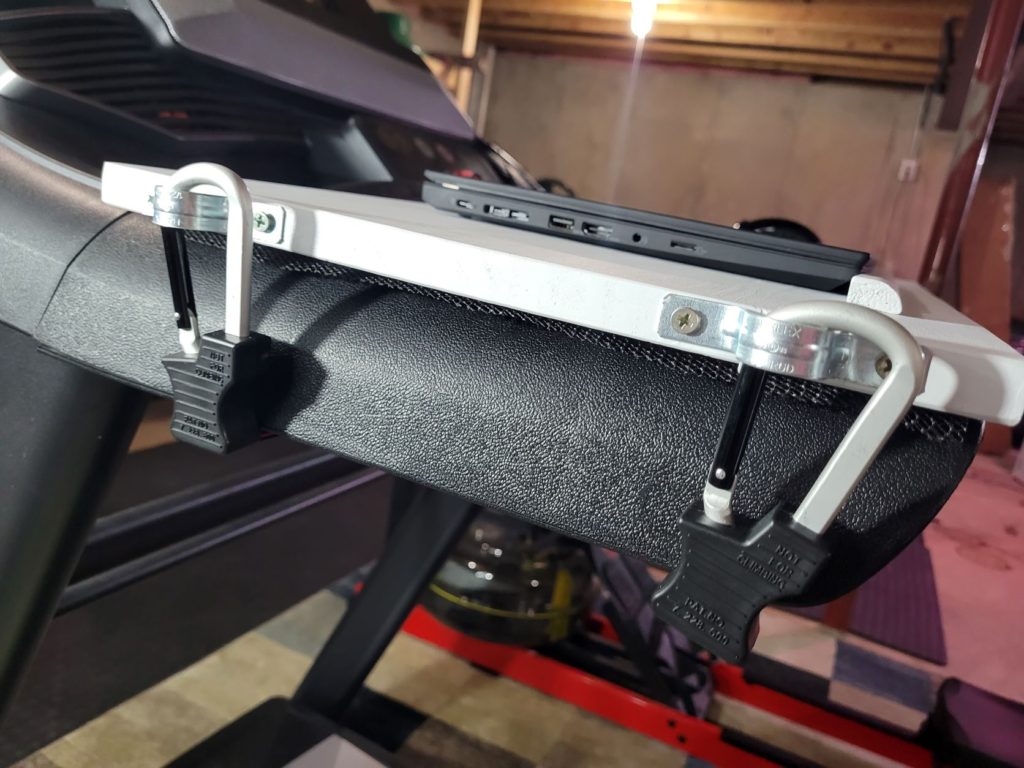
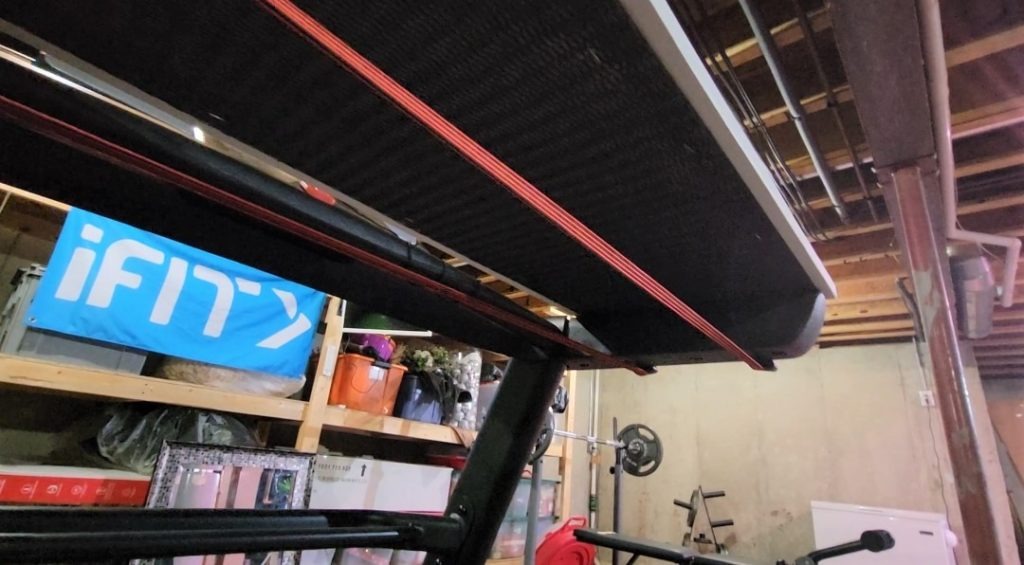
Strap your new treadmill desk attachment to the handle bars of your treadmill. Hook the bungee cords to the conduit straps to keep the desktop in place. The bungee straps pictured above feature a carabiner clip. Although not necessary, it does provide some extra security that the bungee cord will stay put.
And that’s all there is to it to make your own low cost DIY treadmill desk. You can easily complete this project in an afternoon and be up and running with your new treadmill desk in no time. For more tutorials delivered straight to your inbox, subscribe to The Daily DIY Newsletter. You can also watch a quick video tutorial here:

