Step By Step How To Hang Wallpaper
Looking for a way to spruce up the look of a room when you don’t have the budget for a complete overhaul? How about giving it a new accent wall using wallpaper or papering the entire room? It’s not only easy to do it yourself, but also gives you an affordable way to transform a room that you can do today. Whether it’s your kitchen, bathroom, home office, bedroom, or living room, adding a bold color or pattern to the wall can completely change the look and feel of a room. Here are instructions for you, step by step how to hang wallpaper.
Wallpaper is all over Instagram and Pinterest the past couple of years. And it’s easy to see why it’s gained so much popularity again. Who doesn’t love the beauty and affordability? Learning to hang wallpaper yourself allows you to update the look of your room at a very low cost. Here are step by step instructions for how to hang wallpaper for an accent wall in your space.
Supplies You Will Need
- Large Sponge
- Utility Knife
- Tape Measure
- Smoother Tool
- Wallpaper Paste Brush
- Wallpaper Seam Roller
- Wallpaper Adhesive
- Wallpaper
Determine How Much Wallpaper You Need
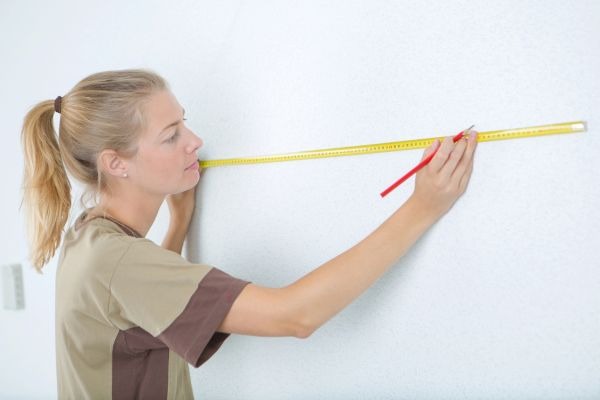
Start by measuring the height and width of the wall and multiply those numbers together. This gives you the square footage of the wall. If you have any windows or doorways cut out of that wall don’t subtract them from your measurements. You will need to account for them as you’ll be cutting the paper to fit around them.
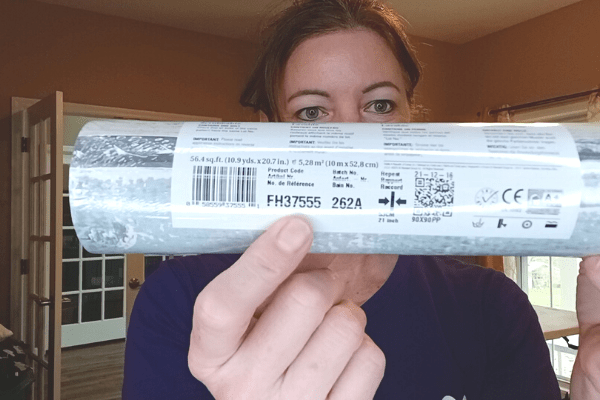
Next take your total square footage and divide by 27, which tells you how many rolls of wallpaper you need.
For example, the accent wall shown in this tutorial is 9 feet high by 5 feet wide (9 X 5 = 45). Then divide that by 27 (45/27 – 1.66666), or 2 rolls of paper needed. Add in an roll for matching up the pattern, as that will create some waste. Most manufacturers sell wallpapers by the “double roll”, so be mindful of that.
When you need many rolls, be sure to buy all the paper at once, all in the same order. This is very important so that the rolls come from the same dye lot from the manufacturer. A different dye lot may have slight color variations.
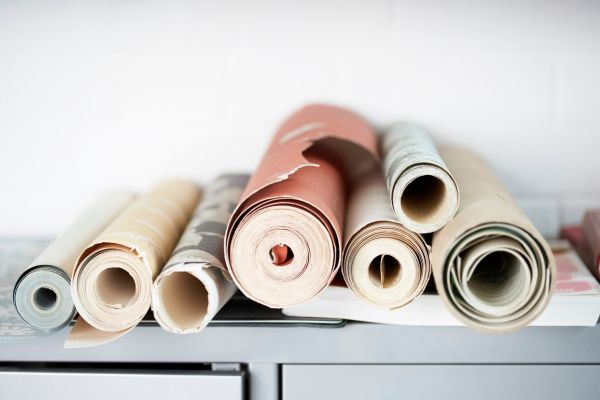
Buying Your Wallpaper
With so many patterns, colors, styles and textures to choose from it can be very overwhelming. Buy more than you need and find a store with an easy return policy for unopened rolls. In this case, you’ll find it’s better to have an extra roll left over that you can return. Otherwise, if you fall short and have to buy another roll later, it may come from a different dye lot. And as mentioned above, may not match exactly.
How To Hang Wallpaper
I have installed a lot of wallpaper in my lifetime, and the easiest and best way that I’ve found is to use an adhesive. Even if the paper is pre-pasted. Pre-pasted requires that you dip the paper in water to activate the paste. But that is so messy, and in my experience doesn’t work as good. Using an adhesive that you brush, or roll on, to the back of the paper sticks to the wall better. You can move and manipulate the paper easier while applying it to the wall. And is cleaner to work with. The adhesive is easy water clean up.
Before You Begin
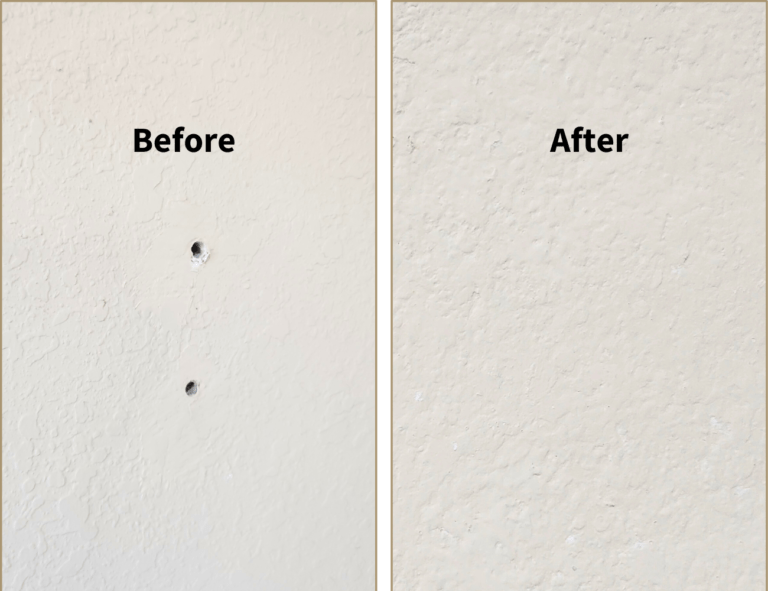
To get started, remove everything from your walls. Remove any screws or nails and fill in those holes. Sand any rough spots or bumps. Finally, grab a large sponge and clean the wall of all dust, grease, and debris.
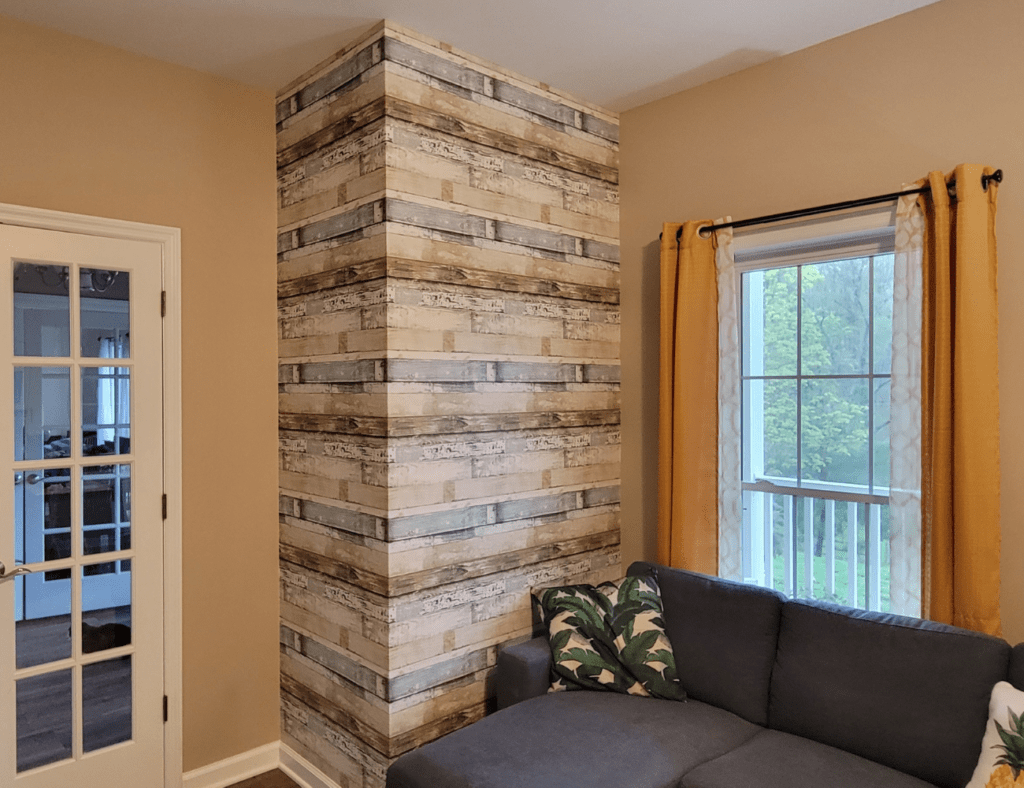
Plan out the installation next. If your wallpaper has a large, dominate design that stands out, you’ll want to begin in the middle of your wall. Then work out each way from there. Otherwise, you can start at one end and work your way towards the other. The wallpaper used in this example is a simple, faux wood look. Which allowed me to begin at one end of the wall and work my way over.
Step 1
First, measure the height of the wall and add about 1/2″ extra. Cut your first strip of wallpaper to this measurement.
Step 2
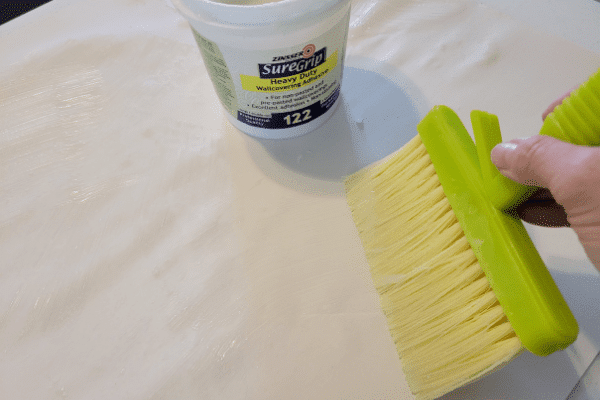
Second, using a brush or a roller, apply the paste to the back of the paper. Be sure to get the edges covered completely and spread a thin, even layer of paste.
Once you have applied the paste, fold each end of the wallpaper onto itself and meet in the middle. This is a technique called “booking”. Let the paper sit like this for about 3-5 minutes in order for the glue to activate.
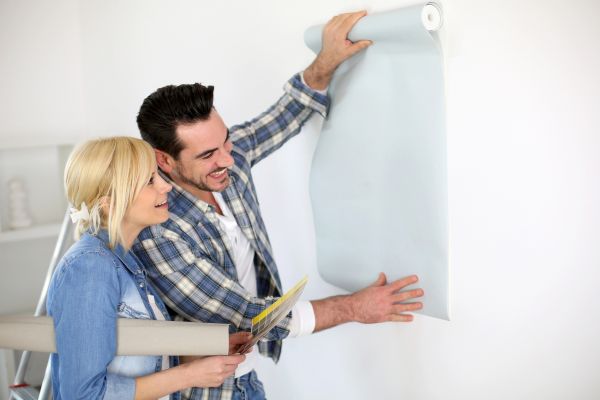
Step 3
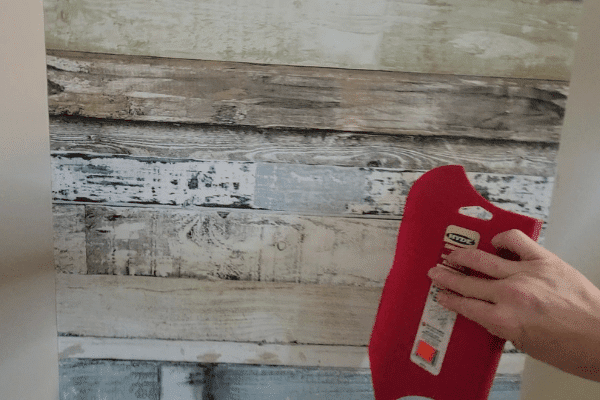
Next, hang your first strip to the wall by starting on one end of the wall. Line the long edge of the paper up against the adjacent wall. Then take the smoothing tool and apply gentle pressure to drag it across the paper. This not only presses the paper on to the wall, but also pushes out excess glue and air bubbles. Continue to work your way in this manner down the entire strip.
Step 4
Trim any excess paper along the ceiling and/or baseboard using a utility knife. Keep your blades sharp and change them often. Otherwise it will rip your paper when you’re trying to cut it. Trim around windows, doors, outlets and switches too.

Step 5
Take a wet sponge with water only and wash the paper to remove any dried adhesive. Wash any glue off the wall, ceiling, and baseboard too.
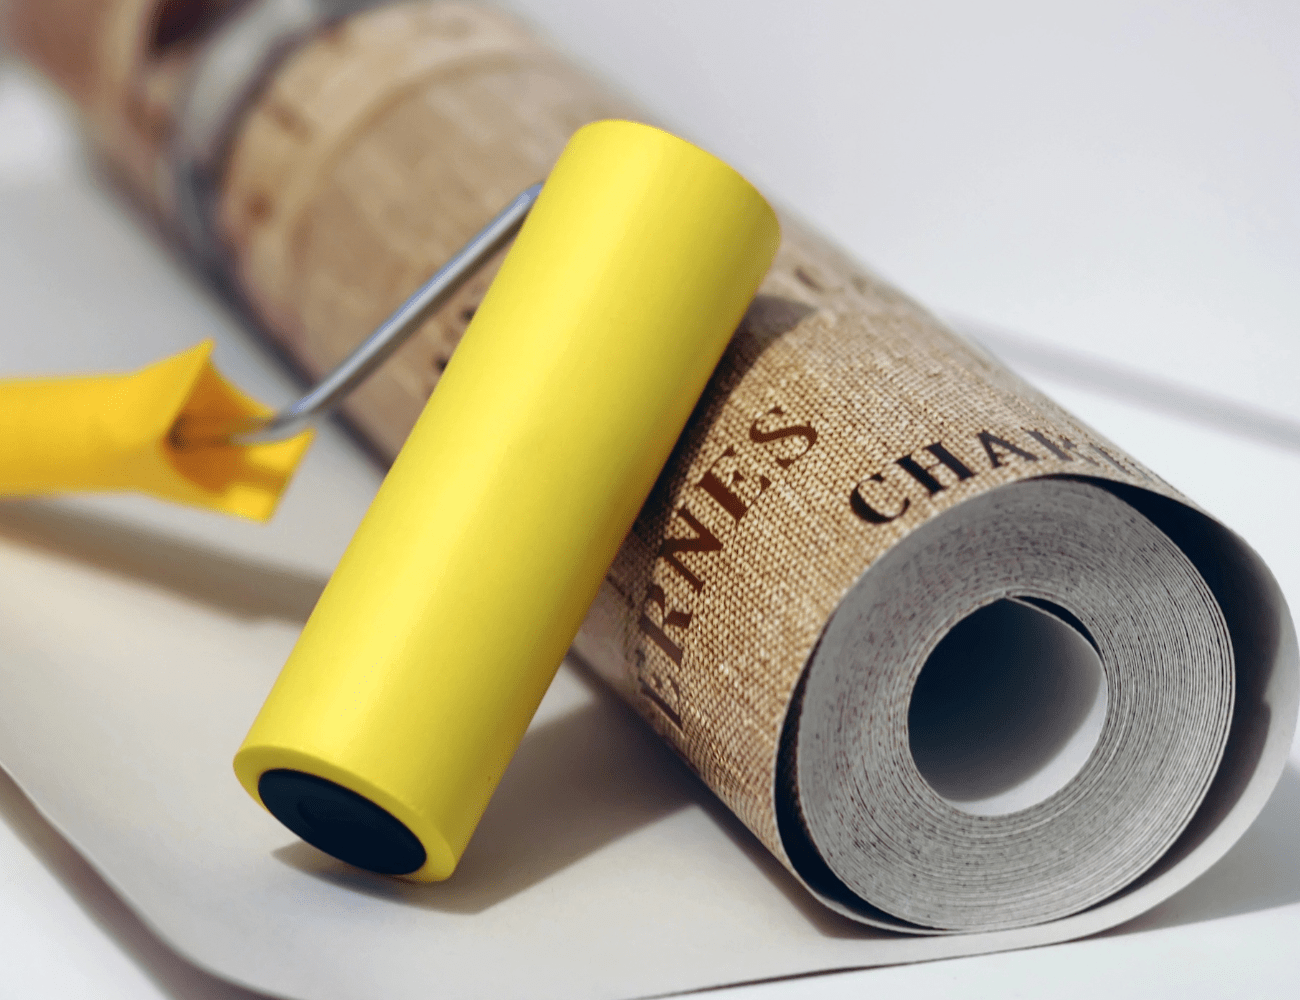
Step 6
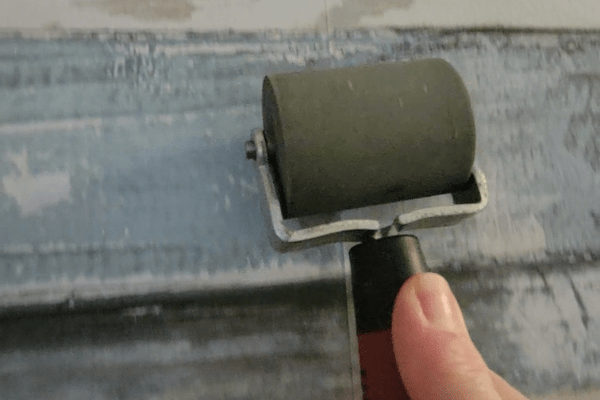
Finally, take the roller and roll along the seam to press it in to the wall so it adheres well.
And that’s all there is to it. Work each strip of paper in the same manner until your entire wall, or room is finished. This easy guide on how to hang wallpaper is here in the hope that it gives you the confidence you need to tackle this project for your next home renovation.