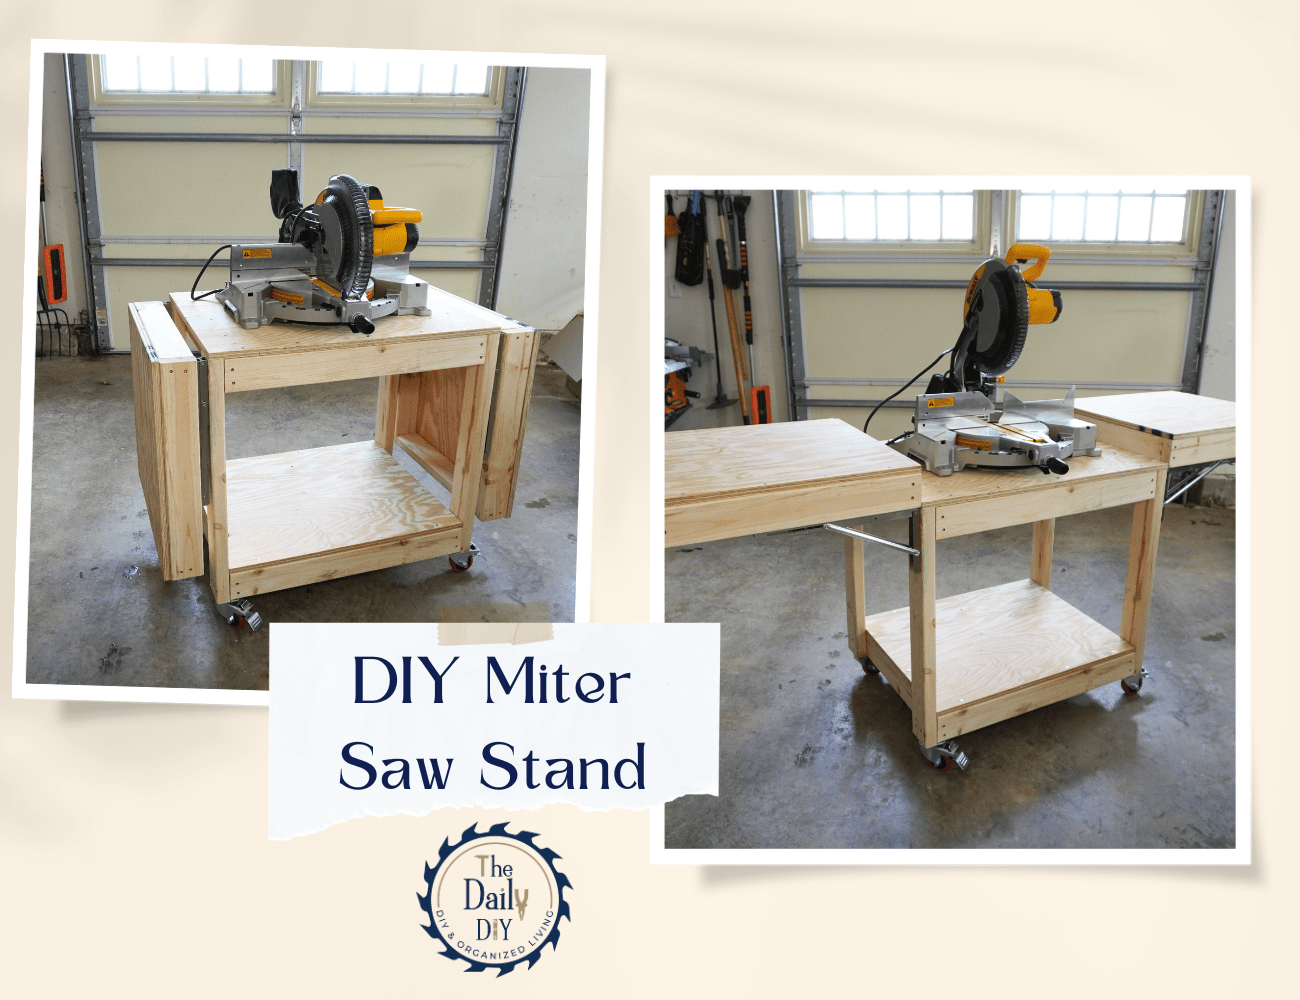
How to Build a Portable Miter Saw Stand with Wheels
A miter saw stand is a must-have for any workshop, but buying one can be expensive. I decided to build my own miter saw stand with wheels, and it has completely transformed my workspace! This miter saw table features foldable wings for extra support, a bottom shelf for storage, and locking casters so you can easily move it around.
Watch the full video tutorial for this DIY miter saw stand here:
Why Build Your Own Miter Saw Stand?
I recently got a new mitre saw and wanted to build a cart for it instead of using it on the ground like I had been doing for years. Since a store-bought stand can cost hundreds of dollars, I decided to build my own. This allows you to customize it to your exact needs, which I really liked. You can also adjust the height, width, and storage options to fit your workspace perfectly.
The one I built here is as tall as a standard counter height, which is 36″. Feel free to modify this to fit what works best for you.
Materials Needed:
- Six 8ft 2x4s – Used for the frame
- One 4x8ft ¾” plywood – Used for the tabletop and bottom shelf
- Folding brackets – To support the extendable wings
- Swivel casters with brakes – For easy movement and stability
- Screws 2 1/2”
- Screws 1 1/4″
Step-by-Step Instructions For a DIY Miter Saw Stand
Let’s go through the exact steps I used to build this miter saw stand with wheels. It takes just a couple of hours and is beginner-level DIY.
1. Cut Your Lumber
Start by cutting all of your 2x4s to the required lengths. My new miter saw worked perfectly for these cuts. The great thing about this build is that it’s fully customizable, make it as tall or as wide as you need! I had my plywood pre-cut at the hardware store for easier transport, but you can cut that on your own using a table saw or a circular saw.
Here is a diagram for how to cut the lumber and assemble the framing:
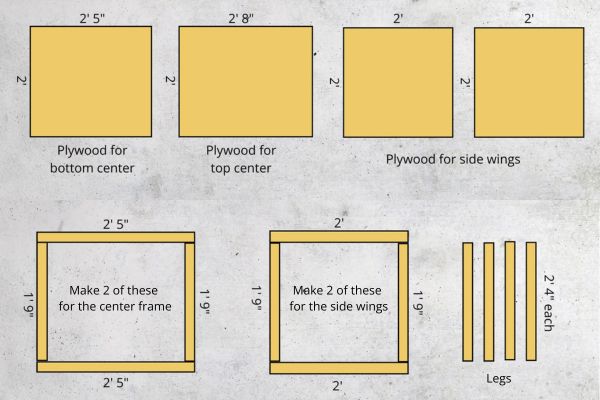
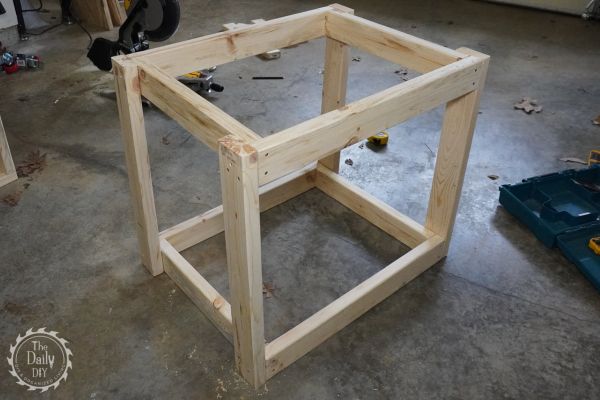
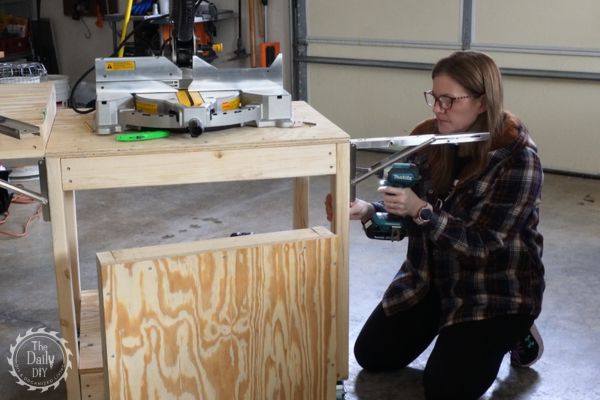
2. Assemble the Frame
First, build the center frame using 2.5-inch wood screws, securing the top and bottom supports. Then, repeat the process to build the two side frames, ensuring everything was square and level. Finally, add the legs to connect the top and bottom of the center frames.
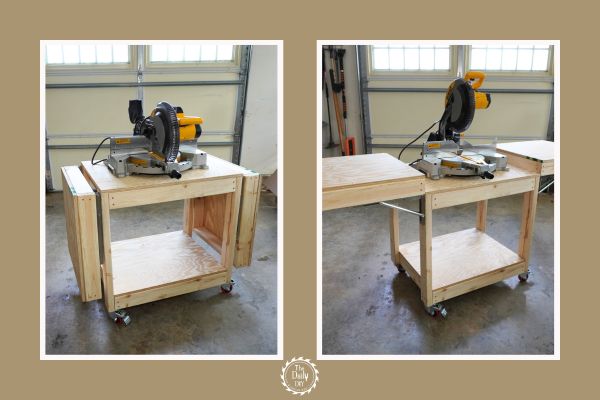
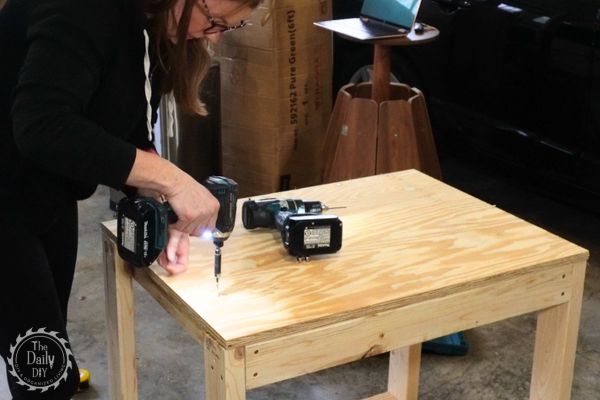
3. Attach the Plywood
Next, add the bottom shelf using 1.25-inch wood screws, placing them every few inches for a secure hold. The top piece of plywood gets attached the same way to form the main work surface. Finish this up by adding the plywood pieces to the side wing frames.
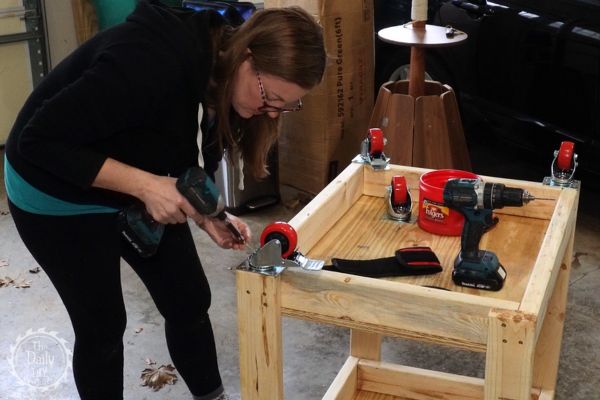
4. Install the Casters
For mobility, attach swivel casters with brakes to the bottom of the frame. These allows you to move the miter saw stand effortlessly and lock it in place when needed.
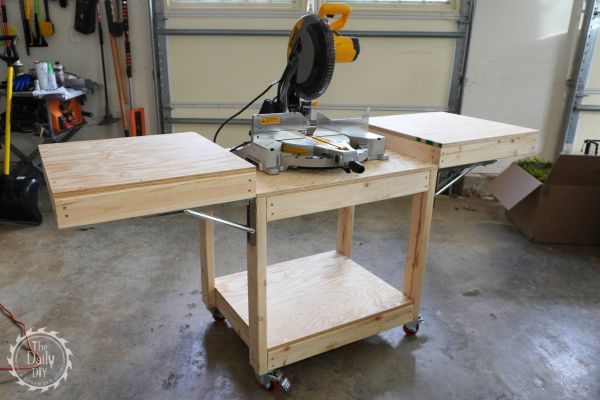
5. Add the Folding Wings
To create extra support for longer boards, install folding brackets on each side. I used 16″ brackets and found a great price on Amazon for a 4 pack. Secure the brackets using 2.5-inch screws on the top hole and 1.25-inch screws for the middle and bottom holes. The wings fold down when not in use, saving space in your workshop.
Final Thoughts On This DIY Miter Saw Stand
This miter saw stand with wheels is a game-changer for my projects! It gives me a sturdy workspace with plenty of storage and mobility. In the future, I might even add a drawer for extra saw blades and tools.
For even more easy DIY projects for beginners, check out how to Build an Easy DIY Garden Bench.