How to Divide Daylilies: A Simple Guide to Bigger, Healthier Plants
Dividing and transplanting daylilies is a straightforward process that will reward you with bigger, healthier plants while also helping you manage their growth. Whether you want to spread these stunning perennials to other areas of your garden or share them with family and friends, dividing daylilies is a practical and enjoyable gardening task. Read on to learn how to divide daylilies and ensure they thrive in your landscape.

Why You Should Divide Daylilies
Daylilies are low-maintenance and resilient, but over time, they can become overcrowded. Dividing them every few years encourages vigorous growth, increases flower production, and prevents them from overtaking your garden. Healthy daylilies not only look better but also grow better when given the space they need.
When To Divide Daylilies
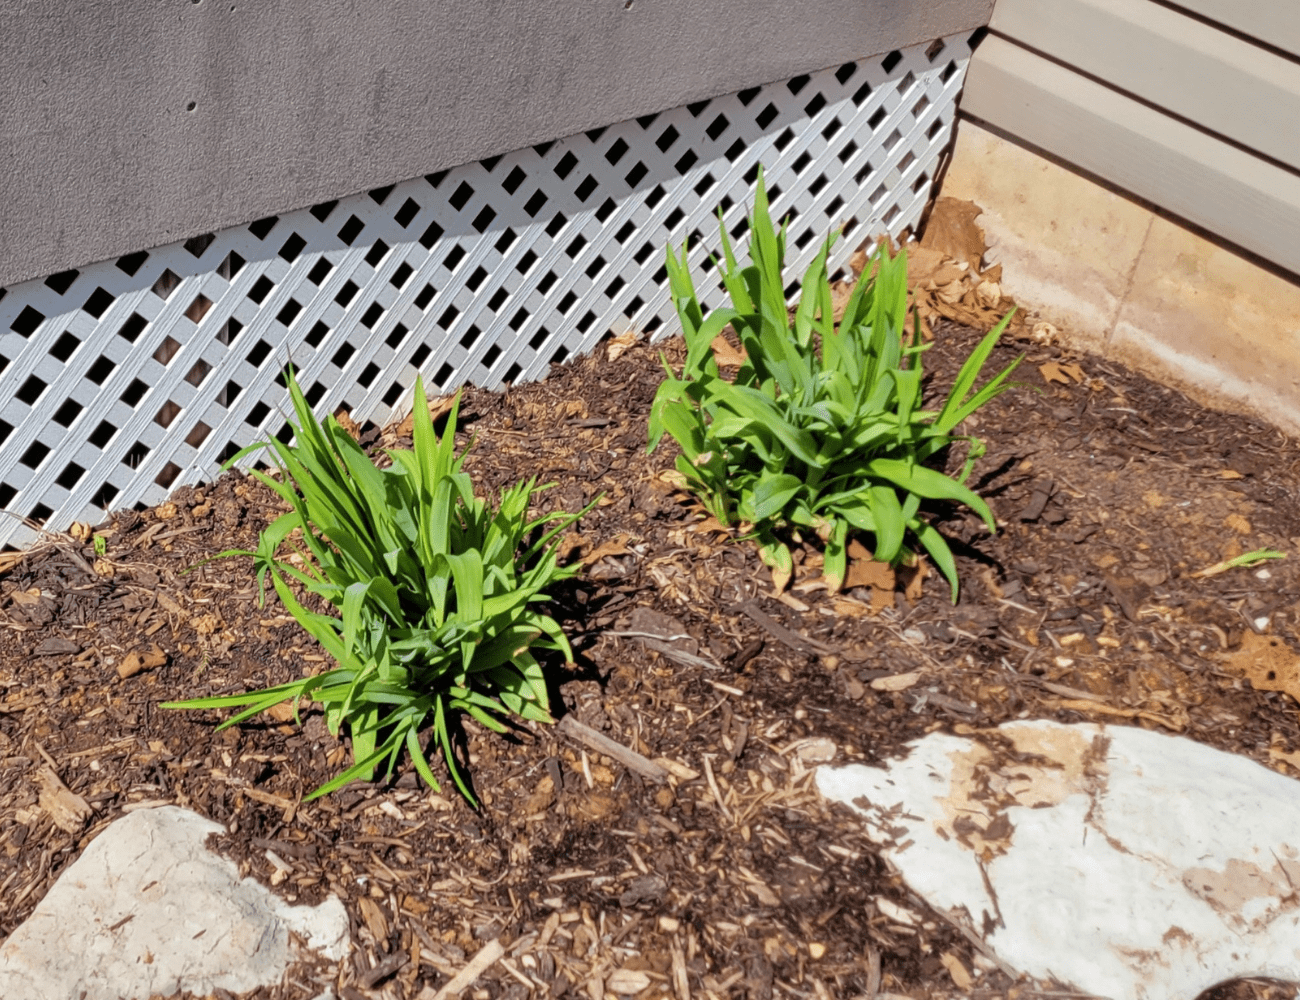
Knowing when to divide daylilies is just as important as how to do it. The ideal time is every 3-4 years, typically in early spring when the plants begin to emerge from winter dormancy. Dividing them at this stage is easier because the plant isn’t fully grown yet.
Missed the spring window? Don’t worry—daylilies are hardy and can still be divided in summer or fall. Just be sure to water them well after replanting to help them establish in their new location.
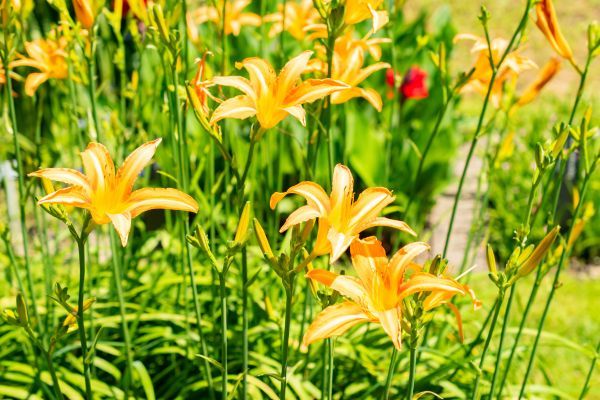
How To Divide Daylilies
Dividing daylilies is a simple process that requires only a few tools and steps. Follow this step-by-step guide on how to divide daylilies and watch your garden flourish.
Step 1: Prep the Plants
Water the daylilies thoroughly the day before you plan to divide them. This softens the soil and makes it easier to dig up the clumps.
Step 2: Dig Them Up
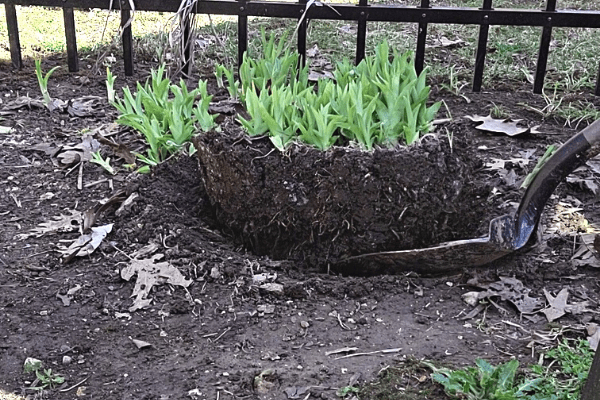
Using a shovel, carefully dig around the clump of daylilies, going a few inches beyond the outer edges of the cluster. Lift the entire clump out of the ground.
Step 3: Split the Clump
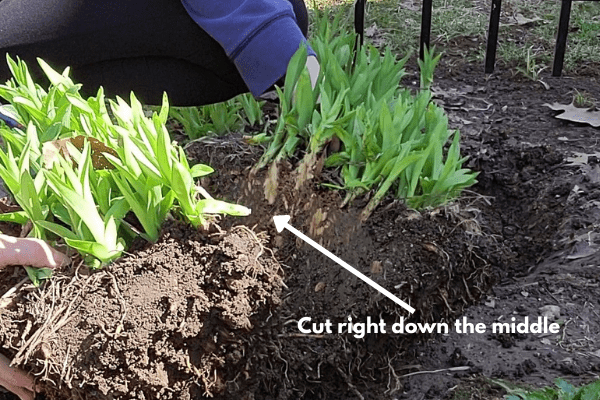
Take a perforated garden knife or spade and cut through the middle of the clump, much like slicing a loaf of bread. For larger clumps, you can cut each half again into smaller sections. Don’t worry about damaging the roots—daylilies are incredibly hardy and will bounce back.
Step 4: Replant the Divisions
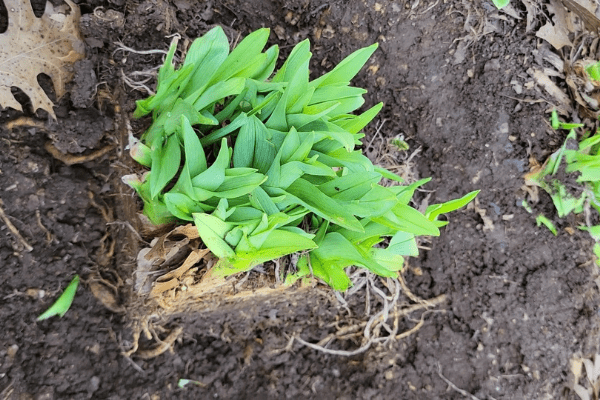
Place one of the divided clumps back into the original hole. Plant the other sections in new areas of your garden or share them with friends and neighbors. Add a small amount of fertilizer, like Milorganite, to the base of each plant to promote healthy root growth.
Step 5: Water and Care
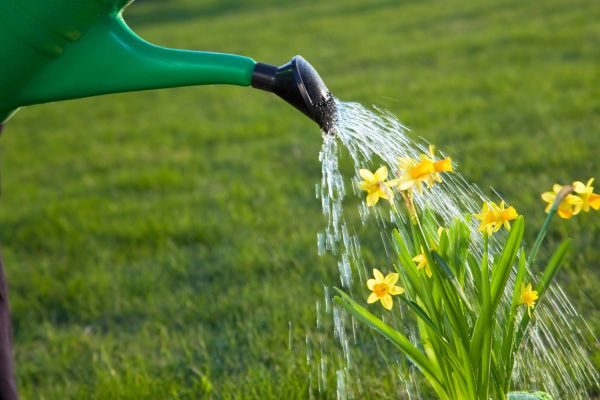
Fill the hole with soil and water the plants thoroughly. Continue watering daily for the next few days to help them settle into their new location.
Tips for Maintaining Daylilies After Division
Daylilies are one of the easiest plants to care for, making them perfect for filling large areas of your landscape. Once divided, all you need to do is:
- Deadhead the flowers as they fade.
- Remove dead leaves or blades a few times during the growing season.
- Provide occasional watering during dry periods.
With these simple steps, your daylilies will thrive, providing lush greenery and vibrant flowers all season long.
Related Post: How To Repot Aloe Plant and How To Mulch Your Flower Beds
By learning how to divide daylilies, you’ll not only keep your garden looking neat and beautiful but also enjoy more robust plants year after year. Daylilies are a gardener’s favorite for a reason—they’re easy to care for, multiply quickly, and bring vibrant color to any landscape.

