Upgrade Your Room with Stunning Accent Wall Panels
If you’re looking for an easy yet striking way to enhance your home’s interior, accent wall panels are the perfect solution. With their sleek, modern design and easy installation, 3D wall panels can transform any plain wall into a focal point. Whether you’re sprucing up a bedroom, living room, or even a vacation rental, this DIY accent wall project is an effortless way to add depth and dimension to your space.
If you’d prefer wood panels for an accent wall, check out this beautiful wall I did in a dining room using MDF trim boards.
Why Choose 3D Wall Panels for Your Accent Wall?
3D wall panels are not only visually appealing but also offer several practical benefits:
- Modern Aesthetic – They create a high-end, sculpted look without the need for extensive renovations.
- Durability & Easy Maintenance – Made from lightweight vinyl, these panels are resistant to moisture and easy to clean.
- Versatility – Available in various textures and colors, they fit seamlessly into any design style, from minimalist to bold and dramatic.
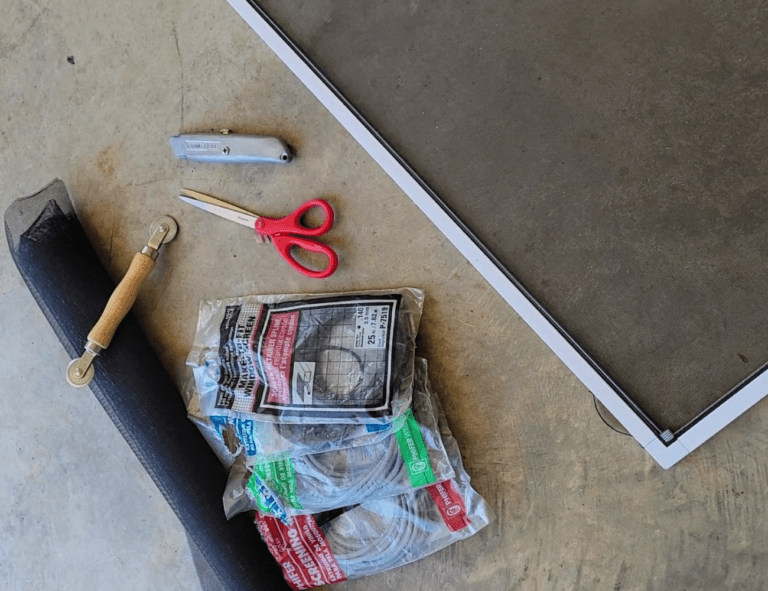
Materials
- Wall Panels (here are the ones I used, but you can use any that you like)
- Adhesive
- Caulk Gun
- MDF Trim (optional)
- Caulk
- LED lights (optional)
- Tin Snips
How to Install Accent Wall Panels
I recently installed some 3D accent wall panels in a bedroom am loving how good it turned out. Installation was very easy and took only an afternoon. Let me walk you through each step.
Related Post: Easy DIY Accent Wall
Watch the Full DIY Accent Wall Installation
If you’re a visual learner or want to see this project come to life, check out the full step-by-step tutorial on YouTube! This video will walk you through every step, from prepping the wall to adding the finishing touches, so you can confidently create your own stunning DIY accent wall.
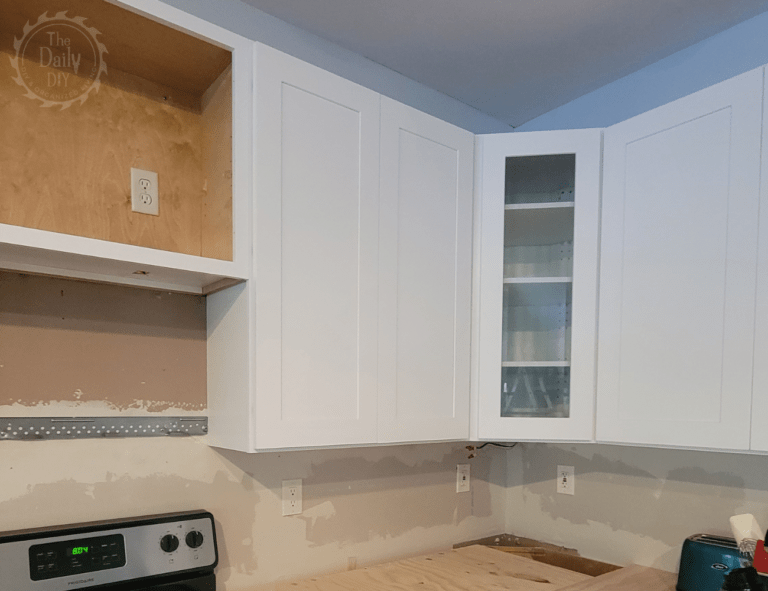
Step 1: Preparing Your Wall for an Accent Wall Panel Installation
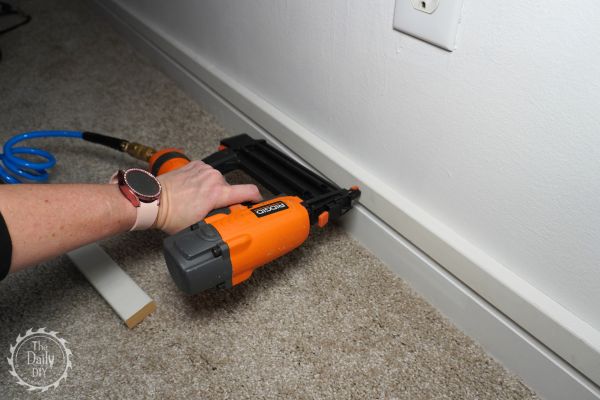
Before installing your accent wall panels, start by framing the wall with MDF trim boards. Use a nail gun with brad nails, or you can use the DAP HD Max Construction adhesive to attach the mdf boards to the wall. This step ensures:
- A polished, seamless finish by covering rough edges where cut panels will meet the ceiling, baseboards, and corners.
- A professional, high-end look once caulked and painted.
Use wood filler to patch nail holes and touch up with paint for a flawless foundation before applying your 3D wall panels.
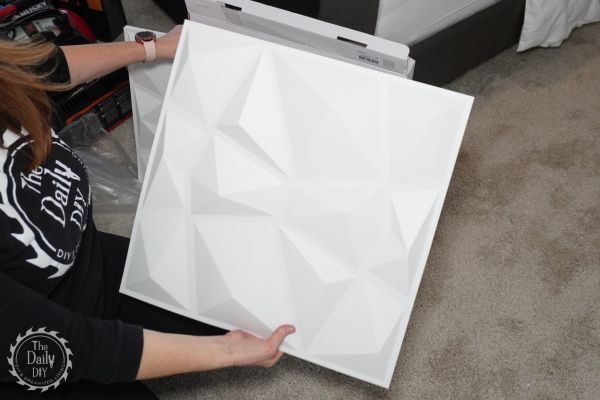
Step 2: Selecting the Right 3D Wall Panels
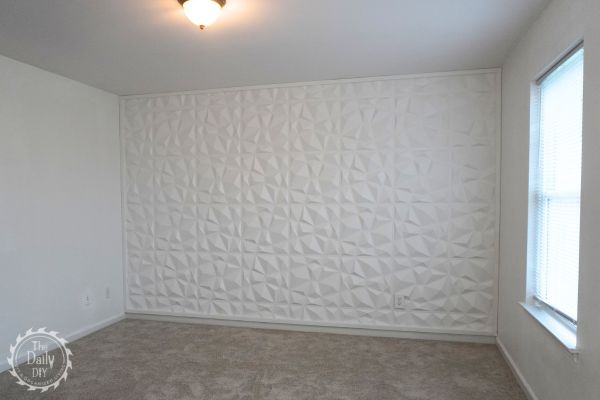
For this project, vinyl 3D wall panels from Art3D were used. These panels come in various styles, including the elegant diamond design chosen for this space. Before installation:
- Let the panels acclimate to the room’s temperature and humidity for at least 24 hours.
- Lay them out in small groups to prevent warping and ensure consistency in size and shape.
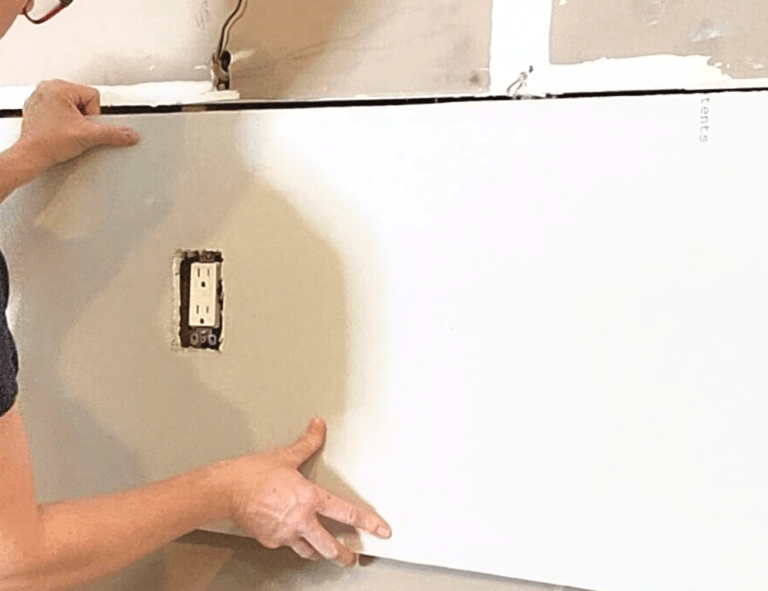
Step 3: Installing the 3D Wall Panels for a DIY Accent Wall
- Find the Center of Your Wall – Use a laser level to mark the exact middle of the wall. This ensures an even and symmetrical design.
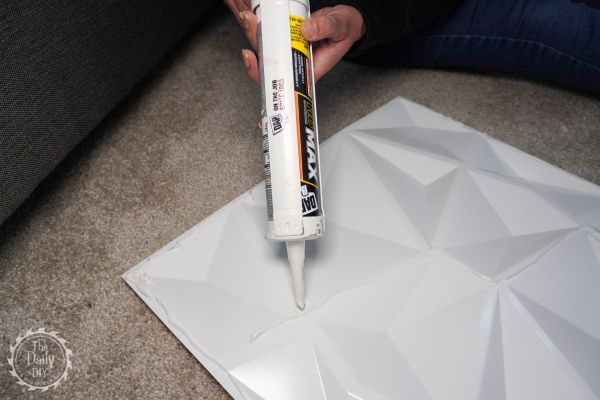
- Apply Adhesive – Use a strong construction adhesive like DAP HD Max, applying around the perimeter of each tile, and adding some small dabs to the back center of each panel.
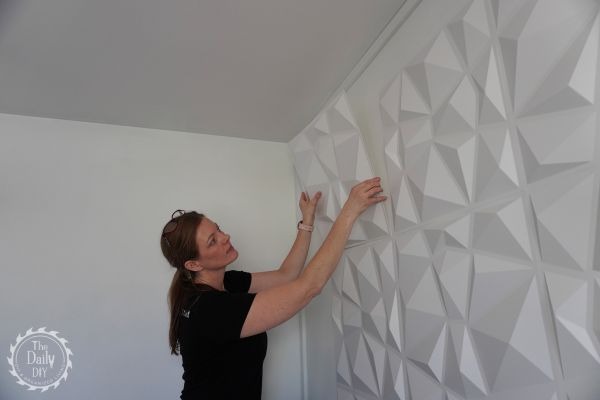
- Press Panels Firmly into Place – Start from the center and work outward, ensuring each panel is level before moving to the next.
- Adjust Placement as Needed – If you notice the panels sliding, reposition them before the adhesive sets.
Cutting the Panels for a Perfect Fit
To ensure a seamless finish around edges:
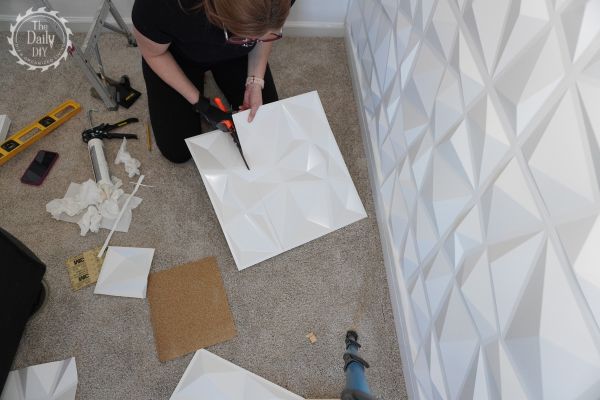
- Use tin snips to cut panels to size.
- Wear gloves to protect your hands from sharp edges.
- Place cut edges along the outer sides where they will be caulked for a flawless appearance.
Step 4: Finishing Touches for a Seamless Look
Once all accent wall panels are in place let them sit overnight to ensure they adhere well. The next day:
- Apply caulk along the edges to hide gaps and create a smooth transition between panels and the MDF trim.
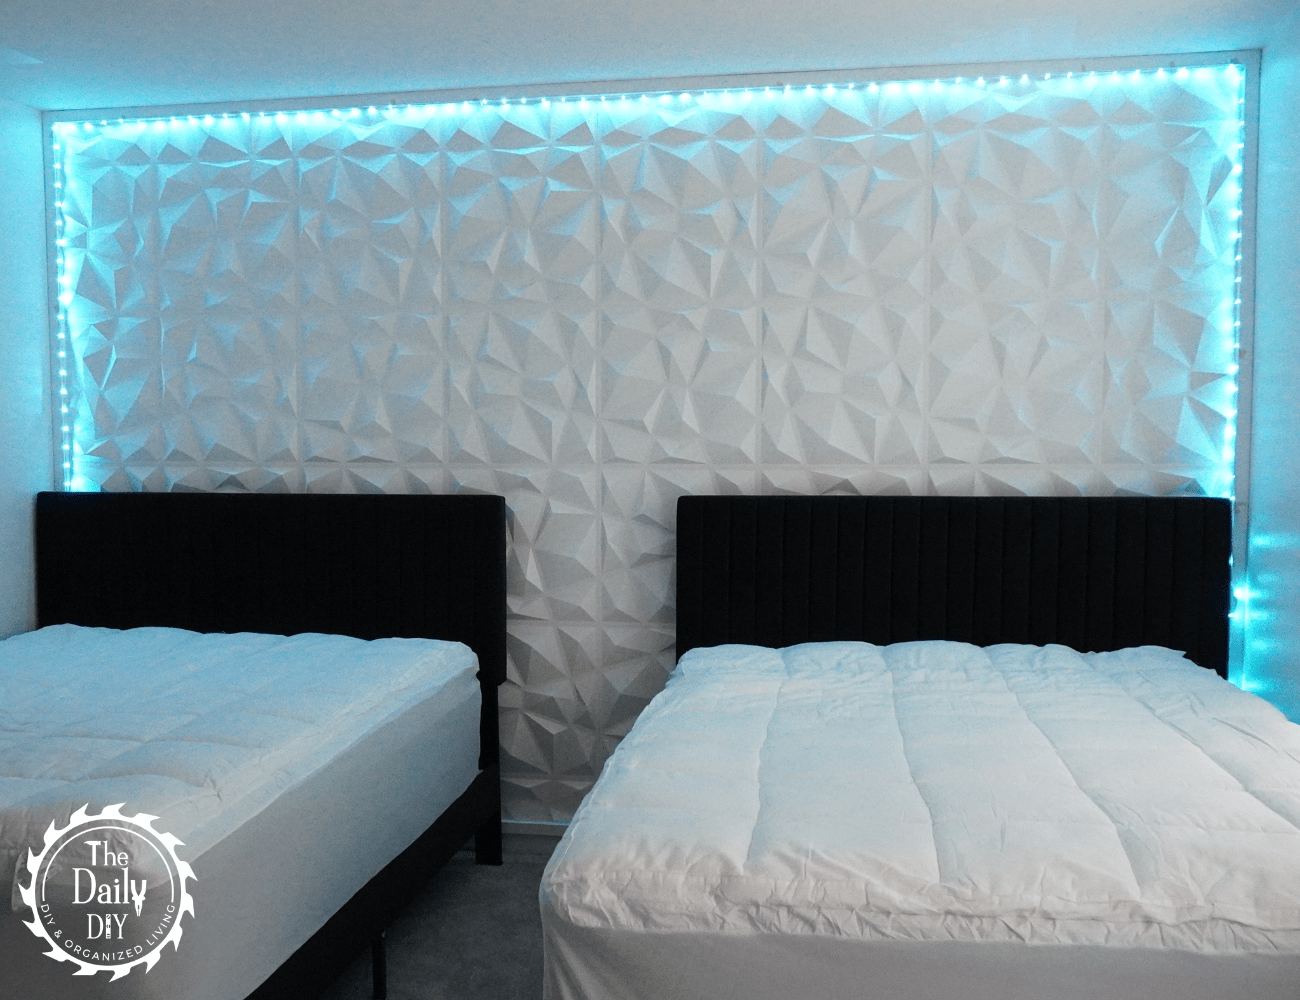
- Add LED lights (optional) along the perimeter for a dynamic, illuminated effect, perfect for a kid’s or teen’s room.
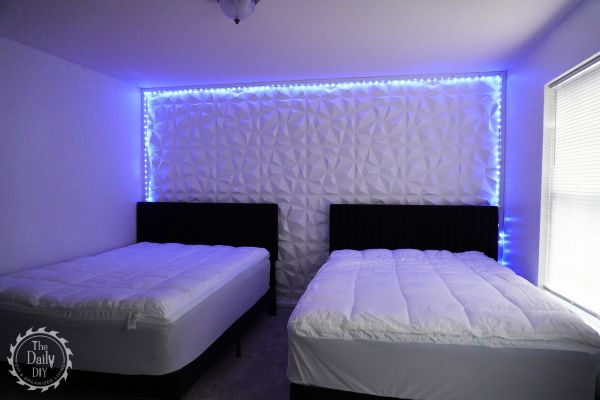
Final Reveal: A Stunning DIY Accent Wall Transformation
The finished project turned a basic white wall into an eye-catching feature, adding texture and character to the space. Whether you’re decorating a rental or personalizing your home, accent wall panels offer a simple yet dramatic upgrade.
Conclusion
Transforming your space with 3D wall panels is an affordable and beginner-friendly DIY project. With the right materials and a little creativity, you can achieve a high-end look without the hefty price tag. Try this DIY accent wall today and give your home the modern touch it deserves!