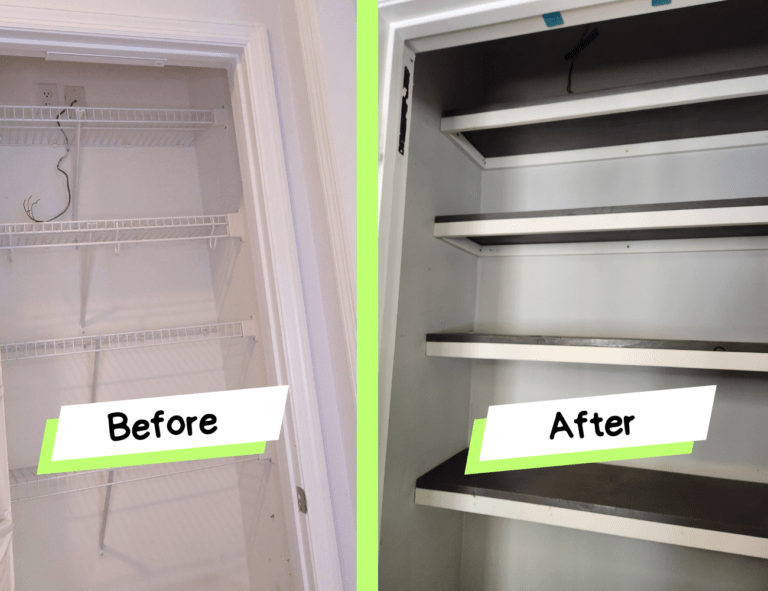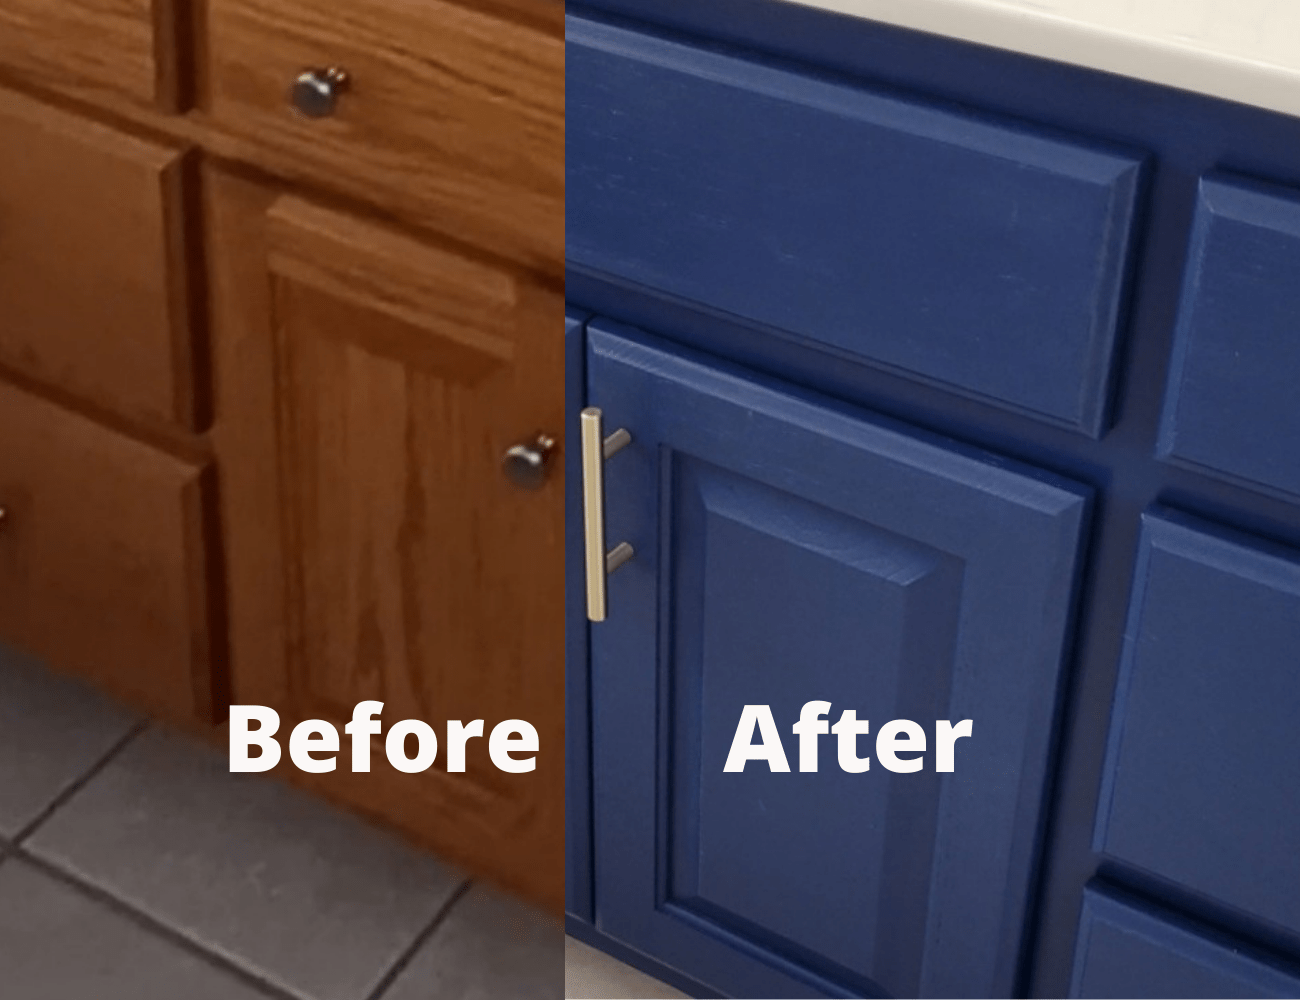
Step By Step How To Paint Cabinets
Are you tired of looking at your ugly outdated kitchen or bath cabinets? Are you thinking about painting them but are not sure how? Painting cabinets by definition is easy. But it can be a long, and tedious process. Especially if you want to avoid brush marks, or streaks. Read on for step by step instructions on how to paint cabinets like a pro.
Getting Started
I’m going to be straight with you. This method took me an entire week to complete for a 60″ bathroom vanity. I wanted a smooth finish, so I decided to sand between each coat. When doing that, you must let the paint dry completely, overnight if possible. You could do this in a couple of days if you choose to skip the sanding between the coats.
For this method we are working with real wood cabinets. They were stained and had a light layer of varnish on top.
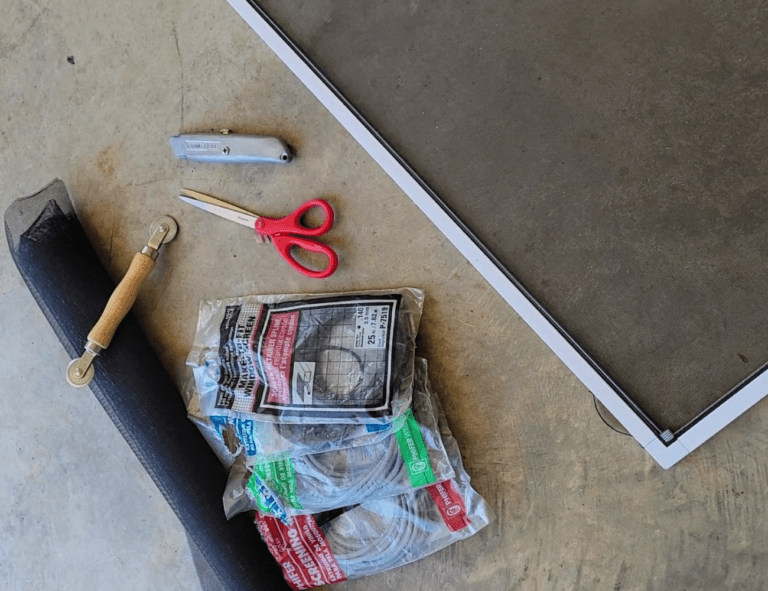
Supplies Needed
- Sandpaper (100 grit, 320 grit & 400 grit)
- Tack cloth or sponge
- Primer
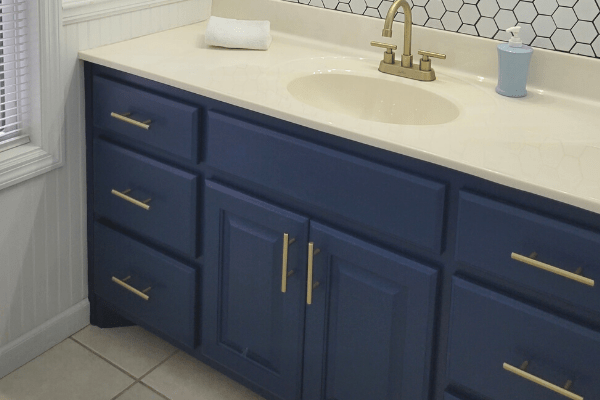
- Paint (I used Behr Cabinet/Trim Interior Satin Enamel in the color “Very Navy”)
- Paint Brush, foam roller, and/or Paint Sprayer
- Painter’s Tape
- Drop Cloths / Plastic Covering
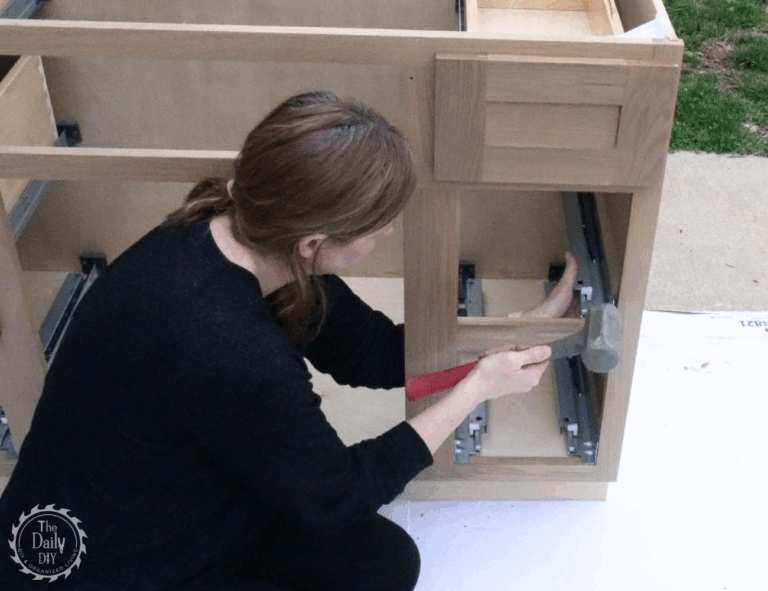
Step 1 – Prep
Remove doors, drawers, and all hardware. Tape off any surfaces you don’t want to get paint on. Lay down drop cloths, and or tape plastic to protect other surfaces. Clean all parts of your cabinets with a degreaser to get any grease and grime off.
For the drawers, you can choose to paint the faces, or the entire drawer. It’s whatever your preference is. For this project I chose to paint the entire drawer, except for the inside drawer bottoms. If using a paint sprayer it does take a lot of extra paint to cover the sides and back of the drawers. Next time I will paint the faces only to save paint, and time.
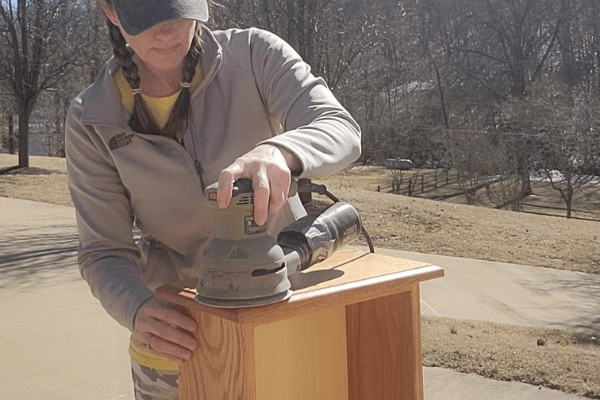
Step 2 – Sand
You need to sand every surface you intend to paint to remove any paint or varnish. You don’t have to sand completely to the bare wood. But you do need to sand enough to remove any sheen so that the new paint will stick. Use 100 grit sandpaper to lightly sand all surfaces. If you have thick layers of paint on your cabinets now, sand with a 60 grit first to remove as much of the paint as you can. Then follow up with a 100-120 grit to smooth the surface out.
After you finish sanding wipe all surfaces down with a tack cloth or a lightly damp sponge. Be sure to get all the dust off.
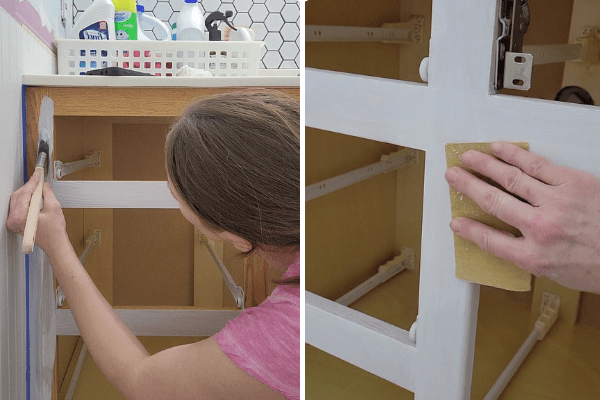
Step 3 – Primer
Apply your primer. I used some primer I already had on hand that was white. I would not recommend white primer if you are painting your cabinets a dark color. Go with a grey primer, or have your home improvement store tint your primer for you. White primer behind a dark paint color calls for extra coats of paint to cover it all.
Let the first coat of primer dry overnight. The next day lightly sand with 320 grit sandpaper. Clean all surfaces with a tack cloth or lightly damp sponge.
Apply a second coat of primer and let dry overnight. Come back the next day to lightly sand again with 320 grit sandpaper. Once again clean all surfaces.
I chose to use a brush on the base cabinet, and a sprayer on the doors and drawers. More info on that is below.

Step 4 – Paint
Once your two coats of primer have dried overnight, it’s time to apply the paint. Paint on, or spray, the first coat. If using a sprayer and you sweep back and forth, overlapping by 50%, you can most likely get away with one coat. If using a brush or a roller, you’ll definitely need two coats.
Same as with the primer, you’ll paint a coat on, let it dry overnight, then lightly sand with 600 grit sandpaper. Next, apply a second coat. Let the final coat dry for 48 hours to completely cure.
Behr Cabinet/Trim Interior Satin Enamel states that no top coat is needed. It does provide a great shine without it being too glossy. I’ll report back in a few months to tell you how well it stands up to everyday use. I’ve had great success with Behr paints in the past so that’s why I chose them to do this cabinet. I’ll choose a different brand for another cabinet so I can compare the two for you.
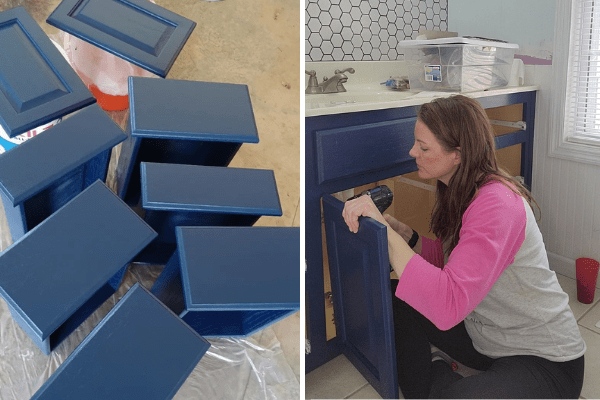
Step 5 – Finish
After you’ve let the paint cure for 48 hours, it’s time to put everything back together. Finally, reattach your hinges and all hardware. Hang your cabinets and insert your drawers.
Now you can enjoy your beautiful new painted cabinets! I would caution you to be careful with them for the first thirty days to allow the paint more time to cure. Most knicks and scrapes in the finish can happen in the first month.
As mentioned above, this is easy to do, by definition. But does take some time. The more time you can let them dry in between coats of primer and paint, the better outcome you will have. Take the time now to do them right, and you can enjoy them for years to come.
You can also Update Your Bath Sink On a Budget using Rust-Oleum Tub and Tile Refinishing Kit.
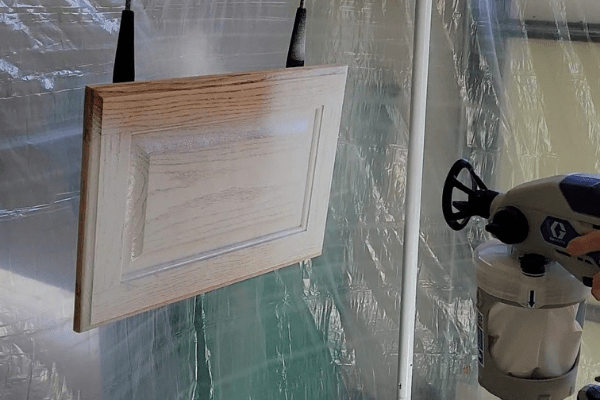
Painting With a Brush Vs a Sprayer
I used a brush on the base cabinet and a handheld paint sprayer on the doors and drawers. I could have used the sprayer on everything. But I wanted to see what kind of finish I could get with a brush vs a paint sprayer. You can get a great, smooth finish with a brush or foam roller. You must sand between each coat though as that is key.
The paint sprayer I used is a Graco TrueCoat DSP 360, and the hangers used to hold the cabinet doors up while painting are the Sure Hook 360 by Rocker. These tools are very helpful for painting cabinets fast.
After your finished painting, check out this easy tutorial for building custom cabinet sliding drawers to help get organized!