How To Quickly Change Your Shower Head
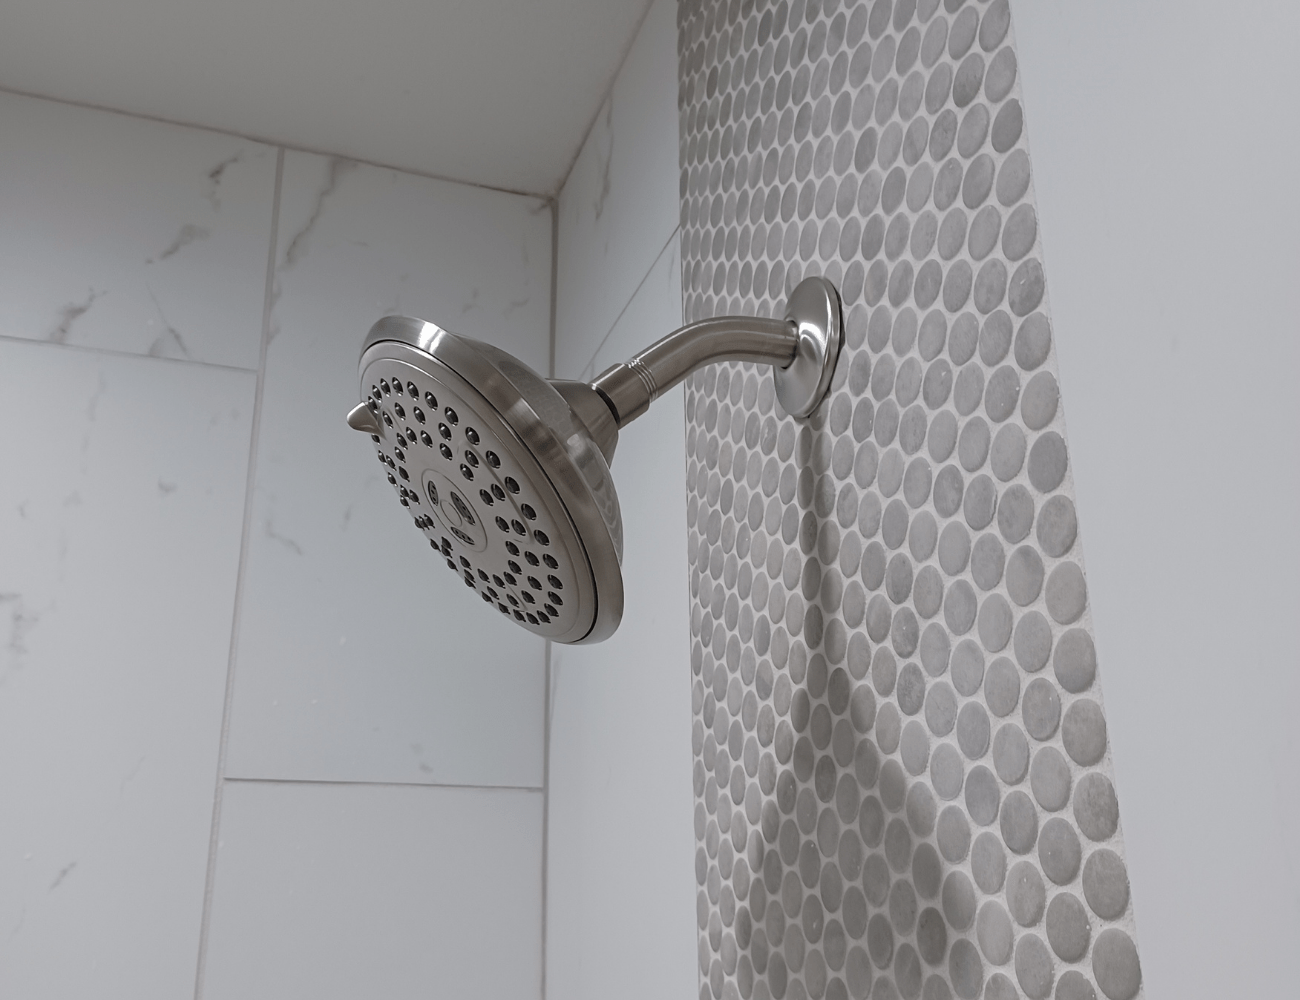
Changing your shower head doesn’t have to be intimidating. It’s an easy and cheap way to give your bathroom a new look without draining your bank account. On average, you should be able to buy the shower head and tools you need for less than $50. This is a simple DIY project that you can do in 10 minutes or less. It’s even a great project if you are a renter because you can save the old shower head and install it back when you move out. Let’s see how quickly you can change your shower head.
Step 1
Shut off the water supply to the bathroom. You will need to turn off the water supply valve that is located above or near the shower head you are replacing. If you cannot find the shut off valve for that shower, find the main shut off to your home and turn that off.
Step 2
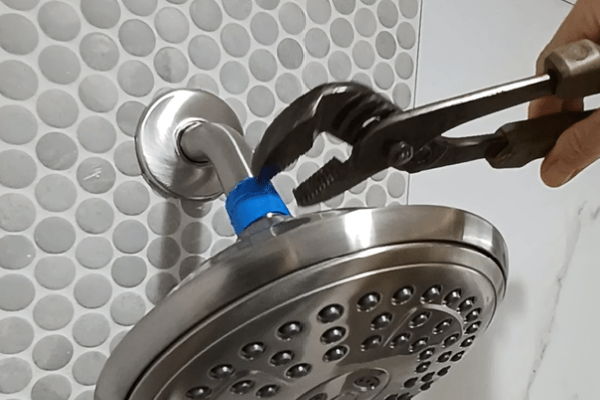
Next, you will need to remove the old shower head using a pipe wrench, adjustable wrench, or channel locks. If you are planning to save the old shower head for another project, apply painter’s tape to where you will place your wrench. This will protect the finish on the shower head from getting scratched.
Step 3
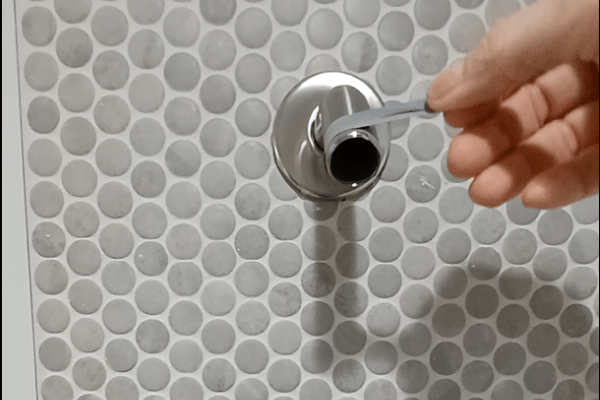
Clean off any old thread seal tape, or pipe tape that is on the shower pipe. Apply a new piece of thread seal tape to the shower pipe. Wrap about 2-3″ of thread seal tape in a clockwise direction around the threaded ends of the shower pipe.
Step 4
Screw the new shower head on to the shower pipe. Tighten with your wrench or channel locks. Be sure to place painter’s tape around the shower head where your wrench will be to protect the finish.
Step 5
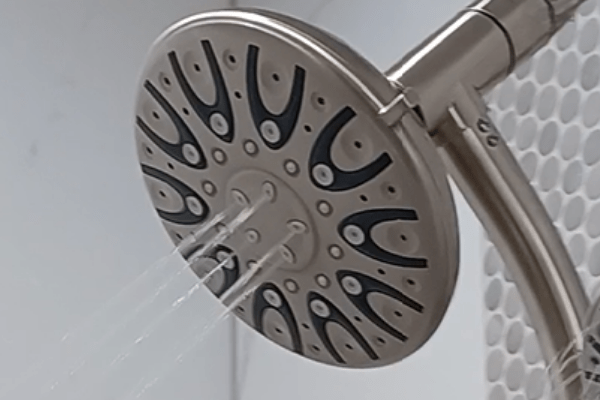
Turn the water back on and check for leaks.
As you can see, changing your shower head doesn’t have to be hard. By following the tips above, you should be able to do it yourself in no time at all. Not only will it make your bathroom more attractive, but it can also contribute to the efficiency of your household water usage. Many new shower heads are energy savers. This is a great do it yourself project for your home that is also easy to do in a rental apartment.

