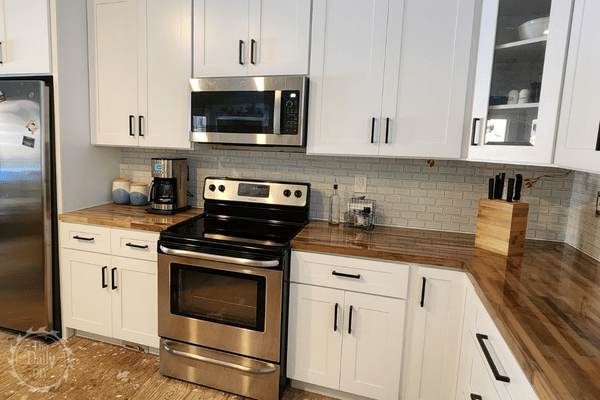
How To DIY a Kitchen Tile Backsplash
Putting a new tile backsplash in your kitchen is a great way to increase your home’s value. And add a bit of beauty to your space. If you choose your tiles wisely, this could be one of the easiest tile jobs to install yourself. Here are step by step instructions on how to DIY a kitchen tile backsplash for your kitchen.
Materials
- Tile
- Thinset
- Bucket
- Mixing Paddle (optional)
- Notched Trowel
- Tile Spacers
- Grout
- Grout Float
- Level, or Laser Level (my preference)
- Manual Tile Cutter, Tile Nippers, and/or Wet Saw
- Sanding Stone
- Outlet Spacers (if working around outlets or switches)
- Grout Sealer
- Sealer Applicator
Choosing Your Tiles
If you’re a beginner at tiling, choosing the right tile can help your project go a lot easier. Mosaic sheets of tile are the easiest to work with, in my experience. The smaller each tile is on that mosaic sheet, the better. Some are so simple that you only need to use tile nippers or a manual tile cutter to make cuts.
Preparation for a DIY Kitchen Tile Backsplash
First, make sure the surface of your wall is clean. Remove any grease and debris. You can tile on to the drywall, just make sure you give it a light sanding if it’s been painted. Tape plastic on to your countertops, and any nearby walls and appliances to protect them from the mess.
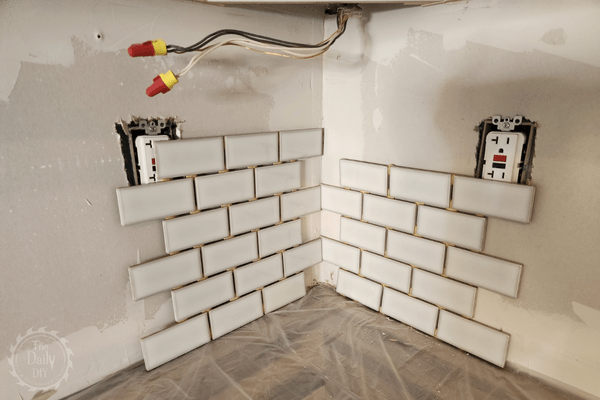
Next, you’ll want to lay out the tiles to get a visual picture of how to arrange them. There are a few different ways to begin your tile. If you are working on one wall, start the tile in the middle and work your way up, and out, from there. If you have a “L” shaped area, begin in the corner and work out from both sides. When working out from a corner, it’s a good idea to have the cut pieces you’ll need to get that started ready to go.
Now you’re ready to mix up the thinset. Thinset is the “glue” that bonds the tile to your wall. Refer to “How To Mix Thinset” for step by step instructions.
How to DIY Install a Kitchen Tile Backsplash
Now let’s go over step by step how to DIY this backsplash install:
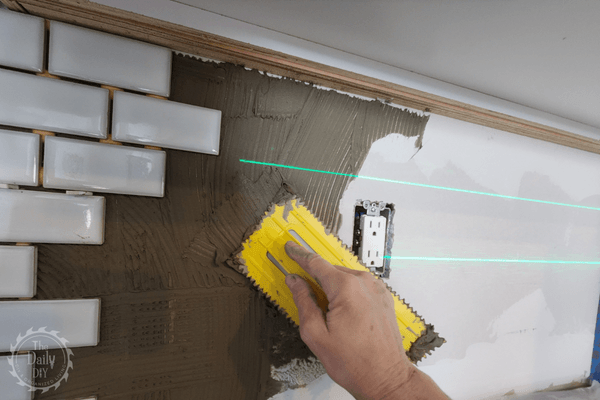
Step 1 – Apply Thinset
Apply thinset to the wall using a notched trowel. The tile manufacturer will tell you which size to use. Using the smooth side of the trowel apply some thinset to the wall. Smooth it out over a small section, about a 3 foot by 3 foot section. Then, using the notched side of the trowel, drag it across the entire section at a 45 degree angle. This will create grooves in your thinset that will bond to the tile. Keep the thinset smooth and even, and leave about 1/8″ of thinset on the wall.

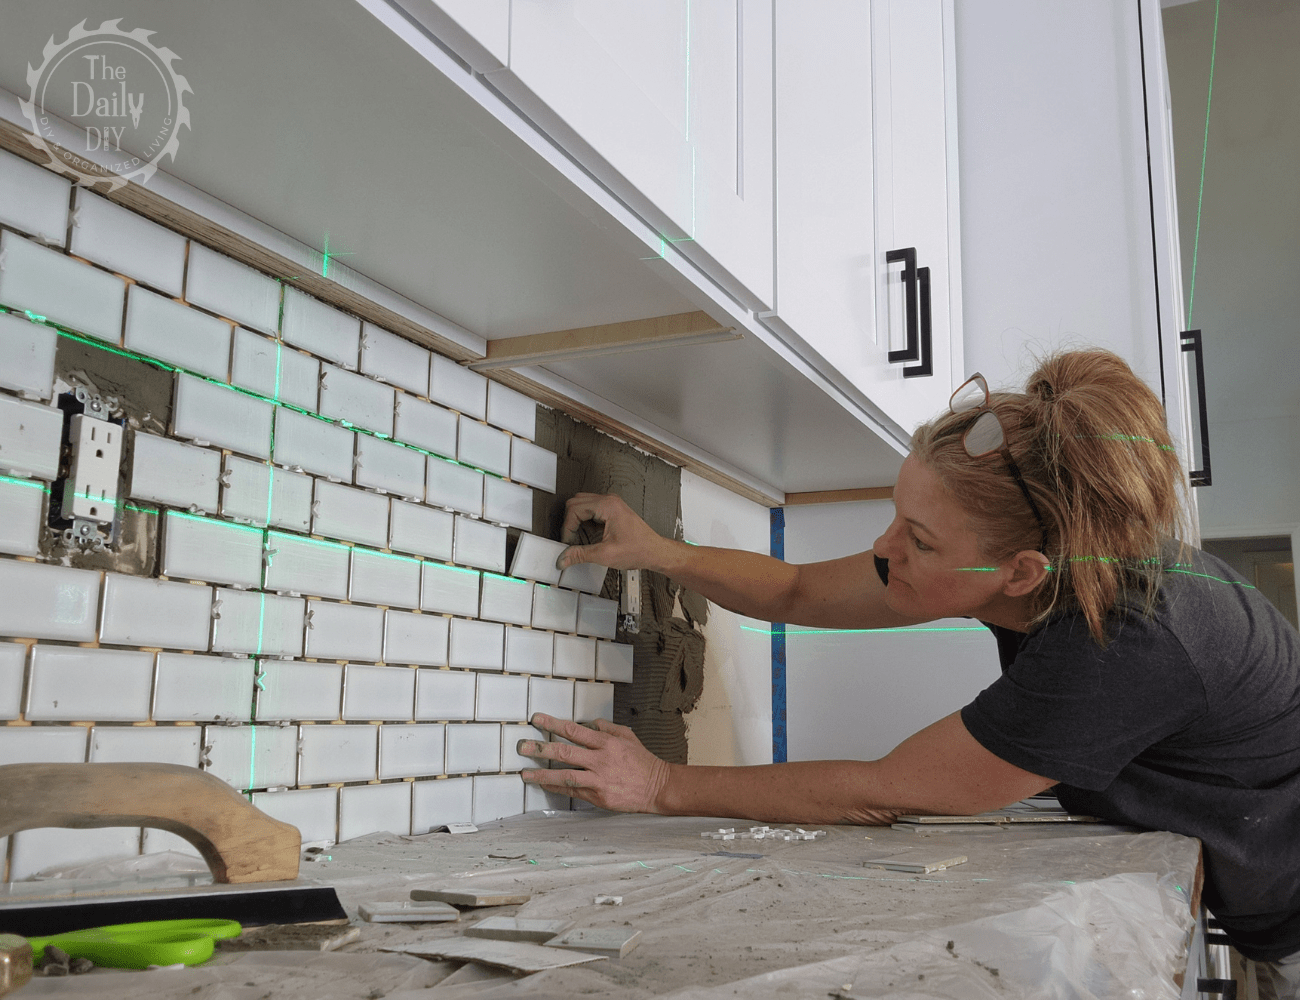
Step 2 – Set Your Tiles
Next take your first sheet of tile, or individual tile and place it on the wall. Use a level to make sure it’s even. A laser level works great for this project to ensure you’re level on each tile you place. Intice makes a great one that’s a personal favorite of mine. Otherwise, check each tile with a manual level as you go along. Press the tiles into the thinset and use a wiggle motion to bond it to the wall.
After you get a few sheets, or individual tiles set, use a grout float to gently press them in to the thinset. Use tile spacers between each tile, or sheet of tiles. The manufacturer will recommend what size you need on this also.
TIP: If thinset oozes out of the gaps in the tiles when you’re pressing them in, take something to scrape that out of the groove right away. A flathead screwdriver works perfect. Otherwise it will be hard to remove later and you’ll need those grooves free from thinset so you can apply grout there.
Continue working your way up and out until you get the entire backsplash done. Wait until the next day to apply grout so your tiles have enough time to adhere.
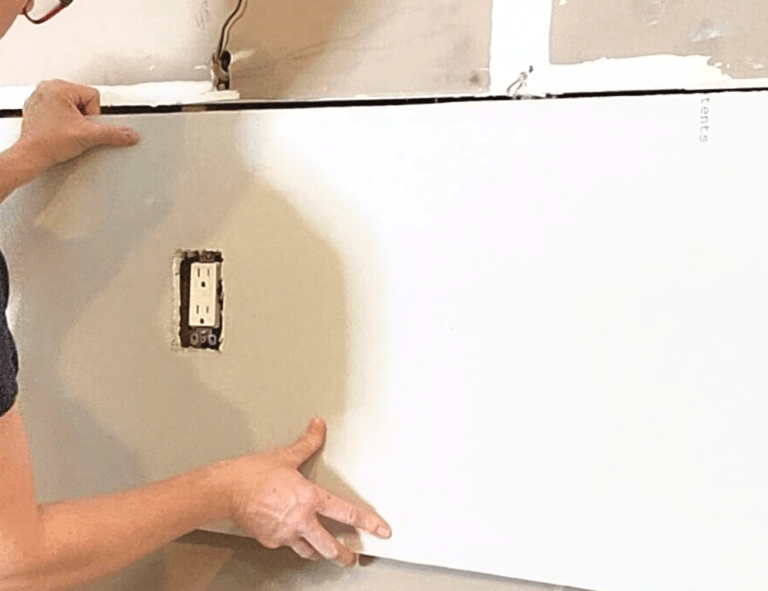
Outlets, Switches, & Other Obstacles
You may need to cut some tiles to fit around outlets, switches, windowsills, and other things in your way. Tile nippers, a manual tile cutter, or a wet saw can help with this. Have a tile sander on hand to smooth out any cut edges.
When working around outlets and switches, you may need to use outlet extenders. Use these to bring the outlet, or switch, out from toorder to fit the outlet cover back on.
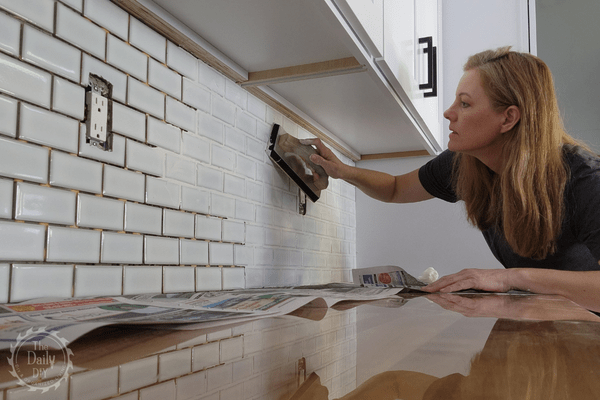
Step 3 – Apply Grout
The next day is the perfect time to put on the grout. Mix up the grout according to the package instructions. When working with small spaces, like a backsplash, and you don’t need much grout this Mud ‘n More MixBall is my favorite. You can mix a little grout up inside the ball, and clean up is a breeze!
Using a grout float, apply some grout to the wall and begin to work it in to the spaces between the tiles. Using a 45 degree angle, work it up, down, and diagonal. Scrape off any excess grout from the tiles with the side of the grout float.
Once you have all the grout placed, wait about 20 minutes. Then, take a wet sponge and clean off any remaining excess grout from all the tiles.
After another couple of hours, you’ll notice a “haze” over the tiles. Take a dry rag and buff that out.
Step 4 – Seal Grout
Finally, it’s time to seal the grout. Wait at least 48 hours after you put on the grout to apply the sealer. The sealer protects the grout from stains, spills, and debris. You may need to reapply the sealer on an annual basis to keep your backsplash looking its best.
A sealer applicator or small paint brush can be used to apply. Pour some impregnator sealer into the applicator bottle and roll it along. Be sure to go over every grout line. Follow after each line with a clean, dry rag and wipe off any sealer that got on the tiles.
And that’s all there is to learning how to DIY a kitchen tile backsplash. It’s a great project that you can get done in a weekend, and it can bring some color and beauty in to your kitchen. Check out the video below for a full tutorial.