How To Make a Custom Chess Table
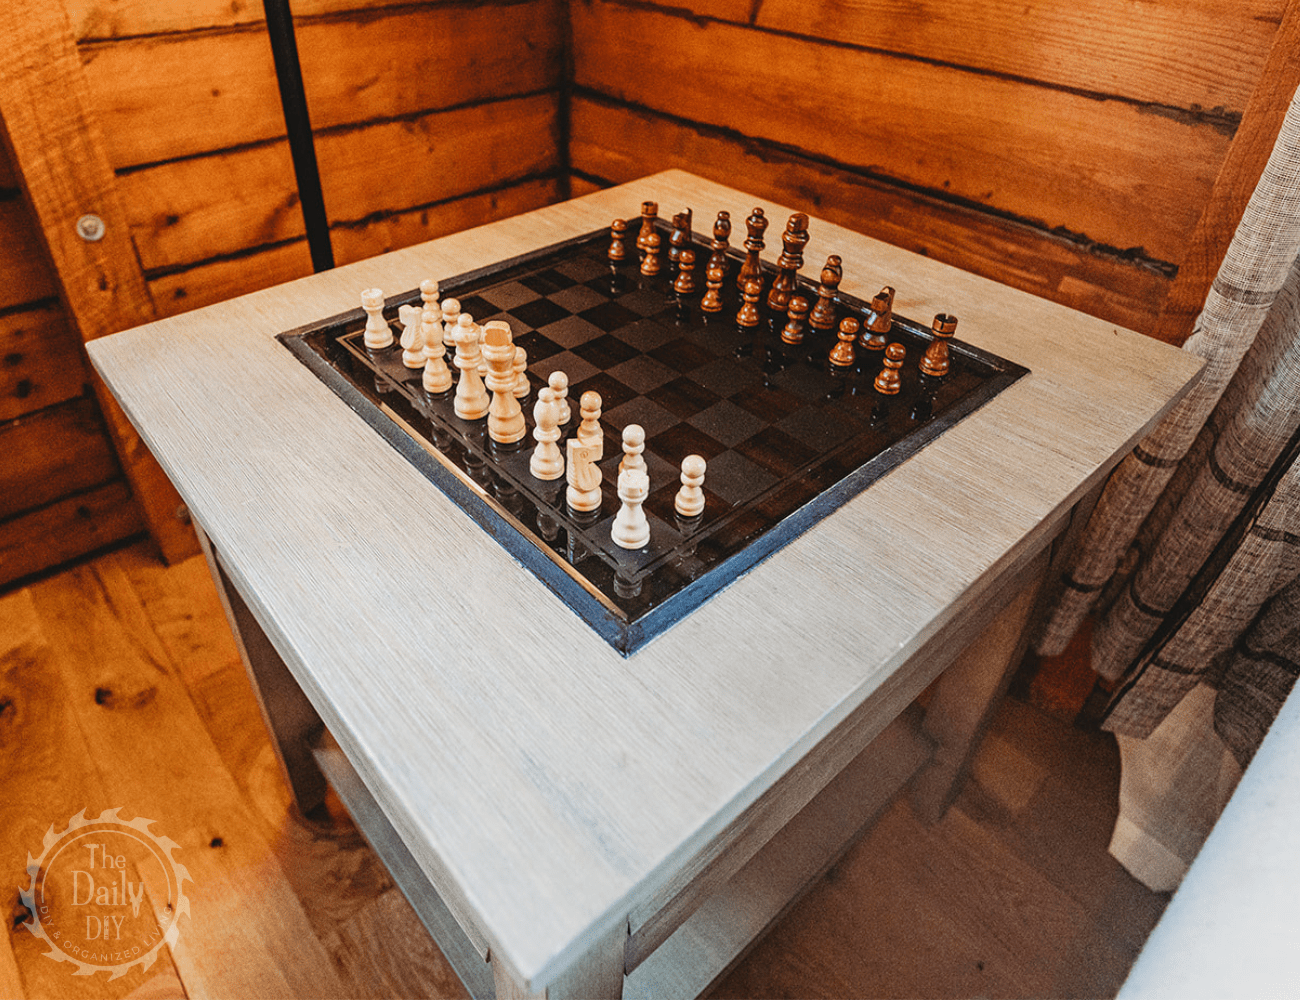
Let’s make family game night more fun with a custom game table for checkers or chess. This table is especially perfect for small spaces since it serves not only as a game table, but an end table as well. I was able to find most of the materials I used at garage sales this past summer, but you can use anything you have on hand, or buy new. Read on to see how to make a custom chess table.
Materials / Tools
- Small End Table (with drawer)
- Chess / Checkers Board
- Craft Trim
- Paint
- Small Paint Brush
- Clear Silicone Caulk
- Wood Glue
- Plunge Router
- 150 grit Sandpaper
- Chess Pieces
- Checkers
Who doesn’t love to take furniture that is no longer needed by one person, and find a way to use it in another way to give it new life? One of my favorite things to do is hit up garage sales with my girlfriends on a Saturday morning. This past summer I was on the hunt for a new end table for my Airbnb. I wanted the end table to serve more than one purpose, so I decided to make a chess/checkers table.
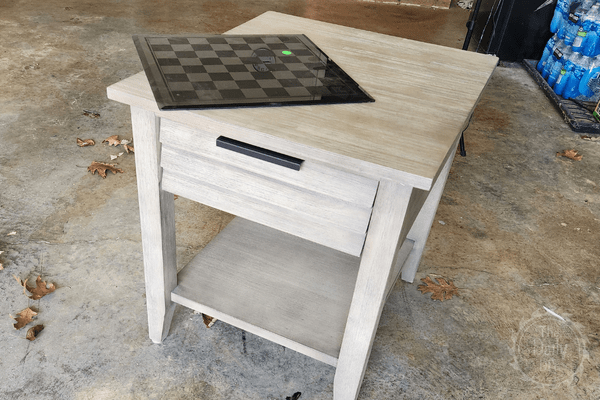
I found a perfect end table with a drawer at a yard sale for only $10. A few weeks later, I found a glass chess board for only $1. Now let’s put the two together to make a custom checkers/chess table.
As for the game pieces, I found the checkers pieces at a neighbor’s garage sale for 40 cents. The only thing missing were the chess pieces. Since I didn’t have any luck finding those this summer, I went to Amazon and got a set of wooden ones for $8.
I also used some caulk and paint that I already had on hand. In total I spent $21.40 on this beautiful chess table that will go perfectly in the living room at my cabin.
How To Make
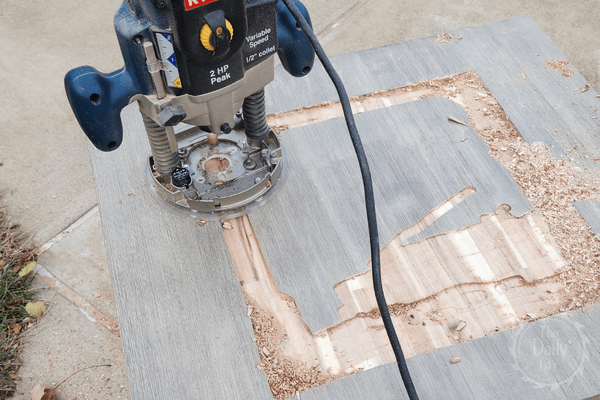
This project was very easy to do and took me just a few hours. First, I took the glass chess board and centered it on to the table top. I traced around it. Then, I took a plunge router and created an inlay in the tabletop the size of the chess board. I didn’t have a guide for my router so I had to do it freehand.
Once the inlay was cut out, I used a wood chisel to clean up around the edges and some spots in the center. After that I used 120 grit sandpaper to sand the middle, and a sanding drum attachment for the drill to smooth out the edges.
Once the glass chess board was put in, I secured it around the edges with some clear adhesive.
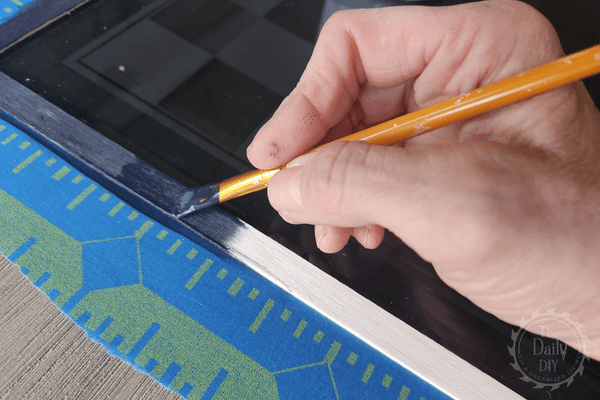
I wasn’t happy with how rough the edges of the inlay looked against the chess board, so I picked up some craft trim and trimmed out the perimeter. Simply applied it with wood glue. Then, I painted that trim black to match the black glass chess board. Finally, I applied clear silicone caulk to both sides of the trim.
Now the chess table is complete. The drawer is handy for holding the checkers and chess pieces, along with the written instruction sheets.
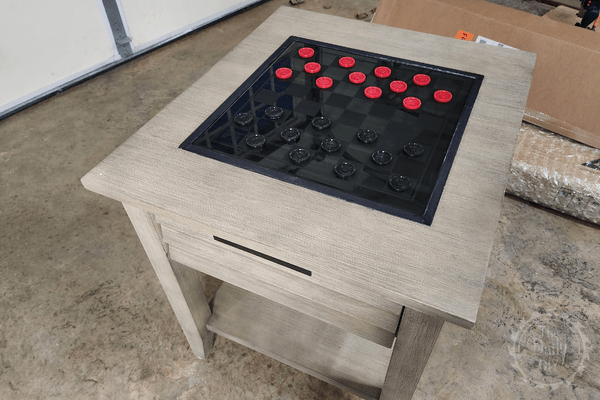
And that’s really all there is to it. If you cannot find used materials, any end table will do. And, you can pick up chess pieces, checkers pieces, and a glass chess board on Amazon.
I hope my guests at the Airbnb cabin will love this handy, multi use end table.
