Easy Step-by-Step How to Repair Textured Walls
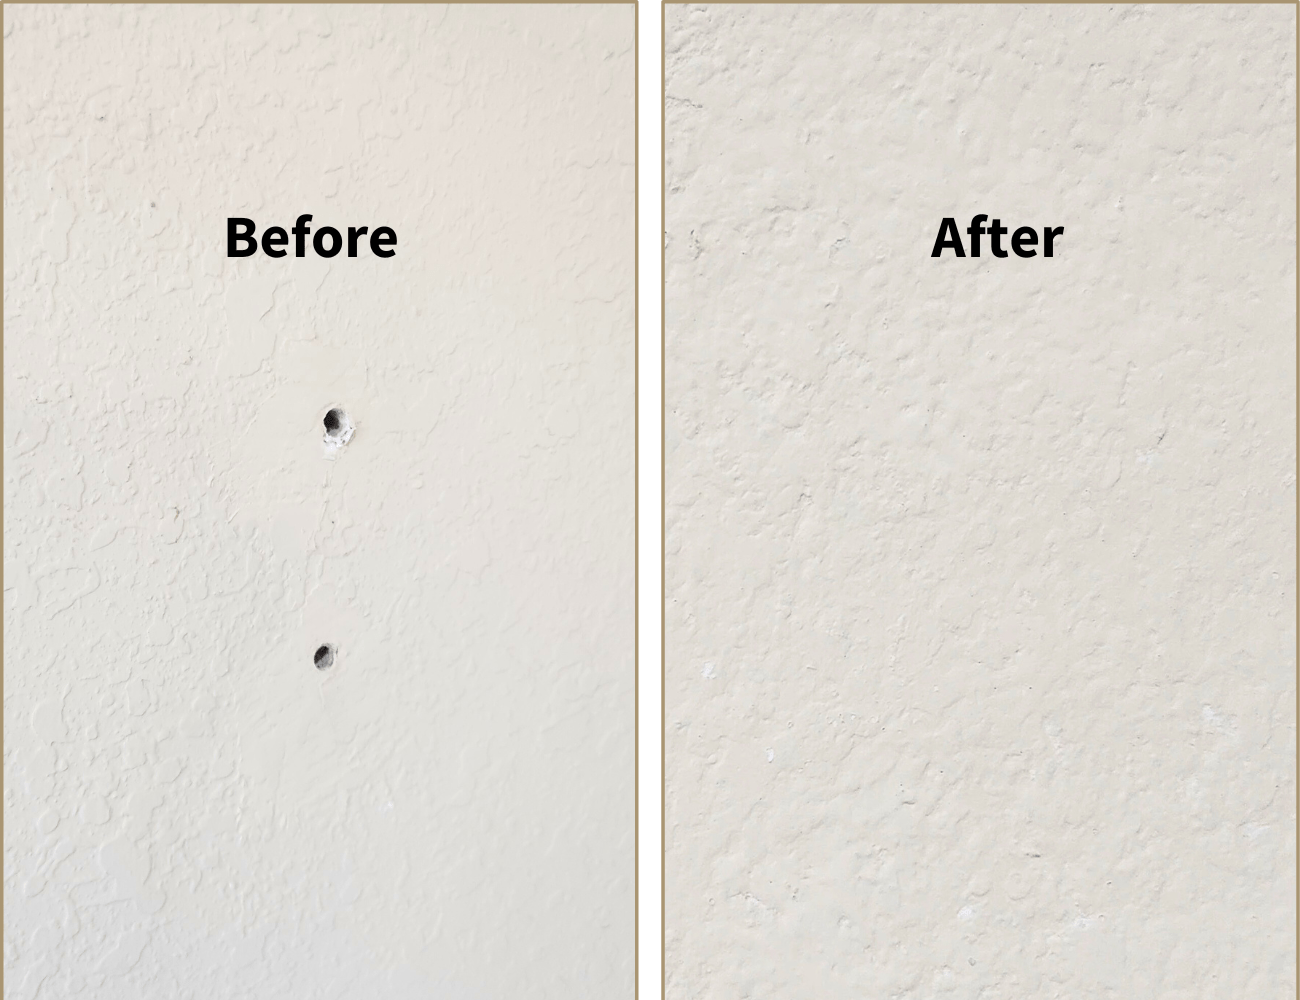
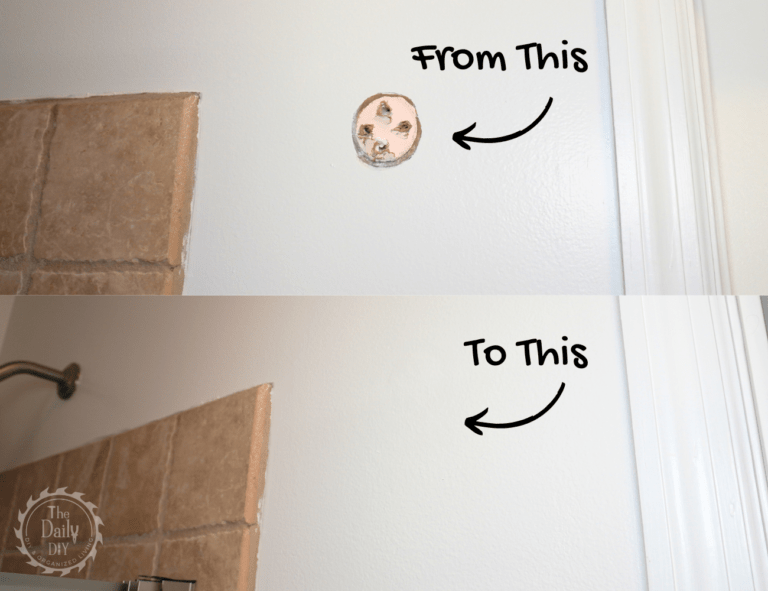
Figuring out how to repair textured walls can seem overwhelming, but with the right tools and techniques, you can make seamless repairs that blend perfectly with the existing texture. Whether you’re dealing with minor damage from removed fixtures or general wear and tear, this guide will walk you through the steps to effectively fix your walls or ceilings using DAP Quick Repair Spray Texture. Plus, for those who prefer visual instructions, we’ve included a video tutorial to help you along the way.
Tools and Materials Needed to Repair Textured Walls
Before you begin, ensure you have all the necessary tools and materials ready:
- DAP Quick Repair Spray Texture (they offer Knock Down, Popcorn, or Orange Peel textures)
- Spackle
- Sandpaper
- Putty knife
- Cardboard (for practice)
- Safety gloves and eye protection
- Cloth or tarp to protect surrounding areas
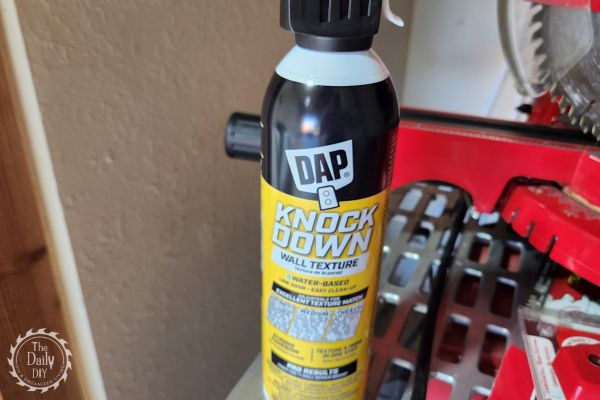
Step-by-Step: How To Repair Textured Walls
Prefer to watch the process in action? Check out our detailed video tutorial below, where I take you through each step of repairing a textured wall with DAP Quick Repair Spray Texture.
Step 1: Prep the Hole
Begin by applying spackle to fill in any holes or imperfections. Ensure a smooth, even base for the texture spray. Allow the spackle to dry completely. For a detailed, step-by-step guide on how to effectively use spackle, check out our blog post, where we cover everything you need to know to fill holes like a pro.
Related Post: How To Fill Nail Holes In Wall
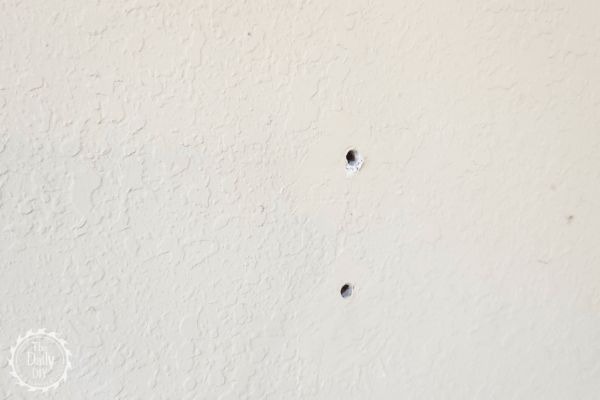
Step 2: Sand the Surface
Once the spackle is dry, sand the area smoothly with fine-grit sandpaper. This step ensures that the texture spray adheres properly and blends seamlessly with the surrounding area.
Related Post: Which Sandpaper Do You Need
Step 3: Practice the Spray
Before applying the texture spray to your wall, practice on a piece of cardboard. This helps you get a feel for the nozzle and the spray pattern, allowing you to adjust your technique for the perfect texture.
Step 4: Apply the Wall Texture Spray
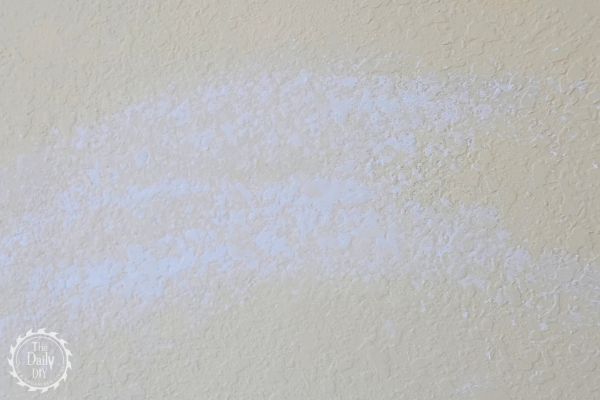
Shake the can of DAP Quick Repair Spray Texture vigorously to mix the contents. If your wall has a medium or heavy texture, spray directly from the can. For a finer texture, use the straw attachment. Hold the can 12 to 18 inches away from the wall and spray in short, even bursts, covering the repaired area completely.
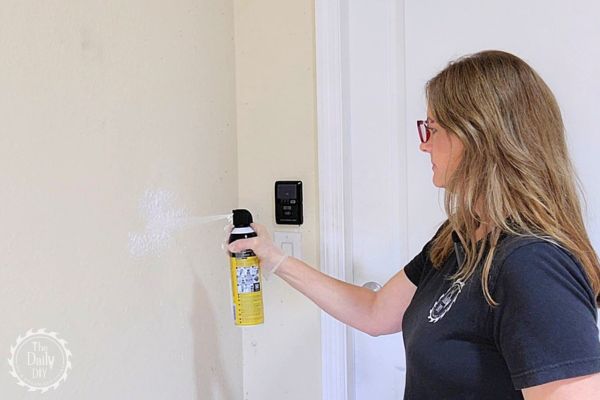
Step 5: Knockdown the Texture (if necessary)
For textures like knockdown, wait a minute or two after spraying, then gently smooth over the area with a wet putty knife. This step is crucial for blending the new texture with the existing wall.
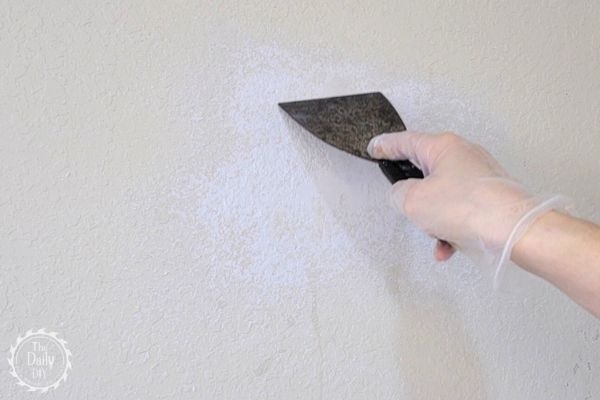
Step 6: Let It Dry and Paint
Allow the texture to dry for at least 30 minutes. Once dry, you can paint over the area to match the rest of your wall.
Final Touches
Reattach any fixtures or hang decor to fully integrate the repaired section with the rest of your wall. And just like that, your wall repair is complete—seamless and invisible!
Conclusion
With DAP Quick Repair Spray Texture, fixing textured walls and ceilings is easier than you might think. By following these steps and tips, you can achieve professional-looking results without the need for costly repairs. Remember, practice makes perfect, especially when working with spray textures!
