How To Grout a Tile Wall
Grouting is the final, and the most important, step in installing tile. The grout fills the gaps between tiles and makes your tile job look beautiful. If you’ve ever wondered how to grout a tile wall, floor, shower, or backsplash then this article is for you. It’s much easier than you think to do it yourself, even if you’ve you are a beginner and have never picked up a tool before.
After you have learned How To Tile a Wall and have let the newly installed tiles set for at least 24 hours, you’re ready to apply the grout. It’s very important to not try and grout the same day that you installed your tiles with thinset. Have patience and give it the length of time it needs to set. Refer to the thinset directions for the required time.
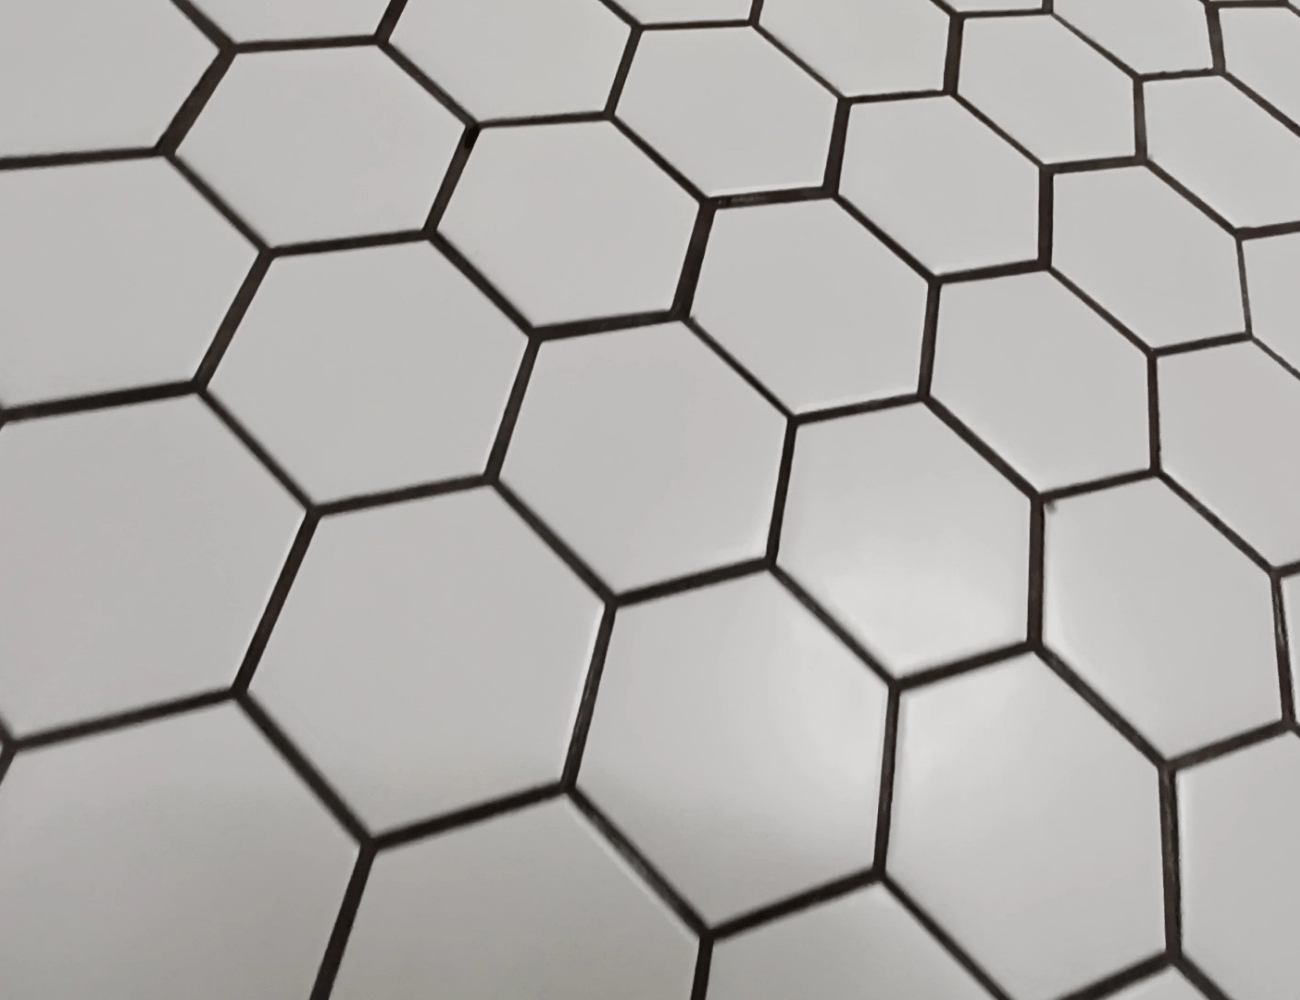
For the purposes of this demonstration, I am applying powdered, non-sanded grout over porcelain mosaic tile on a bathroom wall.
Prep The Tile
Remove all spacers from your tile. Clean the tiles and joints (the spaces between each tile) from any thinset, adhesive, and/or debris that remains.
Examine your installed tile to see if there are any joints filled with dried thinset. You’ll need to clean the thinset out of the joint before applying the grout. Otherwise the grout will not be able to fill in the joint. Apply some water to the thinset in the joint. Let it sit for a few minutes to soften up the thinset. Then you can chisel out, or use a utility knife to cut out the thinset. Be very careful and work slowly so you don’t scratch the tile.
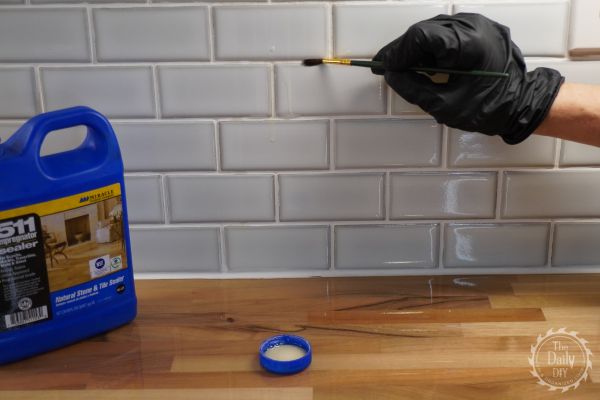
If you are grouting over porous tiles or stone, pre-seal the tile with the tile manufacturer’s recommended sealer. This prevents the grout from staining your new tile. Additionally, lightly dampen the tiles before applying the grout throughout the process.

Choose Your Grout
You can buy premixed grout that’s ready to use immediately. Or powdered grout that requires water to mix it yourself. If mixing it yourself using powdered grout, add a little water at a time and mix in a bucket by hand with a trowel. You’re looking for a creamy, peanut butter like consistency. Once you’ve reached that, let it sit for 10 minutes to “set” up. After 10 minutes give it a quick stir and then you’re ready to apply. Mix up enough grout that you will be able to use within 30 minutes.
Sanded grout is best for floors, and walls where the joints are 1/8″ or wider. It is stronger. And it resists cracking and shrinking because it contains silica sand grains. But it can scratch the surface of some tiles like glass, marble, metal tiles, and polished stone. Non-sanded grout is best for smaller tiles, subway tiles, mosaics, and joints that are smaller than 1/8″. Since the joints are smaller it’s easier to apply non-sanded grout. And it will adhere well, especially to vertical surfaces like a backsplash.
Finally, choose your grout color. There are many different colors to choose from in both premixed and powdered forms.
Apply Your Grout
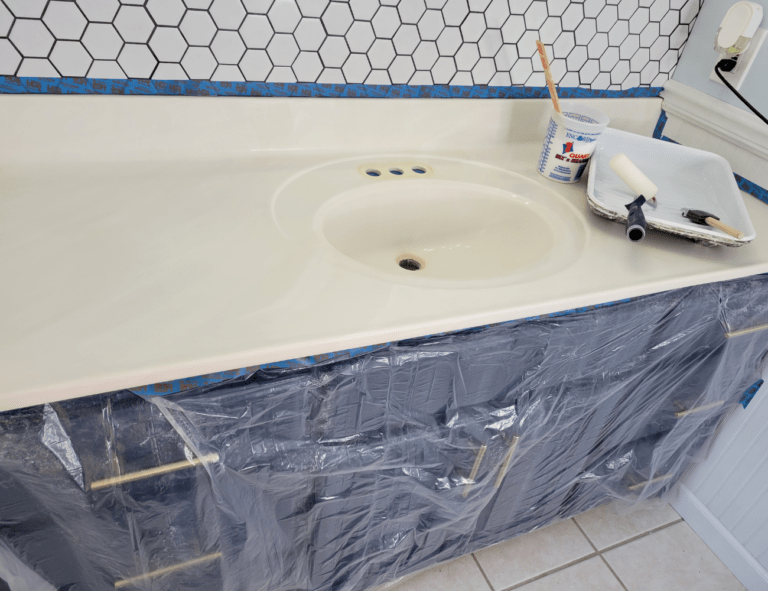
This part is very messy. Protect nearby walls, countertops, floors, and any fixtures by taping plastic sheets.
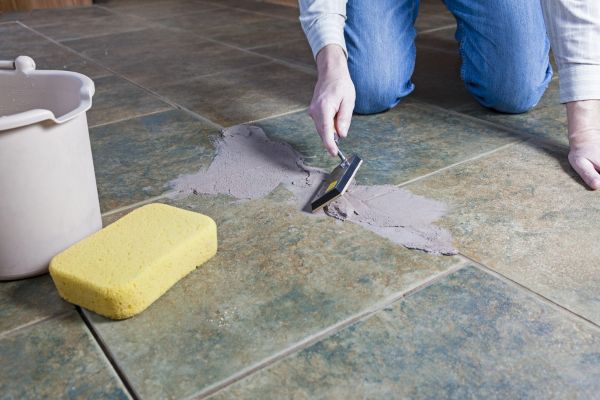
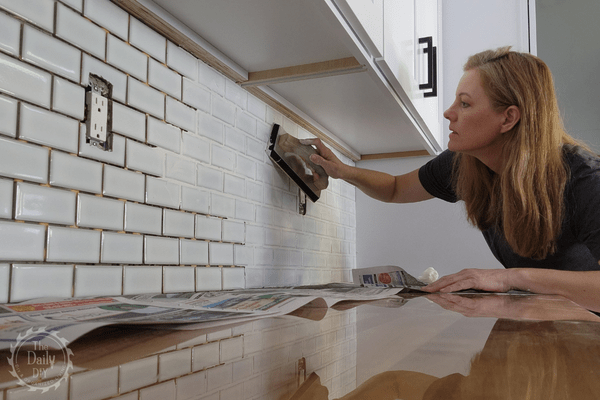
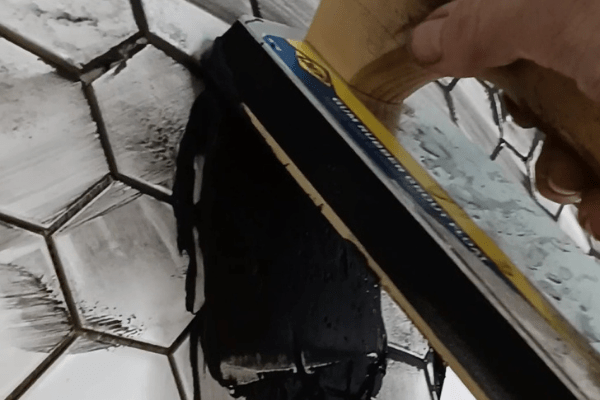
Work in small sections, like 3 feet by 3 feet. Load up your rubber grout float with some of the grout. Using a 45 degree angle, apply the grout to the tiles and sweep it in to the joints diagonally. For small tiles, or mosaics, work the float across all directions, up and down, left and right. After you’ve emptied the grout float, make a second pass over the same area using a steeper angle, like 90 degrees. This will scrape off the excess grout from the tiles. Rinse your grout float off every few passes by dipping it in to a bucket of clean water.
Wait about 10-20 minutes then go over the tiles with a lightly damp sponge. Wring the sponge out until it’s almost dry. Wipe diagonally across the tiles, flipping the sponge to the clean side after the first pass. Rinse off the sponge each time you wipe it across the tile. Change your water out often. You don’t have to completely clean all the grout off at this point, you’ll buff the rest off later. Use a grout sponge since it is soft enough for this job.
Once the grout is applied and you’ve wiped the tiles down, you’ll need to “tool” the grout. For smaller grout lines, take your finger and run it across the joints using very little pressure. For larger grout lines run the sponge across the joint using your index finger to depress the sponge along the joint. You’re looking to smooth out and level the joint. Don’t push in too hard. You don’t want the grout to be flush with the tile, instead you want a slight concave.
Buff It Out
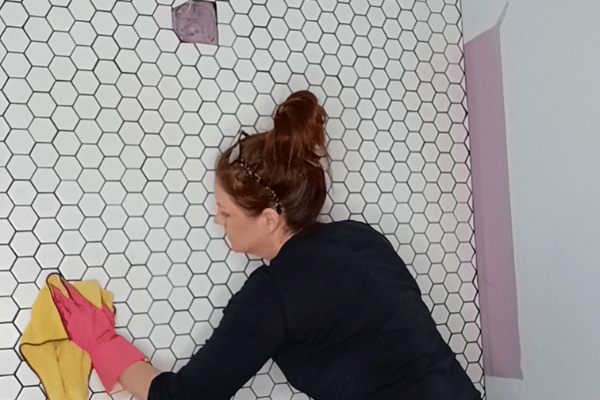
After all the grout is applied and lightly wiped down, it’s time to let it sit and dry. Wait about 45 minutes to an hour for that. You’ll see a haze form on the tiles. Take a clean, dry rag and polish the tiles. Work in circular motions to buff the tiles and remove the haze. Microfiber towels work best for this step.
Apply Sealer
Let the grout sit and cure for at least 24 hours. Then go over it with a sealer. The type of sealer you use will depend on the type of grout, tile, and where you install the tile. Refer to directions on the sealer for more information.
Applying grout is very easy and takes little experience and tools to do. As with anything, you’ll get better at it with practice. The main thing to remember is to take your time. Working slowly will ensure this DIY project is a success.
This is the third in a three part blog series on how to lay tile:
- Part 1 How To Mix Thinset For Tile
- Part 2 How To Tile a Wall