How to Clean Fridge Coils: A Quick Guide
When did you last take time to clean fridge coils? If you’re not sure, it’s probably time! Cleaning fridge coils is one of the simplest yet most overlooked maintenance tasks that can save you money on energy bills and extend the life of your fridge.
In this blog, I’ll walk you through step-by-step instructions on how to clean fridge coils. Plus, check out my video below for a full visual demonstration!
Check out our free Home Maintenance Checklist for a complete list of helpful tasks to keep your home running in top shape all year long.
Why Is It Important to Clean Refrigerator Coils?
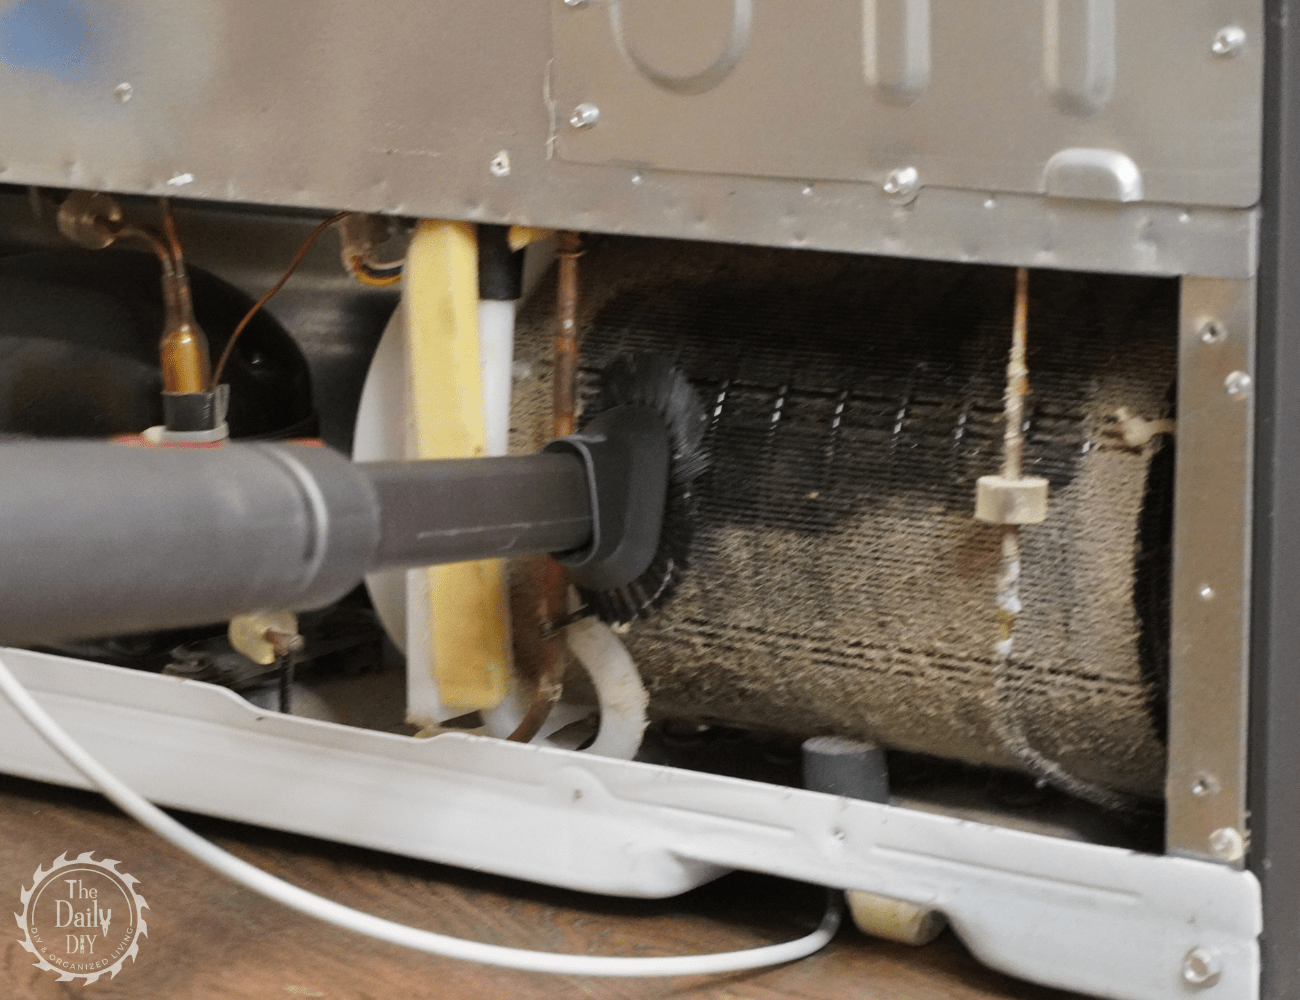
Over time, dust, dirt, grease, and even pet hair accumulate on your refrigerator coils. This buildup makes it harder for the fridge to transfer heat, which:
- Reduces energy efficiency
- Causes your fridge to work harder
- Increases utility bills
- Leads to unnecessary wear and tear on the appliance
If you have pets, it’s especially important to clean your coils twice a year instead of once. The good news? It only takes about 20 minutes!
Tools You’ll Need To Clean Fridge Coils
Before diving into how to clean refrigerator coils, grab these tools:
- A vacuum cleaner with a brush attachment
- A coil cleaning brush or soft dish brush
- A shop vac or handheld vacuum (optional)
- Appliance sliders (if your fridge doesn’t have wheels)
Step-by-Step: How to Clean Fridge Coils
Now let’s dive right in:
1. Pull the Fridge Away from the Wall
If your refrigerator is on wheels, this will be easy. If not, appliance sliders can help you move it without damaging the floor.
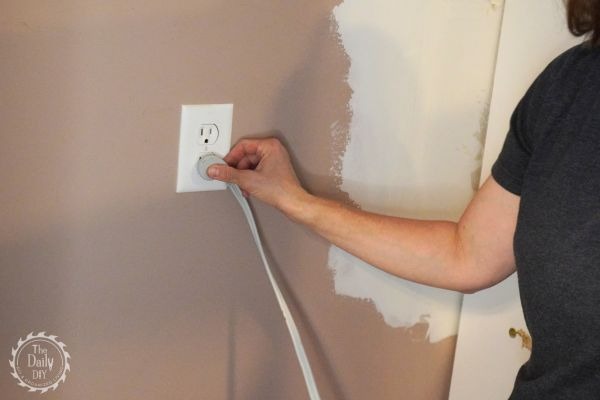
2. Unplug the Refrigerator
Safety first! Always unplug the unit before cleaning.
3. Clean the Floor and Wall Behind the Fridge
Take this opportunity to vacuum and mop behind the fridge—there’s often dust, crumbs, or even lost pet treats back there!
4. Locate the Coils
Refrigerator coils are typically in one of two places:
- On the back of the unit
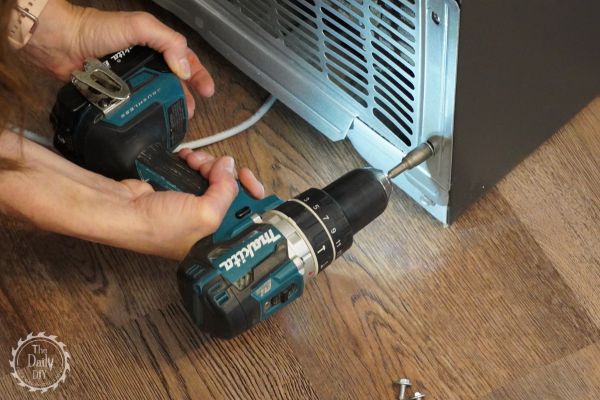
- At the front bottom, behind a cover
Check your fridge’s manual or search online with your model number for coil locations.
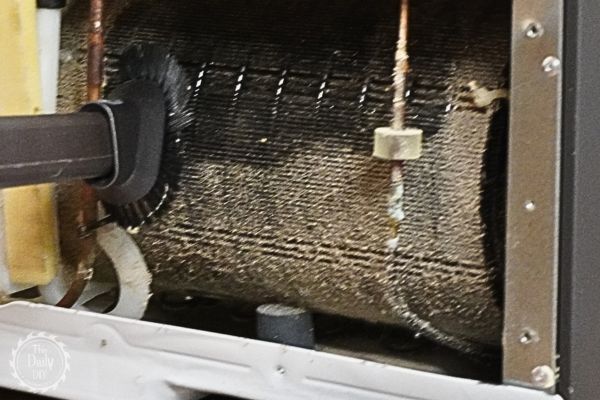
5. Brush and Vacuum the Coils
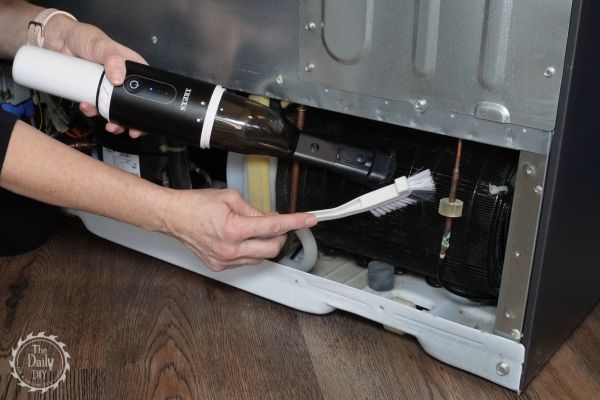
- Use a wire brush, coil cleaning brush, or dish brush to loosen dust.
- Run the vacuum hose or handheld vacuum simultaneously to suck up dust as you clean.
- Be sure to brush both the front and back of the coils, bending the brush as needed to reach tricky areas.
6. Don’t Forget Underneath
Use a vacuum and brush to clean under the refrigerator where dust often collects.
7. Wipe the Cover
Before reattaching the cover, ensure both sides are clean.
Watch the Full Tutorial
Want a visual guide on how to clean fridge coils? Check out my step-by-step video here:
Final Thoughts
Cleaning your refrigerator coils is quick, easy, and can make a big difference in your appliance’s efficiency. By taking 20 minutes to complete this task once or twice a year, you’ll help reduce energy consumption, save on bills, and keep your fridge running smoothly for years to come.

