How To Replace a Bathroom Fan
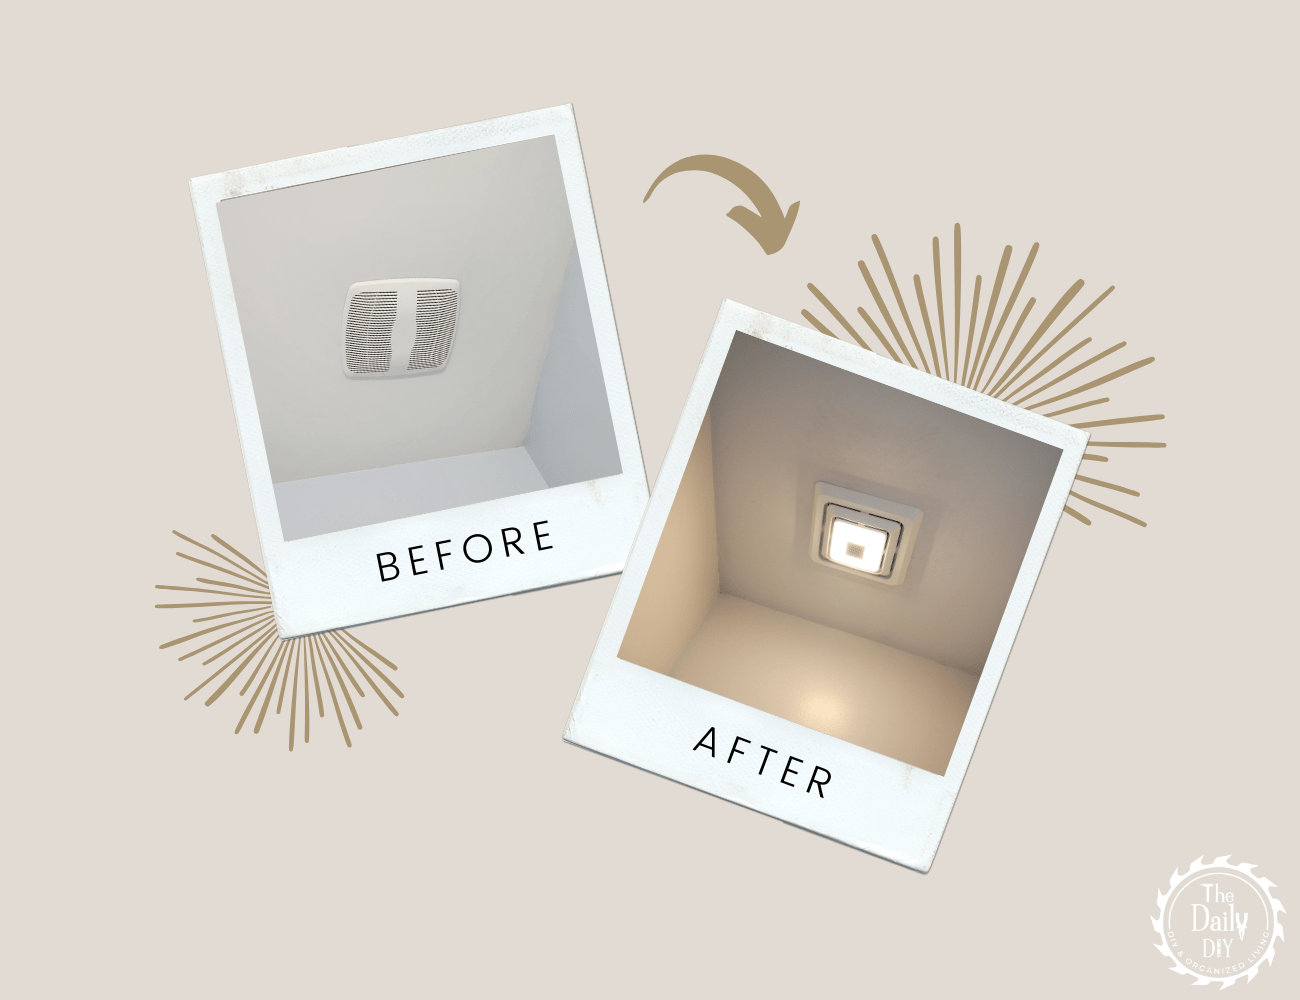
If you’re like most people, you probably don’t give much thought to your bathroom fan—until it breaks down or you realize it’s time for an upgrade. Whether your fan has stopped working, is too noisy, or just isn’t cutting it anymore, replacing it can make a world of difference. Today, I’ll show you how to replace a bathroom fan and upgrade to a model with modern features like a built-in light and a Bluetooth speaker. Imagine enjoying your favorite tunes while keeping your bathroom fresh and fog-free!
For those who prefer to watch a tutorial, here’s my step-by-step YouTube video:
Why Upgrade Your Bath Fan?
Replacing your old bath exhaust fan with a modern unit like the one I installed is a game-changer. This new fan not only removes moisture and odors effectively but also adds features like a built-in light and Bluetooth speaker. Imagine starting your day with music that motivates you or winding down to relaxing tunes while enjoying a hot shower.
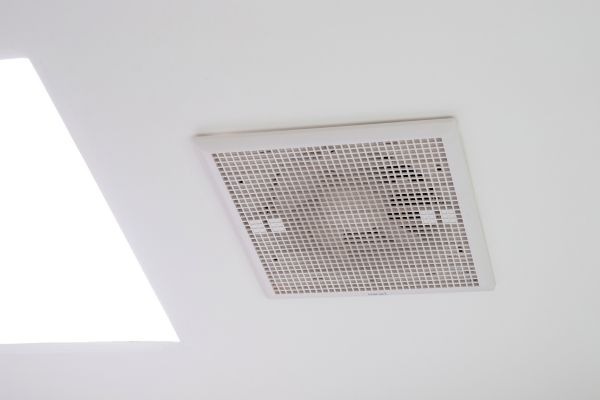
Bath Exhaust Fan Replacement: What You’ll Need
Before we start, here are the tools and materials you’ll need:
- Screwdrivers (electric or manual)
- Voltage detector
- Drywall saw or utility knife
- Wire strippers
- Magnetic wristband (optional but handy for screws)
- Duct tape
- Safety gear: goggles, gloves, and a dust mask

Step 1: Turn Off the Power
Safety first! Head to your breaker box and turn off the circuit supplying power to the fan. Double-check with a voltage detector to ensure no electricity is flowing to the unit.
Step 2: Locate and Remove the Old Fan
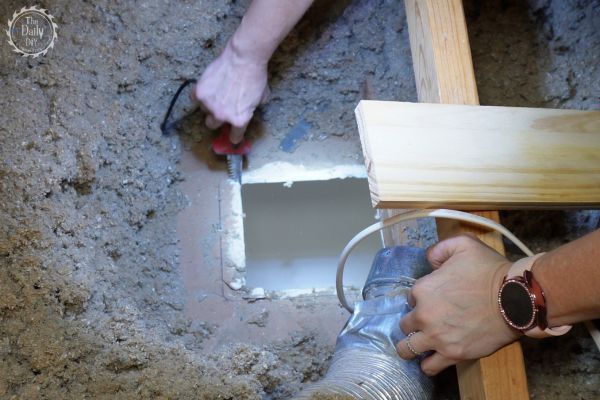
Head to your attic and find the fan location. If it’s covered with insulation, brush it aside carefully. Wear gloves and a mask since insulation can be dusty. Remove the screws or nails securing the fan to the trusses, and disconnect the ductwork and wiring.
Step 3: Prepare the Ceiling for the New Fan
If your new fan is larger than the old one, you may need to cut a slightly bigger opening in the ceiling. Use a pencil to mark the area, a drywall saw to make the cuts, and a utility knife to clean up the edges. A level can help you ensure straight cuts.
Step 4: Install the New Fan
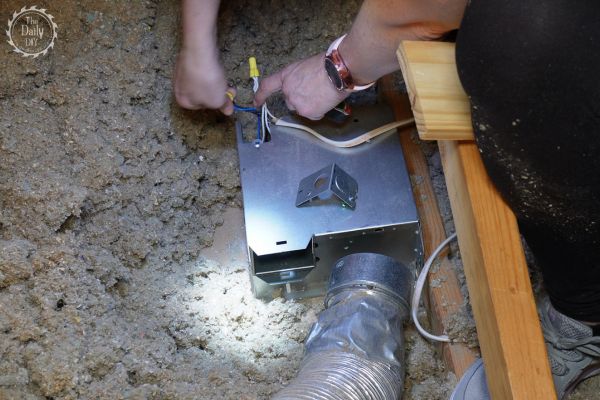
Position the new fan in the opening and secure it to the wood trusses with screws. I recommend screws over nails since they’re easier to remove later if needed. Use a level to ensure the fan is properly aligned.
Step 5: Wire the New Fan
Your new bath fan likely has additional wiring for features like the light or Bluetooth speaker. Follow these wiring instructions:
- If you have one switch: Connect the black and blue wires from the fan to the black wire from your house, and the white wires to the house’s white wire. Attach the ground wire to the green screw.
- If you have two switches: Wire the light and fan separately according to the manual.
Secure the connections with wire nuts and wrap them with electrical tape for extra security. Tuck the wires neatly into the unit and close the wiring compartment.
Step 6: Reconnect the Ductwork
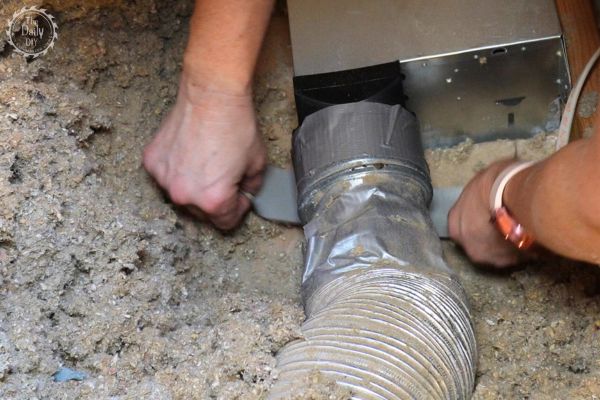
Attach the ductwork to the new fan’s exhaust outlet. Use duct tape to ensure a secure, airtight connection.
Step 7: Attach the Fan Cover
In the bathroom, install the fan’s cover by snapping it into place. If you cut the drywall carefully, the cover should hide any imperfections. If not, a quick patch and paint job can fix it.
Step 8: Turn the Power Back On and Test
Head back to the breaker box, turn the power on, and test your new fan. Check that the fan, light, and Bluetooth speaker work as expected. Pair the speaker with your phone and enjoy the sound quality.
The Result: Replace a Bathroom Fan for a Modern Upgrade
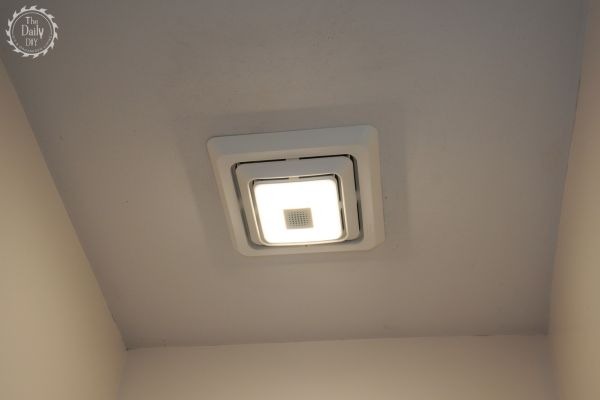
The job to replace a bathroom fan might seem like a hard project, but it’s absolutely doable with the right tools and guidance. My new fan not only keeps the bathroom fresh and well-lit but also makes getting ready so much more enjoyable with its Bluetooth speaker. It’s a practical upgrade that adds a touch of luxury to your daily routine.
Final Thoughts
If you’re ready to take on a bath exhaust fan replacement, this project will leave you with a more functional and fun bathroom space. Follow the steps above or check out my YouTube tutorial for a visual walkthrough.
And, you’re looking to level up your bathroom even more, why stop at the fan? Adding a bidet attachment to your toilet is another simple upgrade that can enhance your bathroom’s functionality and comfort. It’s an affordable way to bring a touch of luxury to your daily routine. Check out my article on how to install a bidet attachment for step-by-step instructions and tips to make the process easy and stress-free. Your bathroom makeover doesn’t have to stop here!

