Fire Extinguisher Inspection Checklist: A Guide to Keeping Your Family Safe
Fire extinguishers save lives, but how often do you and your family think about yours? If you answered “not often enough,” you’re not alone. Fire extinguishers have a specific lifespan and are designed to save lives within that timeframe. Regular inspection ensures your fire extinguisher will be in good working order if you ever need it. If you’ve never performed a quick check, now is the time to start. Use this fire extinguisher inspection checklist and add it to your home maintenance routine.
Don’t forget to download your free printable copy of the Complete Home Maintenance Checklist for helpful reminders!
Related Post: The Ultimate Home Maintenance Checklist
Where Should You Keep Your Fire Extinguishers?
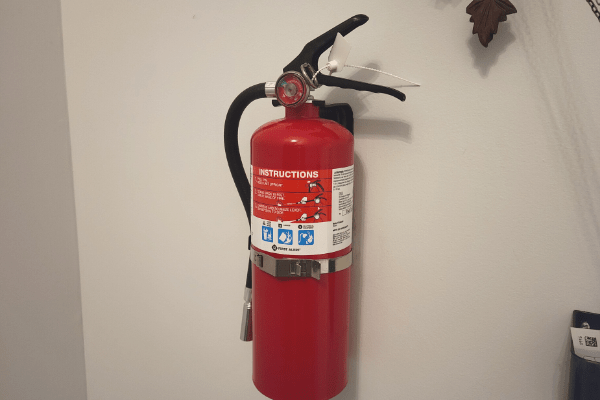
Every home should have at least one fire extinguisher on each floor, with essential placements near the kitchen and garage. Avoid keeping it under the kitchen sink, where it can easily get buried behind cleaning supplies. Instead, place it in a visible and accessible spot. Hanging it on a nearby wall ensures you can grab it quickly in an emergency.
How Often Should You Inspect Your Fire Extinguishers?
According to the National Fire Protection Association, it is good to inspect them when you first install them, then monthly after that.
Can You Perform a DIY Inspection?
Absolutely! A fire extinguisher inspection can be done in just minutes, and it’s best to make this a monthly habit. Using a fire extinguisher inspection checklist like the one below ensures you don’t miss any critical steps.
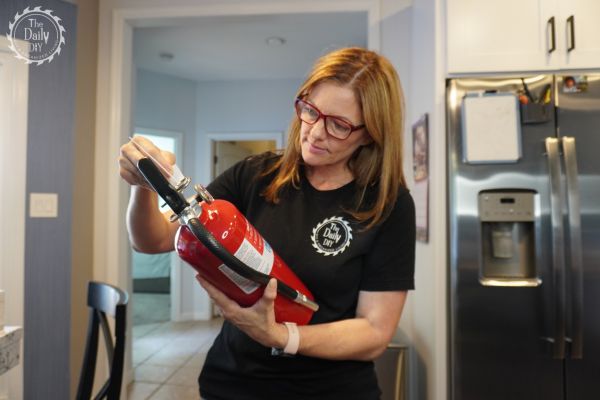
How to Inspect Your Home Fire Extinguisher
This guide focuses on household fire extinguishers. Commercial models may require professional inspections and follow OSHA regulations, so consult a fire protection company for commercial needs.
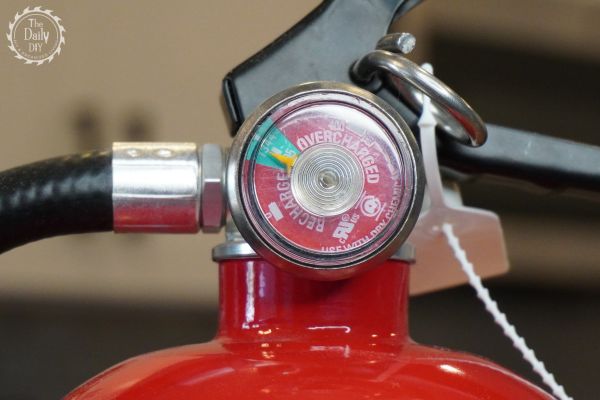
Step 1: Check the Pressure Gauge
Ensure the gauge needle is in the green area. If it’s outside this range, the extinguisher may not function correctly.
Step 2: Look for Corrosion or Damage
Inspect the top and body of the extinguisher for any signs of corrosion, dents, or other damage. Make sure the pin is securely in place and the tamper seal is intact.
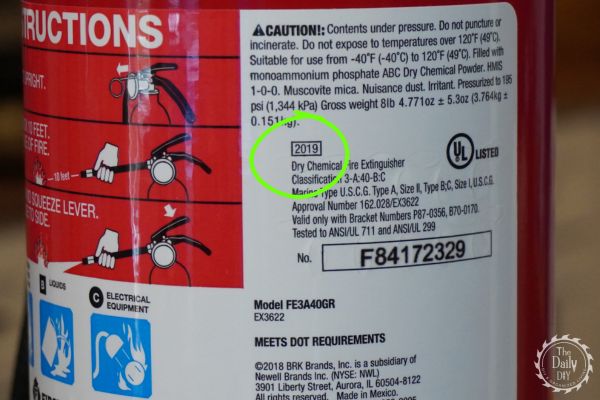
Step 3: Inspect the Expiration Date
Locate the date stamp. Most household extinguishers expire after 10-12 years. Refer to the manufacturer’s guidelines for specific details, and replace expired extinguishers immediately.
Step 4: Fluff the Dry Chemical
Turn the extinguisher upside down for a few seconds to fluff the dry chemical inside. This prevents the material from settling and hardening at the bottom.
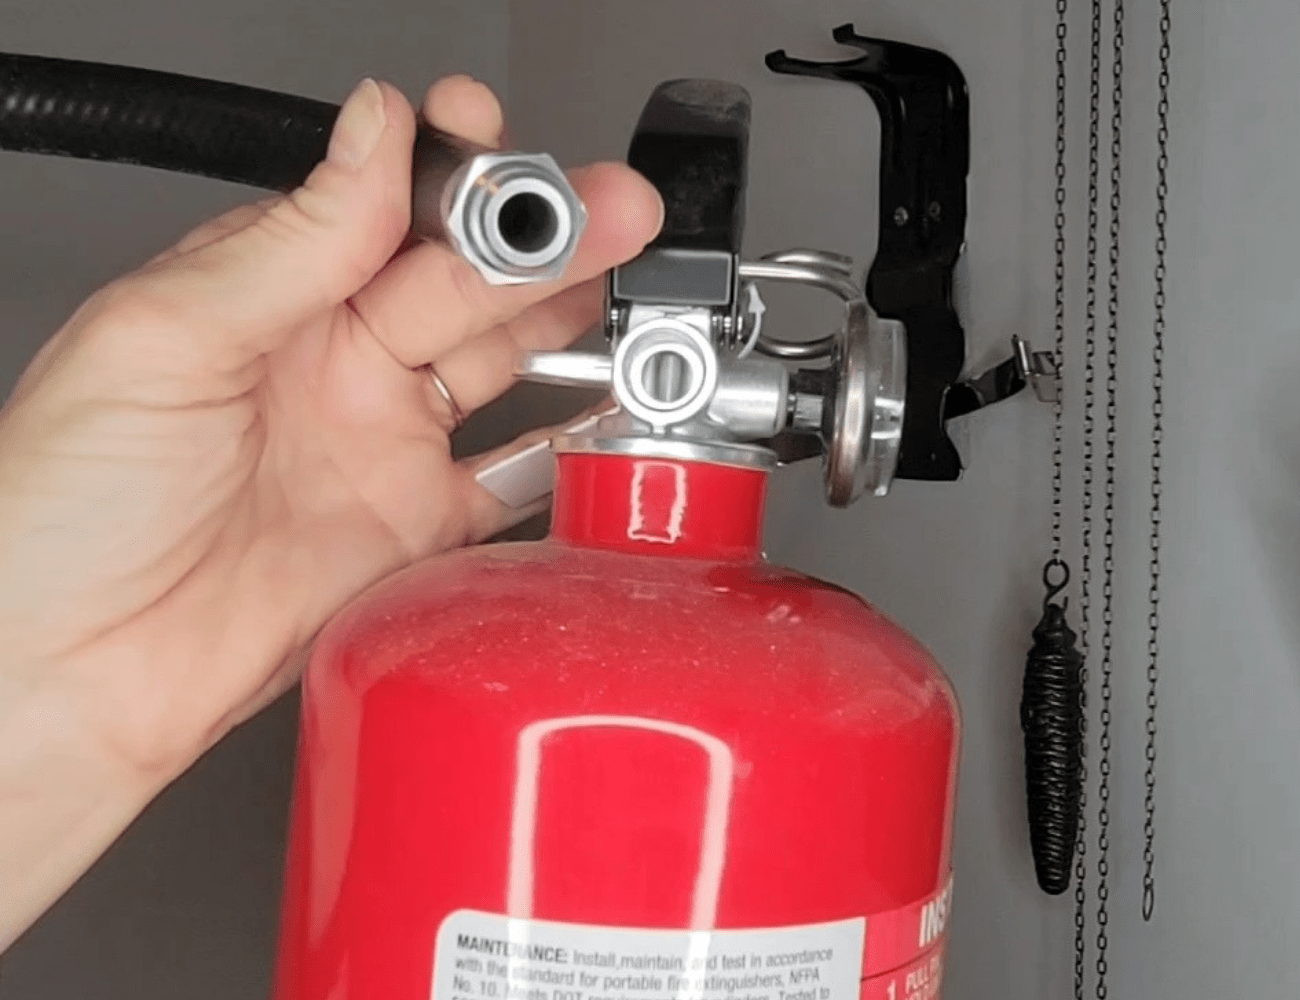
Step 5: Check the Discharge Hose
Inspect the hose for dry rot or blockages. Unscrew it to look for any debris or signs of previous discharge.
Step 6: Position Correctly
Return the extinguisher to its designated spot with the operating instructions facing forward for easy readability.
Step 7: Familiarize Yourself with the Instructions
Take a moment to read the operating instructions printed on the fire extinguisher. Knowing how to use it beforehand ensures you can act quickly and confidently in an emergency. Remember the PASS method: Pull the pin, Aim at the base of the fire, Squeeze the handle, and Sweep side to side.

What If Your Fire Extinguisher Has Expired?
Most household fire extinguishers cannot be recharged. If yours has expired, replace it as soon as possible. New extinguishers are widely available online from retailers like Amazon, offering quick delivery for Prime members.
By following this fire extinguisher inspection checklist monthly, you can ensure your fire extinguishers are always ready to protect your home and family. Taking a few minutes for regular maintenance provides peace of mind and could save lives in an emergency.

