The Best Paint Brush for Cutting In: A Must-Have for Flawless Edges
When painting around trim, windows, and doors, having the best paint brush for cutting in is essential. A precise and easy-to-control brush can make all the difference in achieving professional-looking results. Recently, I tested a few paintbrushes to find the ultimate tool for cutting in. After careful review and hands-on use, I found one clear winner that made the process easier and more enjoyable. Read on to learn more about the best brush for this technique and why it’s a must-have in your painting kit.
What Is “Cutting In”
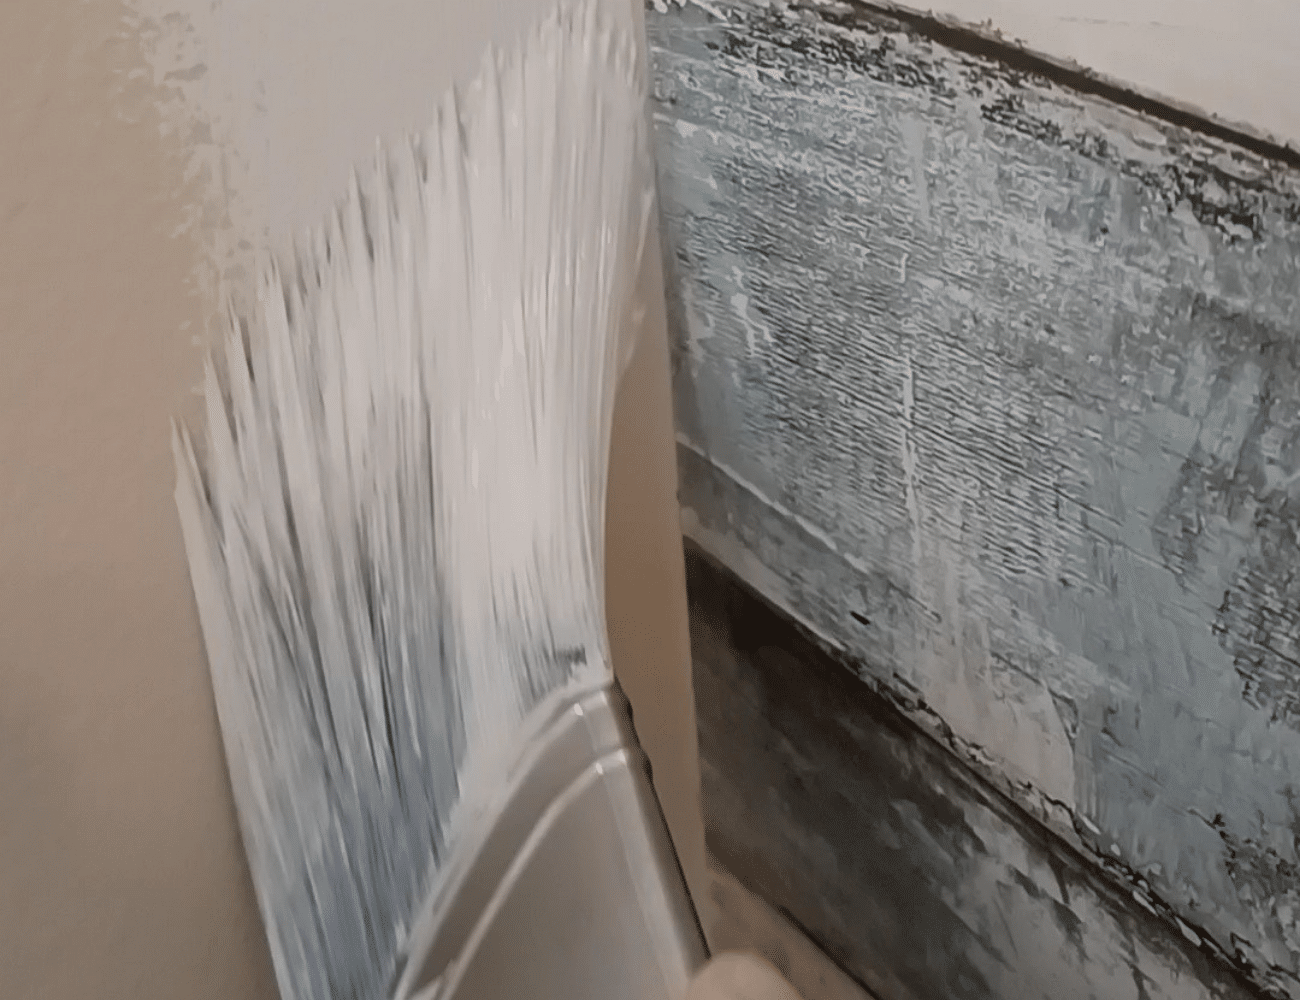
In painting, “cutting in” refers to painting clean, straight edges where walls meet ceilings, trim, doors, baseboards, or windows. It’s a technique that allows you to avoid taping, save time, and achieve sharp, polished lines. All you need is a steady hand, some patience, and the an angled brush, like this best edging brush, to get the job done.
Related Post: 6 Tips For Painting With an Edger
Why Cut In
Cutting in offers several advantages:
- Time and material savings: No need for painter’s tape.
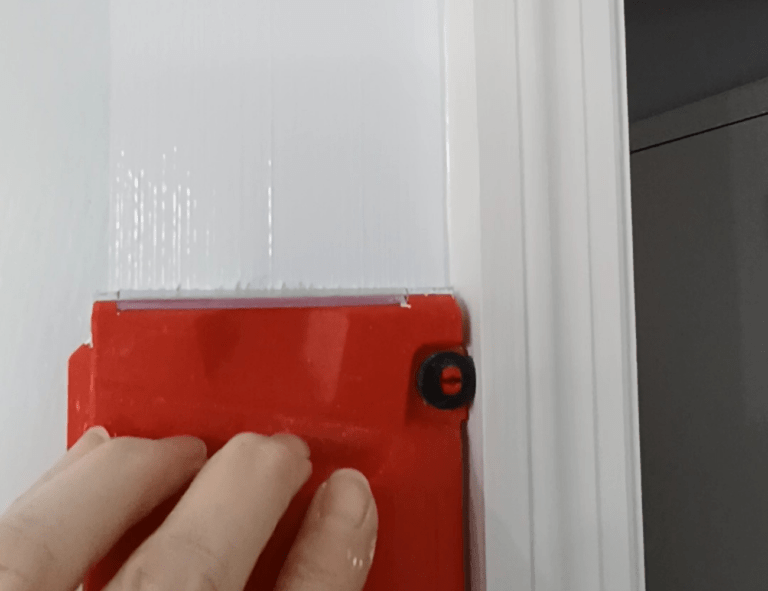
- Cleaner edges: Taping can sometimes leave rough paint edges when removed. Cutting in lets you create seamless lines with precision.
By using the best brush for cutting in, you can make the process smoother and faster, ensuring a high-quality finish.
How To Cut In Like a Pro
Follow these simple steps for successful cutting in:
- Use the right brush: Start with an angled brush to ensure accuracy.
- Prep your materials: Pour about an inch of paint into a small container with a handle for better control.
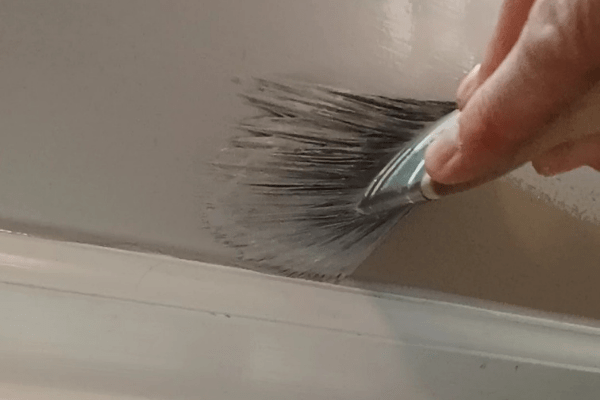
- Apply the paint strategically: Dip your brush lightly and wipe off excess paint along the edge of the container. Make an initial line of paint about an inch away from the edge to remove more excess paint.
- Fan out the bristles: Position the bristles near the edge and push paint toward the line, dragging the brush along for a clean finish.
- Keep a wet rag handy: Mistakes happen! A damp rag can quickly clean up any stray paint.
Related Post: 5 Clever DIY Painting Hacks For Beginners
The Best Paint Brush For Cutting In
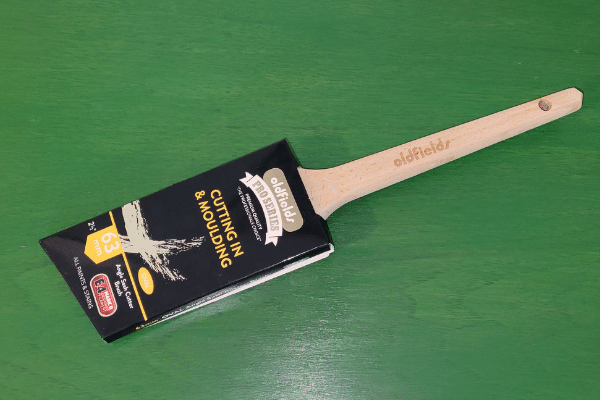
After years of painting and trying different tools, I’ve found the Oldfields Oval Sash Cutter Brush 63MM to be the best option for cutting in. Its unique design and features make it a standout for both beginners and experienced painters:
- Oval bristles: Hold more paint, reducing the need for frequent dips.
- Soft yet firm bristles: Fan out perfectly for wide, clean strokes along edges.
- Longer handle: Offers exceptional control and comfort during use.
Related Post: How To Save Big With Budget Paint
Why It’s the Best Edging Brush
The Oldfields Oval Sash Cutter Brush consistently delivered flawless results. Cleaning was quick and easy with mild soap and water, and with proper care, this brush will last for years.
You can find the Oldfields Oval Sash Cutter Brush, along with a full line of Oldfields brushes, on Amazon. I plan to explore more products from this brand since they’ve set a high standard with the best brush for cutting in.
Related Post: How To Paint a Room Fast

