How to Close an Above Ground Pool for Winter
Closing your above ground pool for the winter doesn’t have to be a hassle, and you don’t need an expensive winterize kit to do it! In this post, I’ll walk you through the simple steps I use every year to successfully winterize my pool using my tried-and-true method. This process ensures that my pool is ready to go when spring arrives, with crystal-clear water every time.
Related Posts: How to Open an Above Ground Pool, How to Replace a Pool Liner
Watch the Step-by-Step Video
If you’d prefer a visual, here is a quick video tutorial.
Step-by-Step Pool Closing Process
One of the key questions pool owners ask is, should I drain my above ground pool for winter? While you don’t want to drain it entirely, partially draining it is crucial for winter protection. I’ll show you exactly how to do this and explain why it matters. Plus, we’ll cover how to maintain your pool with a sand filter and prepare it for winter storage.
In this video, you’ll also learn how to close an above ground pool with a sand filter, as well as how to cover an above ground pool for winter. It’s all part of a simple, no-fuss process to keep your pool in great shape for the off-season.
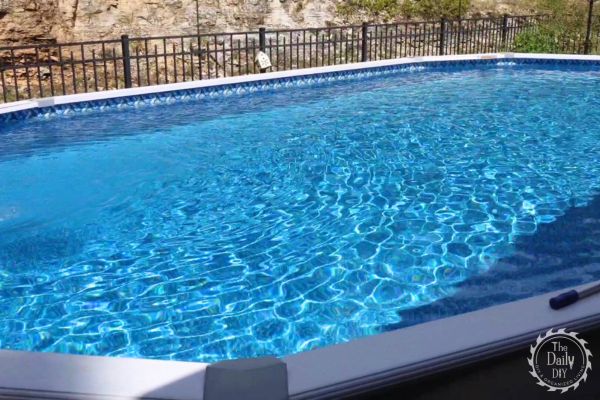
Supplies Used in This Project
Want to follow along and need the same supplies? Here’s everything I used to close my pool for the winter:
- Pool Shock Treatment
- Pool Test Strips
- Algaecide
- Pool Net
- Scrub Brush
- Telescopic Pole
- Manual Pool Vacuum
- Robot Pool Vacuum Cleaner
- Pool Cover
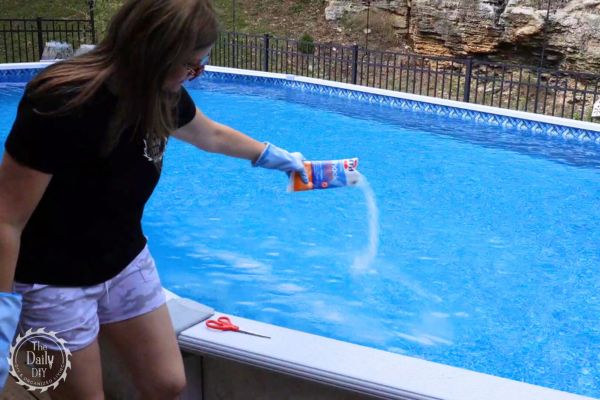
1. Shock the Pool
Begin by adding pool shock the day before closing and run the pump overnight to circulate the chemicals.
2. Test and Balance the Water
Use test strips to check that the water is balanced. If adjustments are needed, add the necessary chemicals and run the pump again to ensure even distribution.
3. Add Algaecide
Add algaecide according to the package instructions and run the pump for a few hours to help circulate it throughout the pool. This will help prevent algae growth over the winter.
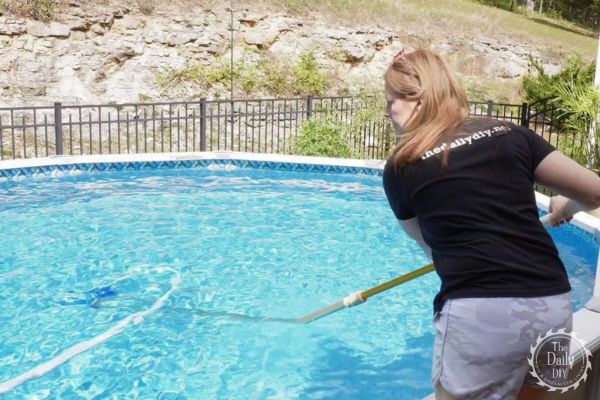
4. Clean the Pool
Skim the surface to remove debris, scrub the walls with a pool brush, and vacuum the bottom thoroughly. This ensures your pool is as clean as possible before covering.
5. Backwash the Sand Filter
Set your filter to “backwash” to clean out the sand. Run it for a few minutes to remove dirt and debris.
6. Partially Drain the Pool
Set the filter to “waste” mode and begin draining the pool until the water level is below the return jet. You can use an electric pump to speed up the process.
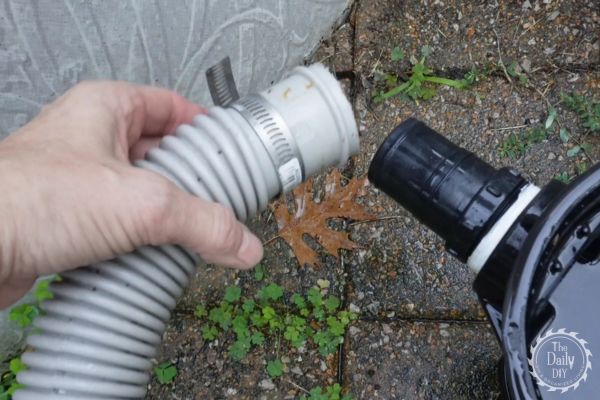
7. Disconnect Equipment
Disconnect all hoses from the pump, filter, return jet, and skimmer basket. Remove the drain plugs from the pump and filter, and take off any skimmer and pump baskets. Store all hoses, plugs, baskets, and accessories inside for the winter.
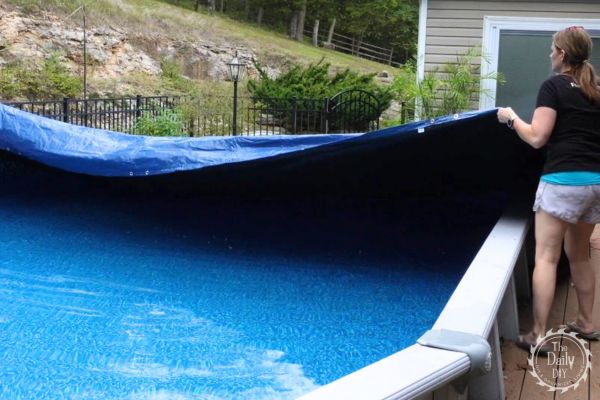
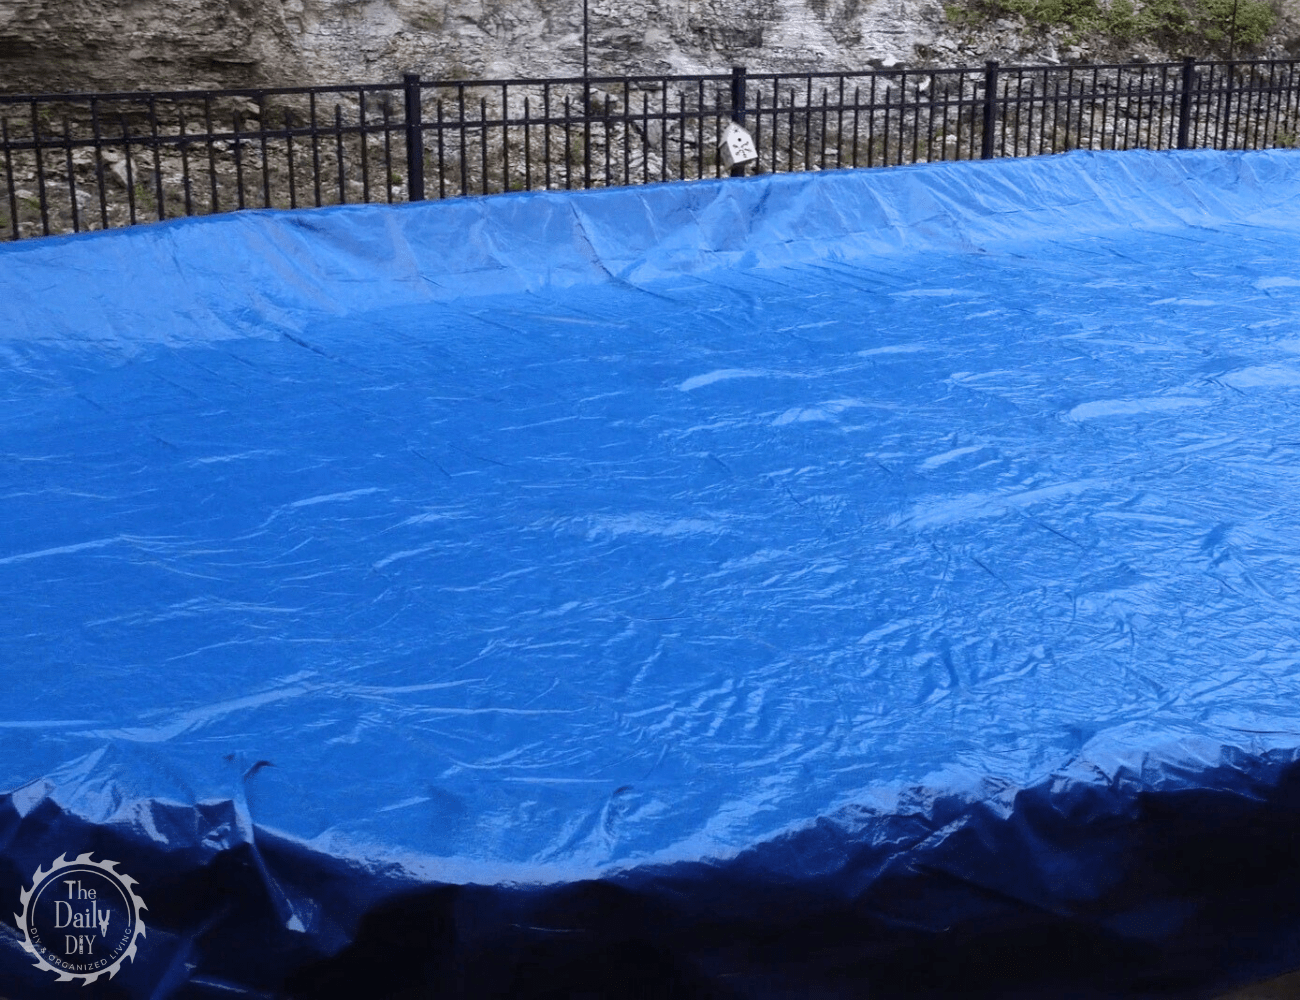
8. Cover the Pool
Place the pool cover over the pool, ensuring it’s secure. I recommend using a budget-friendly cover, as they tend to only last for about a year or two. Even the expensive ones just don’t last long in my experience, and the “warranties” they have are very complex.
9. Turn Off Power
Finally, don’t forget to turn off the power to your pool equipment, both at the external panel and at your breaker box.
By following these simple steps, your pool will be properly winterized and ready for a stress-free spring reopening!
Shop For Supplies To Close an Above Ground Pool
Follow on social media for more helpful pool maintenance tips, check out our related blog post on How to Replace Your Pool Liner to keep your pool in top shape!
And, when it’s time to get your pool ready for the warmer months, don’t miss our blog on How to Open an Above Ground Pool for a hassle-free start to the season!

2 Comments
Comments are closed.