How To Open an Above Ground Pool
As the weather warms up and summer approaches, there’s nothing like diving in to a crystal clear pool to beat the heat. However, you can’t enjoy those until you’ve properly opened up your above ground pool after the long winter months. Opening up your pool correctly not only ensures a safe and clean swimming environment, but also extends the lifespan of your pool equipment. Here we’ll show you step-by-step how to open an above ground pool.
Preparing For Opening
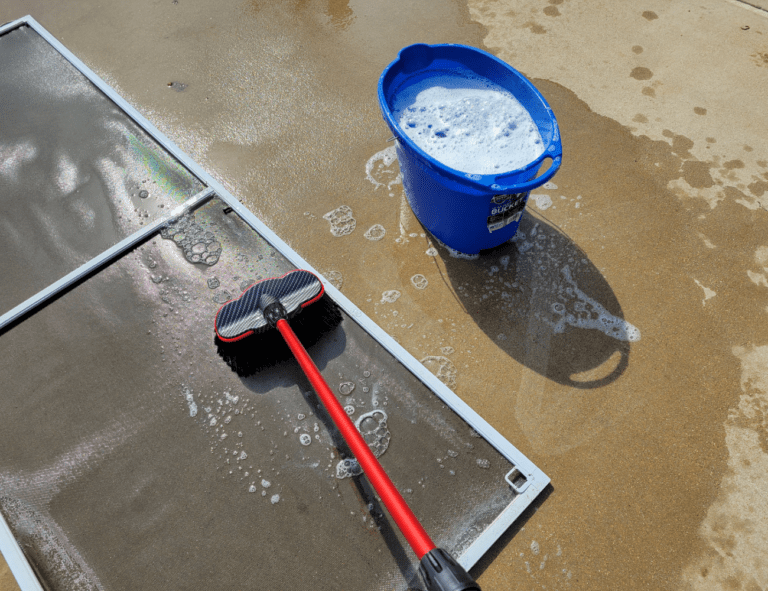
Before diving in to officially open your above ground pool, it’s essential to gather up your supplies and equipment. This typically includes a skimmer net, pool brushes, a pool vacuum, water testing kit, and chemicals for balancing the water. Don’t forget the hose for filling the pool.
You’ll also want to have personal protective equipment (PPE) such as gloves or protective eyewear when handling the chemicals. If you stored any chemicals for the winter, carefully inspect them for any signs of damage and check expiration dates.
Lastly it’s a good idea to review and understand any specific safety guidelines or regulations provided by the manufacturer of your above ground pool to ensure compliance and a secure pool opening process.
Related Posts: How to Close an Above Ground Pool For Winter, How to Replace a Pool Liner
Draining and Cleaning the Pool
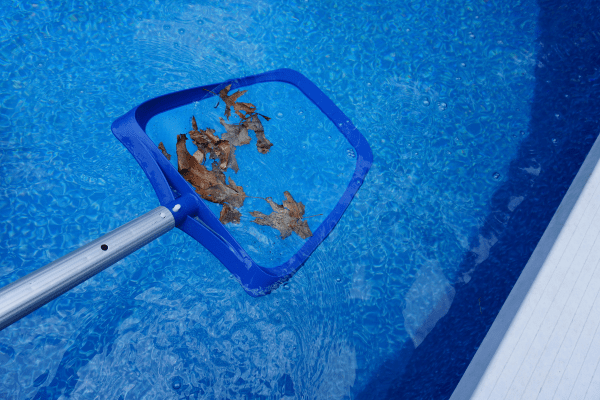
First step is to remove the pool cover. You’ll want to siphon or pump out as much water that is sitting on top of the cover as possible. Then take a pool skimmer net to remove any leaves and debris from the cover. Carefully remove the cover so that any remaining debris on top doesn’t fall in to the pool.
Once you’ve got the cover removed, take the skimmer net and remove any leaves and large debris from the pool. Next, use a pool brush to scrub the walls, floor, and any area where dirt and algae may have accumulated.
If your pool was properly winterized, you may not need to drain it. However, if there is a significant amount of debris inside the pool, or if the water quality is poor, then you will need to drain it completely.
After you’ve got the inside of the pool cleaned, move on to clean the skimmer basket, ladders, slides and any other accessories you have.
When the cleaning is complete, check the liner for any signs of wear or damage. Check for tears, cracks or leaks, and repair before refilling the pool. If the pool liner is beyond repair, it may be time to replace it. You can do it yourself with our step-by-step guide, How To Replace a Pool Liner.
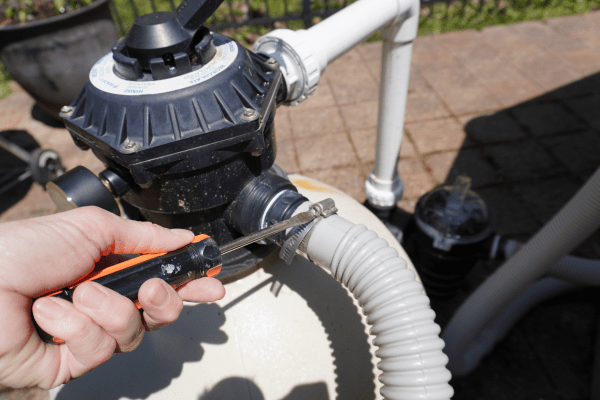
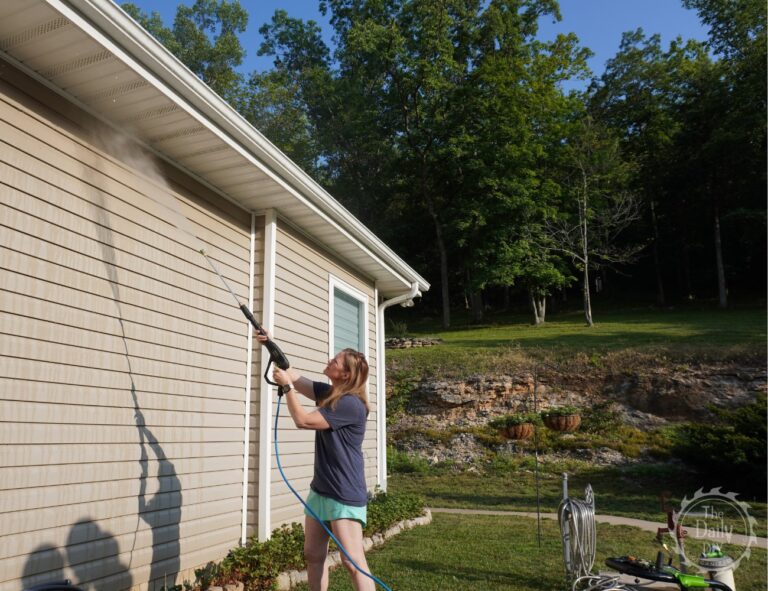
Inspecting and Maintaining Pool Equipment
Now it’s time to shift your focus to the pool equipment. Begin by checking the pool pump and filter for any signs of damage or wear. Reconnect any hoses that you stored away for the winter. Inspect the housing, seals, and connections for leaks or cracks. If you notice any issues, address them before moving on. Lubricate the o-rings, gaskets, and seals using a silicone-based lubricant to maintain their effectiveness and prevent leaks.
Next, depending on the type of filter you have (sand, cartridge, or DE), it may be time to clean and/or replace the pool filter media. Check the filter manufacturer’s suggestions and instructions for how and when this needs to be done.
You’ll also want to inspect any other equipment you may have, like pool lights, automatic cleaners, heaters, etc to ensure they are in good working order for the season.
Filling and Circulating the Water
It’s time to fill your above ground pool with fresh water and ensure proper circulation.
Step 1: Refilling the Pool
Connect a garden hose to a water source and begin filling the pool with water. Fill the pool to the desired level, typically that’s halfway up the skimmer basket opening. Be mindful not to overfill the pool as this can cause water overflow during use.
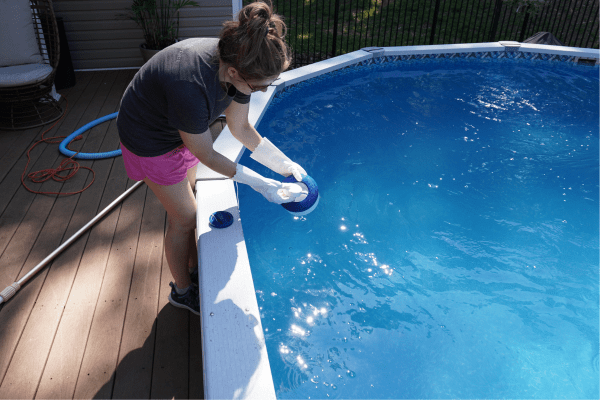
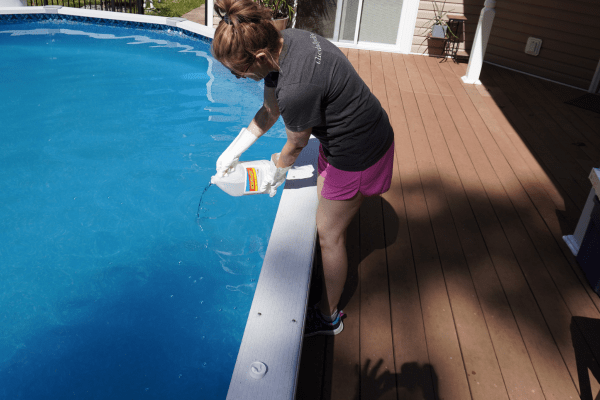
Step 2: Adding Necessary Chemicals
Before turning on the pool equipment, it’s important to add the necessary chemicals to start the treatment of the water. Begin by adding a chlorine shock treatment to eliminate any bacteria or algae present in the water. Follow the manufacturer’s instructions for the correct dosage for your pool’s size. Allow the chlorine shock treatment to circulate for a few hours before proceeding to the next step.
Step 3: Adjusting the pH levels
After the initial shock treatment, use a water testing kit to measure the pH level of the water. The ideal pH range for a swimming pool is typically between 7.2 and 7.6. If the pH level is outside of this range, adjust it accordingly using pH increaser (sodium carbonate) or pH reducer (sodium bisulfate). Follow the product instructions and make gradual adjustments until you’ve reached the desired pH level.
Step 4: Running the Pool Pump
Now that the initial chemical treatment is complete, let’s turn on the pool pump. Run the pump for 24-48 hours to circulate and filter the water effectively. This will help remove any remaining debris, distribute chemicals evenly, and promote water clarity.
During this circulation process, regularly monitor the pool’s water level, pressure gauge readings, and any noticeable changes in water clarity. Adjust the pump settings or backwash the filter if necessary. Also check the chlorine and pH levels periodically and make any adjustments needed.
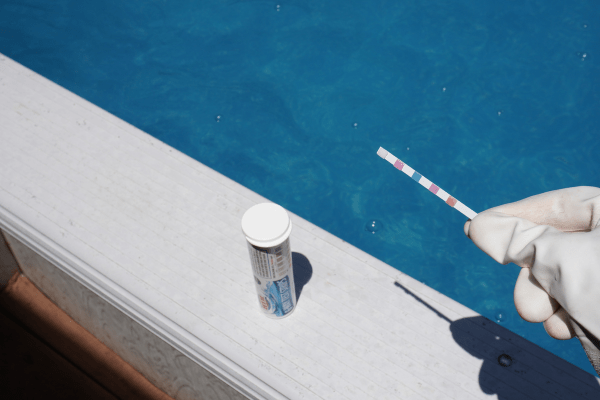
Testing and Balancing the Water
Start by using a reliable water testing kit to measure the chlorine, pH, and alkalinity and other important parameters. Testing the water regularly, especially at the beginning of the pool season, helps to identify any imbalances or issues that need to be addressed.
Chlorine
The first parameter to focus on is chlorine. Chlorine sanitizes the pool water keeping it free from harmful bacteria and algae. Aim for a chlorine level between 1.0 and 3.0 parts per million (ppm). If the chlorine is too low, add chlorine tablets or liquid chlorine to raise it to the desired range. If the chlorine level is too high, allow it to dissipate naturally over time or use a chlorine neutralizer to bring it down.
pH
Next, pay attention to the pH level of the water. The pH scale ranges from 0 to 14, with a pH of 7.0 considered neutral. For pool water, aim for a slightly alkaline pH level between 7.2 and 7.6. If the pH is too low (acidic), us a pH increaser to raise it. If the pH is too high (alkaline), use a pH reducer to bring it down. Maintaining the proper pH not only ensures swimmer comfort, but it also helps maintain the effectiveness of the chlorine in sanitizing the water.
Other Parameters
In addition to chlorine and pH, it’s important to test and balance other parameters such as alkalinity, calcium hardness, and stabilizer (cyanuric acid) levels. Alkalinity acts as a buffer, helping to stabilize the pH. The recommended alkalinity range is typically between 80 and 120 ppm. Use alkalinity increaser (sodium bicarbonate) or decreaser (muriatic acid) to make adjustments as needed.
As for calcium hardness, aim for a level between 150 and 250 ppm. Adjustments can be made using calcium chloride or a calcium hardness increaser.
Finally, a stabilizer (cyanuric acid) helps protect chlorine from degradation from sunlight. The ideal range for this is between 30 and 50 ppm.
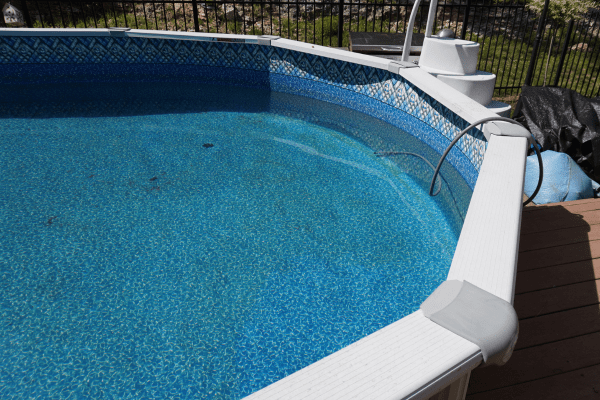
Opening the Pool For Use
Now that you’ve completed all of the above steps, it’s time to open up the pool for use. Firstly, if you removed the ladder to store away during the winter, now is the time to get it out and reinstall it. Double check that all screws and bolts are tightened and the ladder is positioned correctly.
Next, get out any other accessories like slides, diving boards, or pool toys and install them. Inspect each accessory for damage and ensure they are in proper working condition.
Before you let anyone in the pool, make one last visual inspection and safety check of everything. Check for sharp edges, loose tiles, or anything else that could cause injury. Ensure gates, fences, and locks are in good working order and are properly secured.
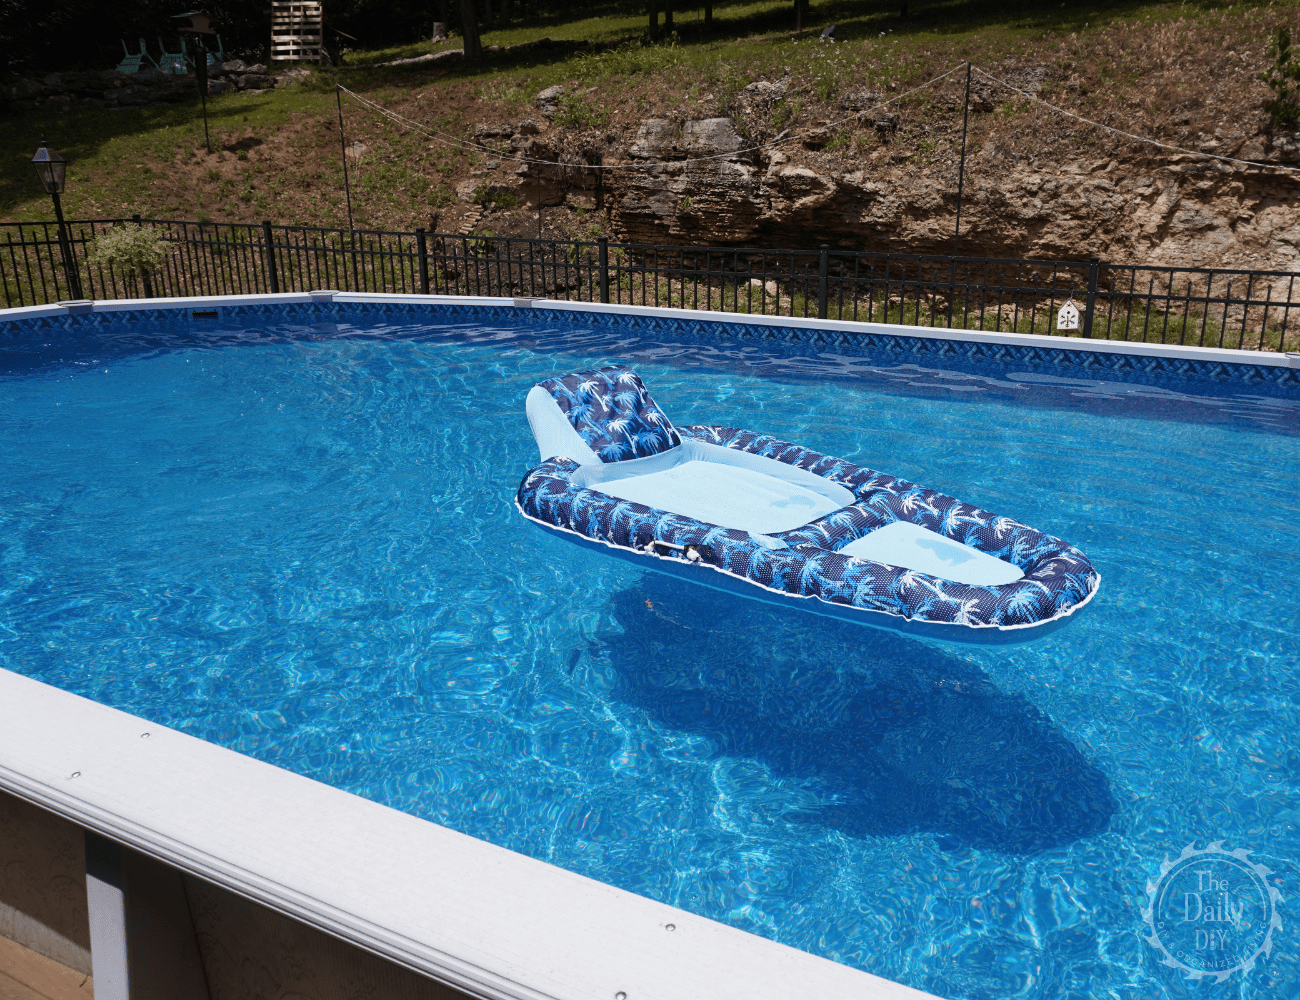
Now that you’ve finished opening up your above ground pool for the summer, it’s time to enjoy the fruits of your labor. Remember to continue with regular maintenance like skimming and vacuuming up debris, and testing the water chemistry. By staying proactive with your pool maintenance throughout the season, you’ll maintain a clean and inviting swimming environment for everyone to enjoy.
If you’re preparing for the colder months, check out our step-by-step guide on How to Close an Above Ground Pool for winter!