How To Remove Baseboards Fast & Easy
If you’re tackling a DIY remodeling project, knowing how to remove baseboards properly can save you time and prevent unnecessary damage to your walls. While home projects can be overwhelming, these simple steps will help you remove baseboards quickly and efficiently.
When To Remove Baseboards
Flooring
If you are replacing carpet, you generally don’t need to remove the baseboards, as carpet is flexible and can be tucked underneath. However, when switching from carpet to luxury vinyl plank, tile, or hardwood flooring, removing the baseboards is essential. You’ll also need to remove baseboards when pulling up old tile to ensure a clean installation.
Walls
If you’re simply painting a wall, you can leave the baseboards and trim in place and paint around them. However, if you’re relocating walls or knocking them down, all baseboards and trim will need to be removed.
Tools You’ll Need
- Prybar
- Hammer
- Utility Knife
- Needle Nose Pliers
- Scrap Piece Of Wood
Step-by-Step Guide: How to Remove Baseboards
Let’s walk through the simple process of removing your baseboards.
1. Score the Top of the Baseboard
Using a utility knife, carefully score along the top of the baseboard where it meets the wall. This helps break the seal of any caulk or paint buildup. Skipping this step may result in pulling drywall away with the baseboard, causing unnecessary repairs.
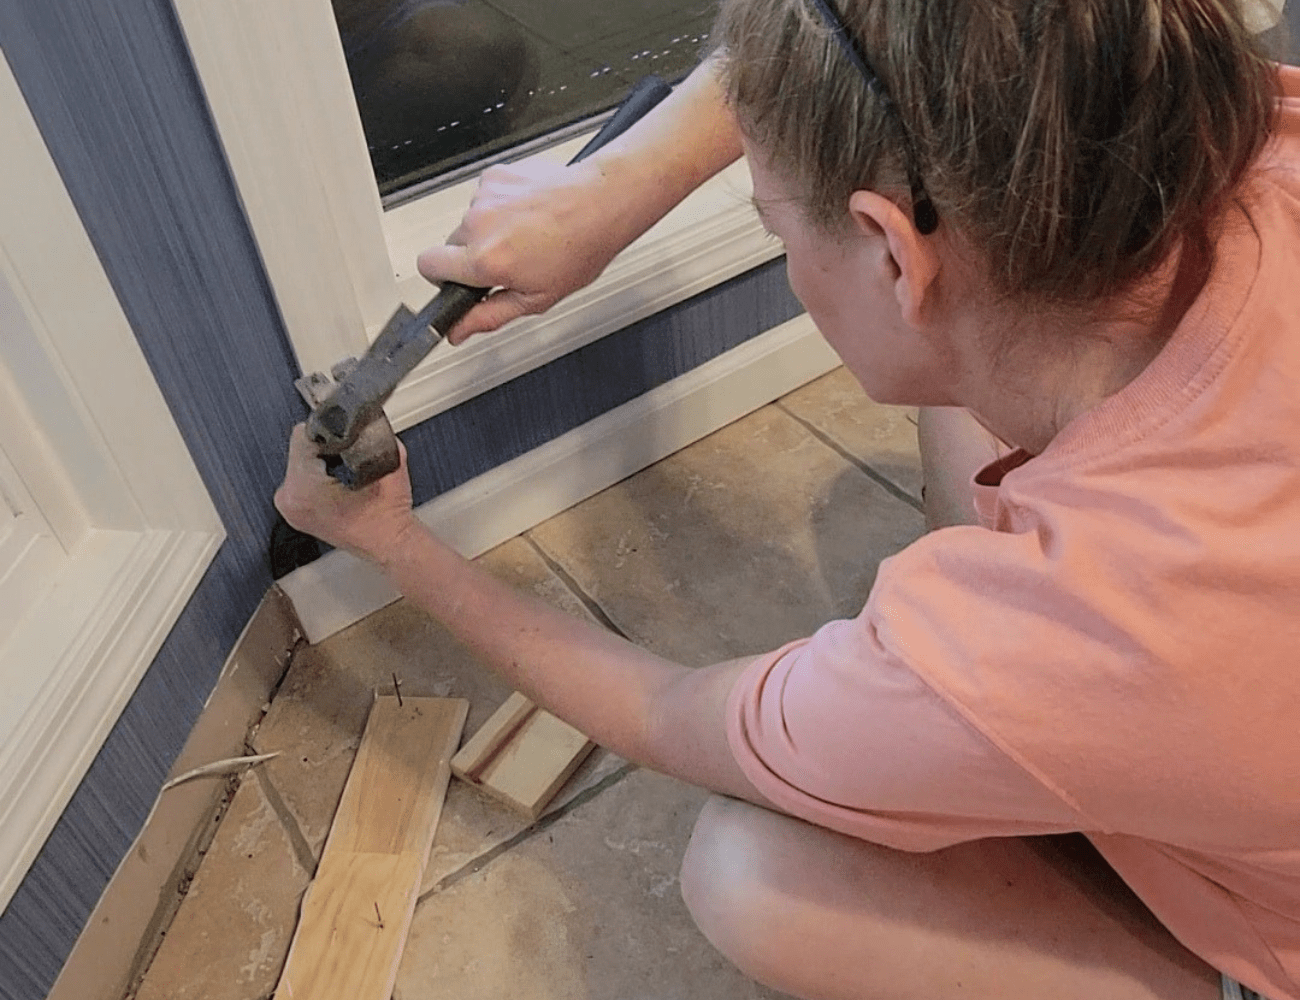
2. Loosen the Baseboard with a Pry Bar
Gently tap a pry bar into the scored gap using a hammer. This will begin to loosen the baseboard from the wall.

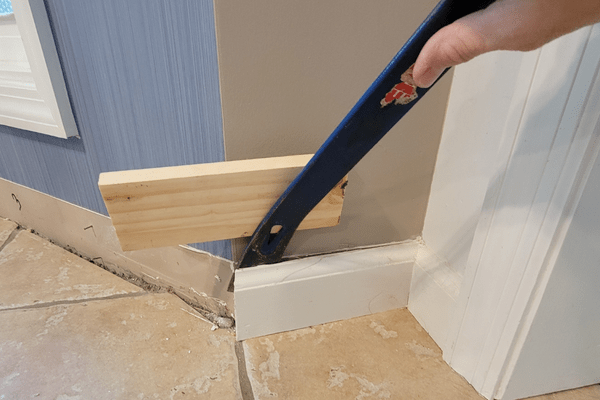
3. Protect Your Walls
To avoid damaging the drywall, place a scrap piece of wood behind the pry bar. This creates a barrier and prevents the pry bar from gouging the wall as you work your way down the baseboard.
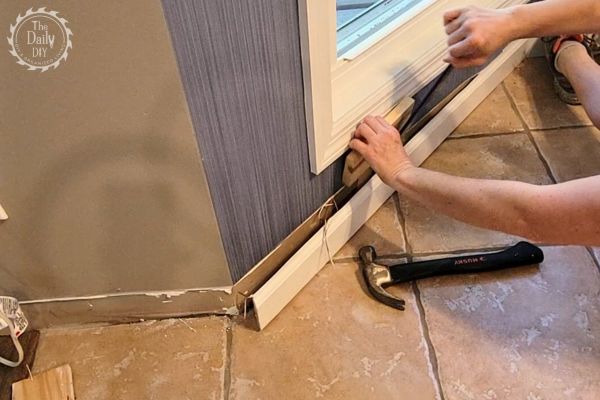
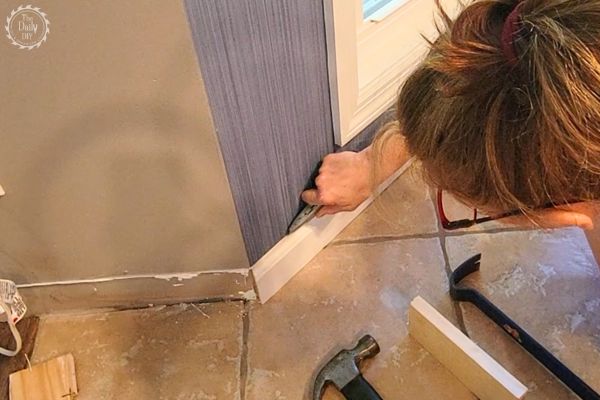
4. Continue Removing the Baseboard
Slowly work your way down the length of the baseboard, prying it away from the wall bit by bit. If you encounter stubborn caulk or paint, score along the seam again with your utility knife to help release it.
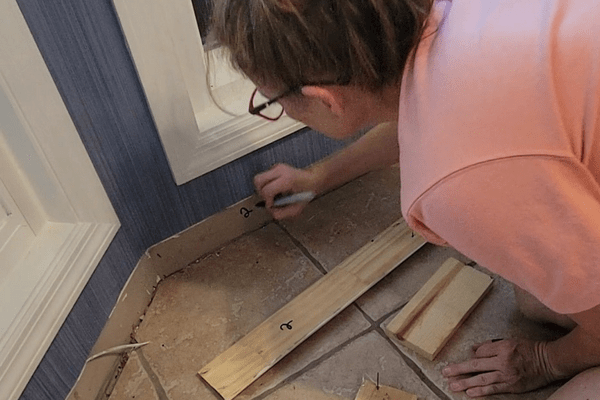
Reusing Your Baseboards? Label Them!
If you plan to reuse your baseboards after your project, label each piece as you remove it. Write a number on the back of the baseboard and a matching number on the wall where it was removed. This makes it easy to reinstall them in the correct order when your project is complete.
Finishing Up
- Remove any nails left in the wall using a nail pry bar.
- Use needle-nose pliers to pull out any brad nails from the baseboards.
- Scrape off any remaining caulk from the wall and baseboards if you plan to reuse them.
And that’s it! Now that you know how to remove baseboards safely and efficiently, you’re ready for the next phase of your project. If flooring is on your to-do list, check out our guide on how to remove tile for your next step!