How to Replace an Electrical Outlet: A Step-by-Step Guide for Beginners
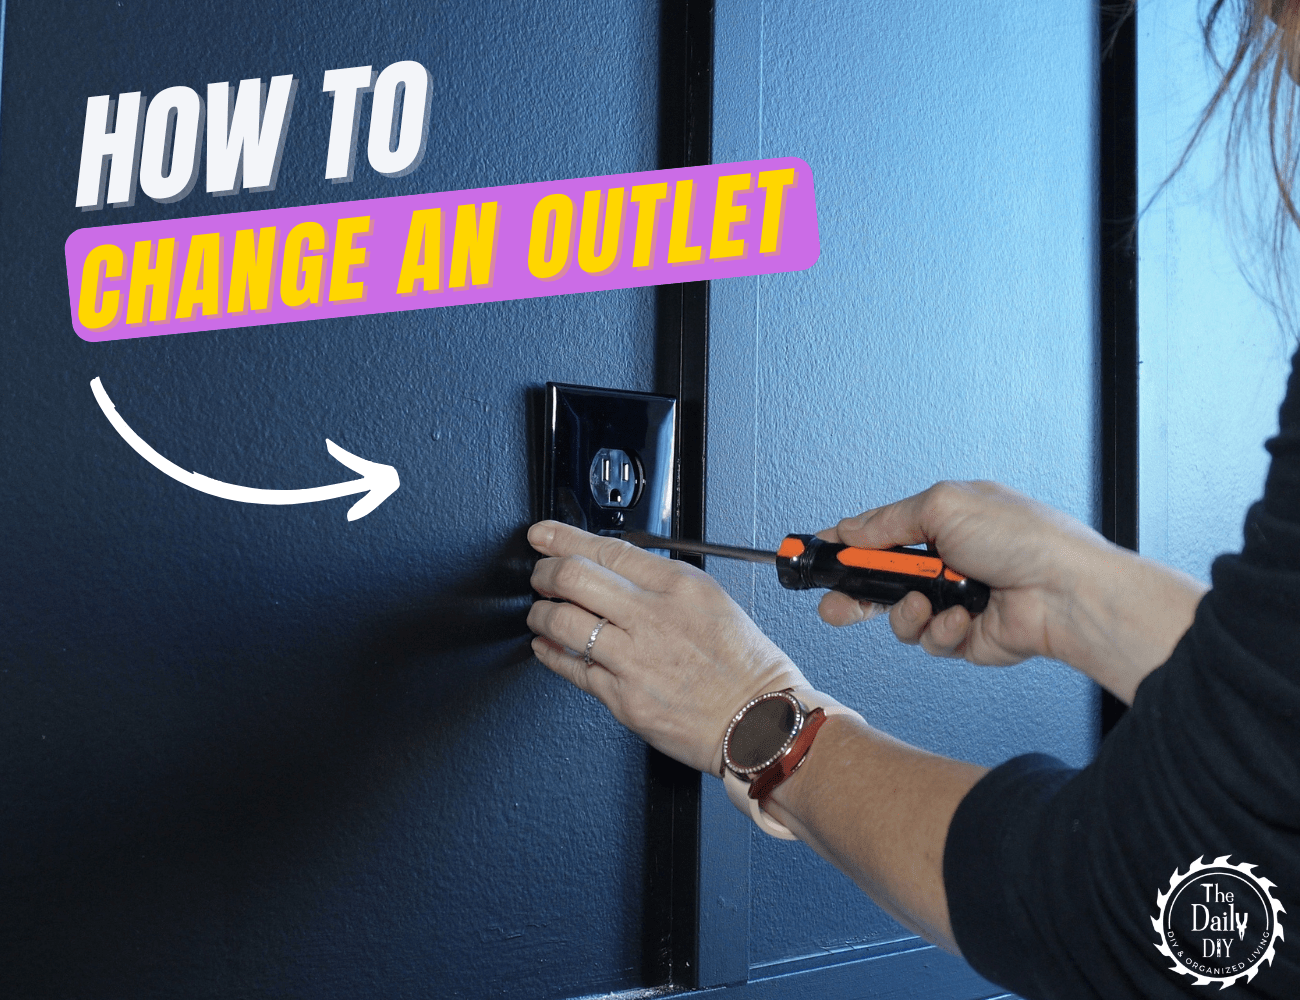
It may sound intimidating to replace an electrical outlet, but it’s actually a simple DIY task that can upgrade the look of your space and keep things working safely. Whether you’re swapping out a white outlet for a sleek black one like I did here, or just replacing a worn-out unit, this guide will walk you through every step.
With just a few basic tools and a little know-how, you’ll be able to tackle this project confidently. Let’s dive in!
Related Post: Change Your Lighting: Easy DIY Light Fixture Install
Tools You’ll Need To Replace an Electrical Outlet:
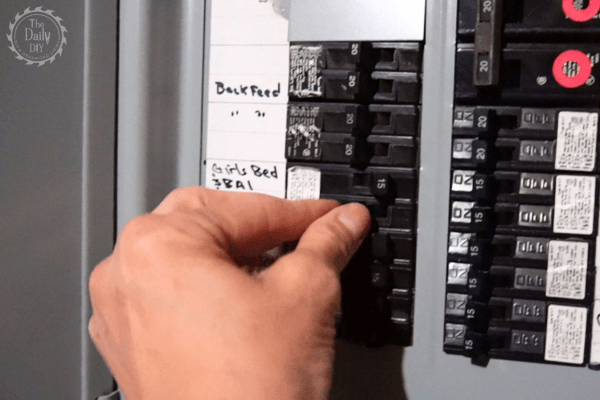
Step 1: Turn Off the Power
Safety first! Head to your electrical panel and cut power to the outlet you’re working on. To ensure the power is completely off, plug in a lamp or use a voltage tester on the outlet. If there’s no light or signal, you’re good to go.
Step 2: Remove the Old Outlet
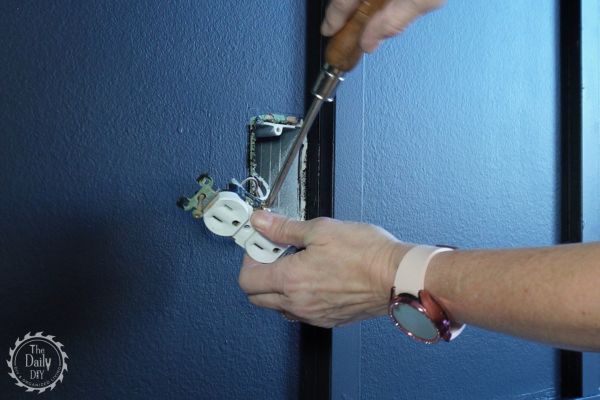
- Unscrew the faceplate covering the outlet.
- Remove the screws securing the outlet to the electrical box.
- Take the voltage tester and run along the wires to ensure there is no power flowing through
- Gently pull the outlet out, exposing the wires.
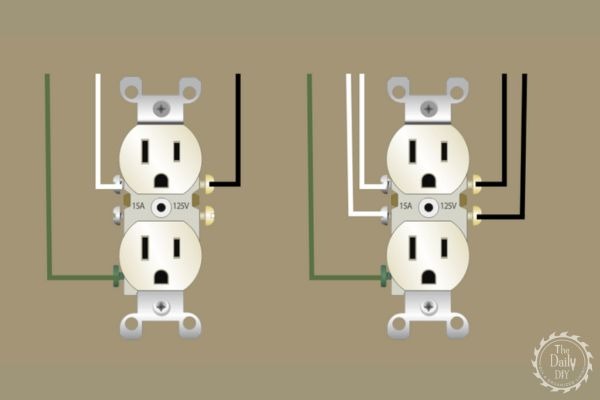
At this point, you’ll see three wires attached to the outlet:
- Ground wire (green or bare copper)
- Neutral wire (white)
- Hot wire (black)
Step 3: Disconnect the Wires
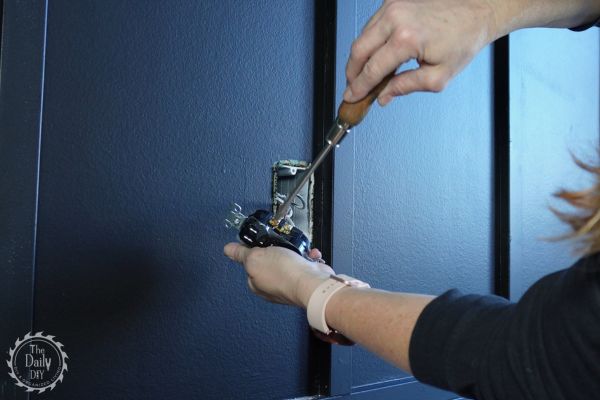
Using a manual screwdriver, loosen the screws securing the wires:
- Start the hot wire from the brass screw.
- Move to the neutral wire on the silver screw.
- Finally, disconnect with the ground wire on the green screw..
Pro Tip: If the wires are stiff or hard to remove, use needle-nose pliers to gently pry them off.
Step 4: Connect the New Outlet
Now it’s time to install the new outlet. Follow these steps in order for best results:
Attach the Ground Wire
- Loosen the green screw slightly.
- Loop the copper wire around the screw clockwise.
- Use pliers to clamp the loop tightly around the screw, then tighten it with a screwdriver.
Attach the Neutral Wire
- Loosen one of the silver screws.
- Loop the white wire clockwise around the screw.
- Clamp it tightly with pliers and secure the screw.
If you see two white wires, connect one to each silver screw.
Attach the Hot Wire
- Loosen one of the brass screws.
- Loop the black wire clockwise around the screw.
- Clamp it tightly and secure the screw.
If there are two black wires, connect one to each brass screw.
Step 5: Secure the Outlet
- Gently fold the wires back into the electrical box, being careful not to pinch or strain them.
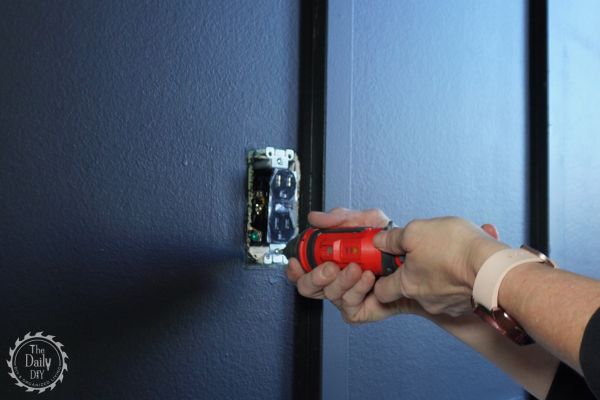
- Screw the outlet into place. At this point, you can use a power driver to save time.
Step 6: Finish Up
- Turn the power back on at the electrical panel.
- Attach the new faceplate.
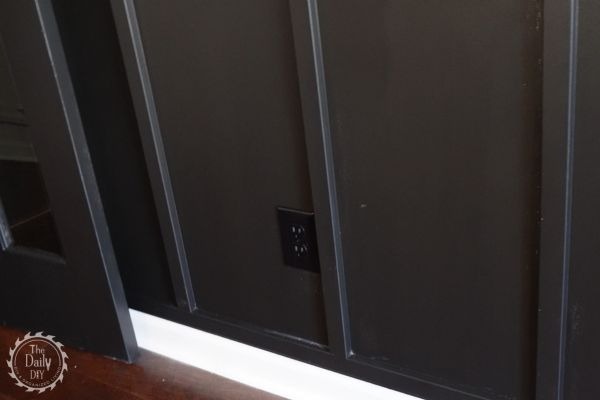
Congratulations! You’ve just replaced an outlet. In our case, the new black outlet perfectly complements our accent wall—function and style in one simple project
Tips for Outlets with Two Sets of Wires
If your outlet has two sets of wires, it’s just as easy:
- Connect both ground wires to the green screw.
- Attach one white wire to each silver screw.
- Attach one black wire to each brass screw.
Watch and Learn: Replace an Electrical Outlet Step by Step
If you’re a visual learner, check out my YouTube video where I walk you through replacing an electrical outlet with simple, beginner-friendly instructions. Watch the process in action and see just how easy this DIY project can be!
FAQs For Replace an Electrical Outlet
How often should I replace an electrical outlet?
If an outlet is cracked, loose, or showing signs of wear, it’s time for a replacement.
Why does the loop go clockwise around the screw?
Tightening the screw clockwise ensures the wire stays secure. A counterclockwise loop can loosen as you tighten the screw.
What if I’m unsure about my wiring?
When in doubt, consult a licensed electrician. Safety is always the priority!
Replacing an electrical outlet is an easy DIY project that can save you money and give your home a polished look. Now that you know how to do it, why not try it out and take your DIY skills to the next level?
If you found this guide helpful, check out my YouTube channel for more DIY tutorials.

