How to Remove Tile Flooring: A DIY Guide
Are you ready to replace that outdated tile flooring? Updating the floors in your kitchen, bathroom, or any other space can dramatically improve the look of your home. I recently completed a DIY kitchen remodel and replaced my old ceramic tile with luxury vinyl plank. While removing the old tile was straightforward, it required some serious effort. But the end result was well worth it. Here’s how to remove tile flooring for your next home improvement project.
Related Post: Is Luxury Vinyl Plan Flooring any Good?
Safety First
If you’re looking for a method to remove tile without breaking it, this isn’t it. This process will result in broken tile, sharp shards, and dust. To stay safe, make sure to wear:
Preparing for Tile Removal
Before getting started, you’ll need to remove a few things first:
- Baseboards, shoe molding, and any floor trim
- Floor transition pieces
- Floor registers (store them safely for later use)
- Toe kicks under cabinets (if applicable)
- All furniture and accessories from the space
To minimize dust, block off doorways with plastic sheeting and cover cabinets or nearby furniture with drop cloths. If possible, turn off your HVAC system to prevent dust from circulating through your home.
Related Post: How to Remove Baseboards

Removing the Tile
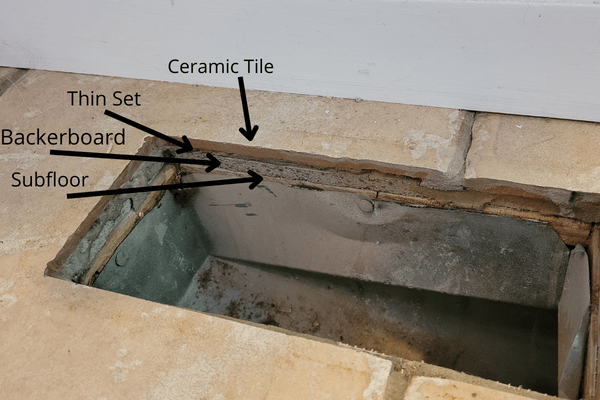
In my kitchen, the ceramic tile was installed using thin-set over cement backer board, which was nailed to a plywood subfloor. Before you start, you can check how your tile is attached by removing a floor register and inspecting the layers.
Tools You’ll Need:
- Demo bags for debris
- Drilling hammer
- 42-inch pry bar
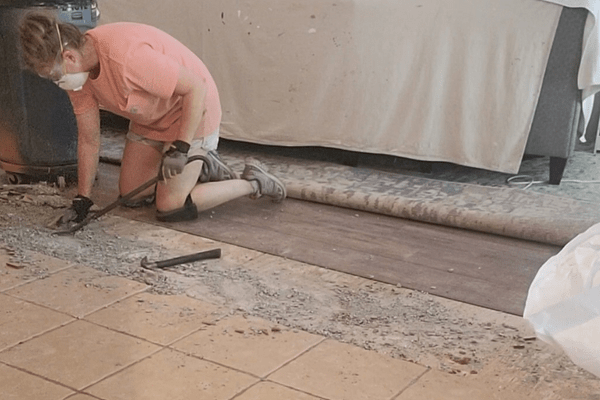
Step-by-Step How To Remove Tile Flooring:
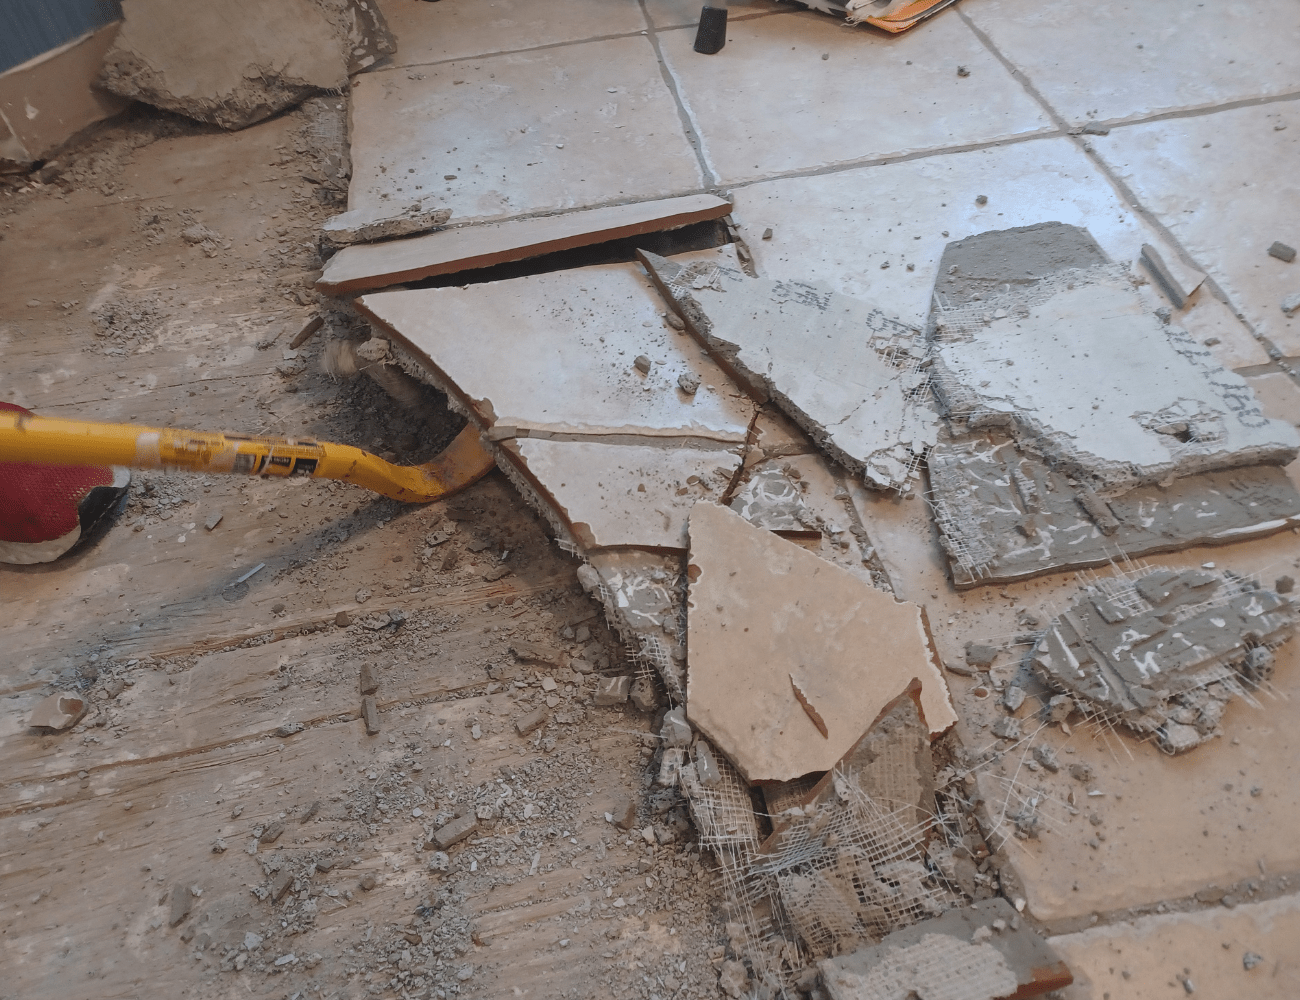
- Break the First Tile – Use a hammer to break the first tile. This will give you access to pry up the surrounding tiles.
- Pry Up the Tile and Backer Board – Wedge the pry bar under the tile and backer board, then lift to break them free from the subfloor.
- Continue Across the Floor – Work your way across the room, breaking and prying up sections of tile and backer board.
In my case, the backer board was attached with nails, making it easier to remove. If your backer board is glued down, you may need to replace sections of the subfloor due to damage.
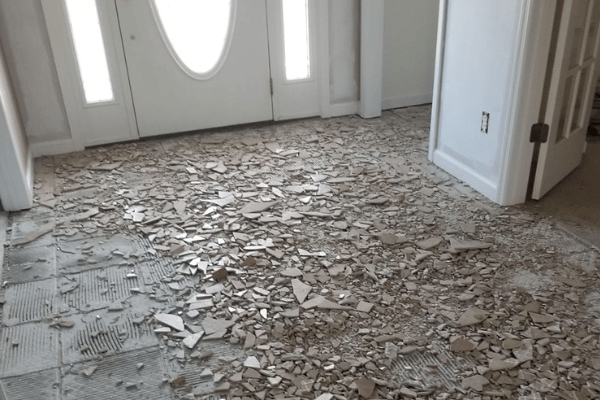
Cleaning Up
After removing the tile and backer board, dispose of debris properly. Place the materials in demo bags and consider using a Bagster for disposal. Bagster pickup services are often more affordable than renting a construction dumpster.
Watch Me Remove Tile Flooring
Check out this TikTok video where I show how I removed my old tile flooring step by step. See exactly how I tackled this project and get tips to make your tile removal process easier!
@the_daily_diy Took us 4.5 hours to remove 268 Sq feet of Tile #thedailydiy #diy #doityourself #diyproject #reno #kitchenremodel #tilefloor #howto #learnontiktok #demo #homeimprovement
Final Thoughts On How To Remove Tile Flooring
Removing tile flooring is a labor-intensive task, but doing it yourself can save a lot of money. With the right tools, safety gear, and preparation, you can complete this project and move on to installing your new flooring with confidence.