How To Fix Your Sunken Outlet or Switch
Nothing makes your finished remodel project look worse than having an outlet or switch that’s recessed in to your wall. If you’ve recently added a tile backsplash, new shiplap, or new drywall, you may find yourself now with receptacles that are sunken in. It’s easier than you might think to correct it. Read on to find out how to fix your sunken outlet or switch.
How Does This Happen?
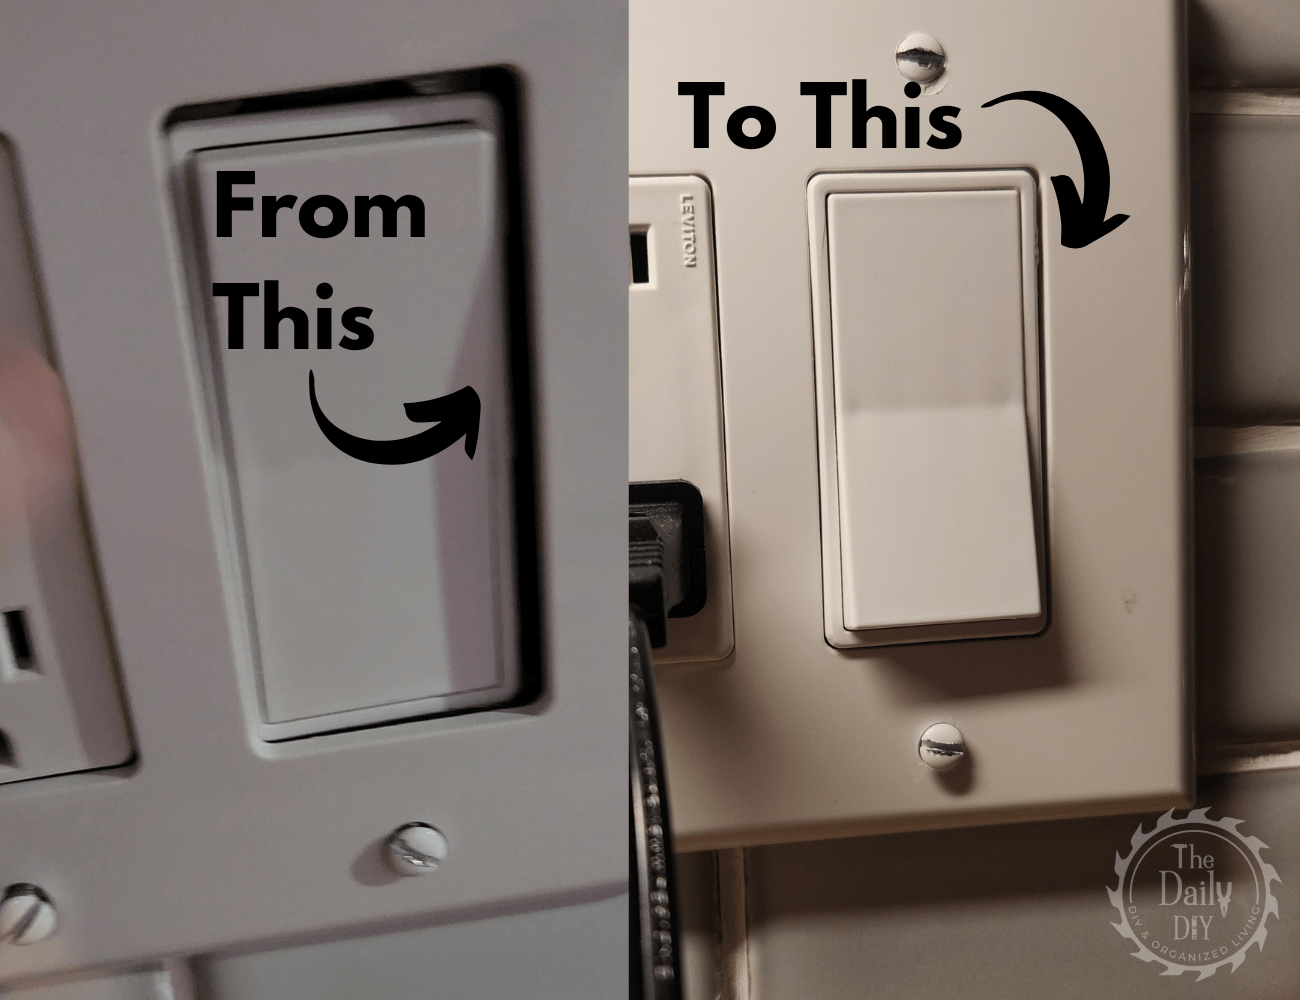
The outlet boxes that hold your switches and outlets were not installed to the correct depth of your wall material. Or, you’ve recently remodeled and changed the wall material. When that happens, it can create a gap. For example, your outlets were flush to your drywall, but then you added a new tile backsplash. That tile adds depth to the wall, and now your outlets are sunken in.
Whatever the reason, there is a simple fix for it that you can do yourself in minutes.
Materials
- Flat head screwdriver
- Phillips screwdriver
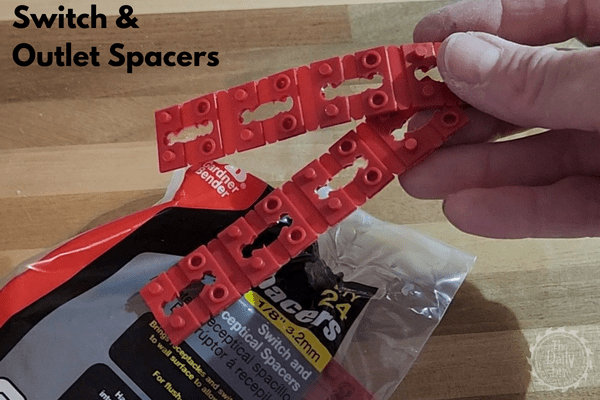
- Outlet Spacers
- Extra Long Outlet Screws (optional)
- Outlet Tester or Voltage Tester Pen
Step 1
Before you do anything, you must turn off the breaker to the outlet or switch. Take your flat head screwdriver and remove the faceplate. Then, use a voltage tester pen, or an outlet tester to check that the outlet has no power. If fixing a switch, use the voltage tester pen to test the wires on the sides of the switch.
Step 2
Using your Phillips screwdriver, unscrew the outlet or switch from the outlet box.
Step 3
Take your outlet spacers and cut them to the desired number that you’ll need. Don’t worry if you don’t cut enough, you can add more to it. They all lock together like Legos.
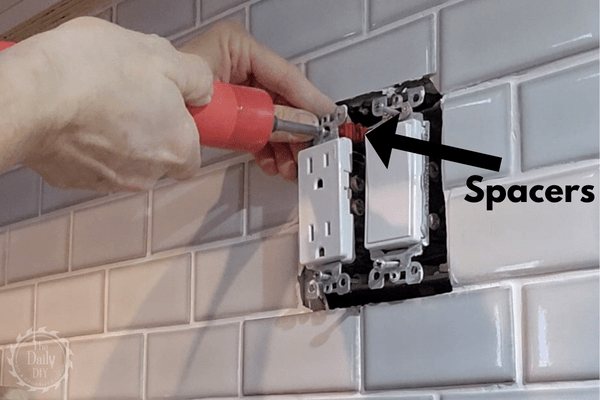
You’ll “accordian fold” the spacers and place them on to the screw that holds the outlet to the box. You’ll see there is a hole in the center of the spacers that the outlet screw will go in. It’s a good idea to have some longer outlet screws handy as the ones that came with your outlet may now be too short.
Step 4
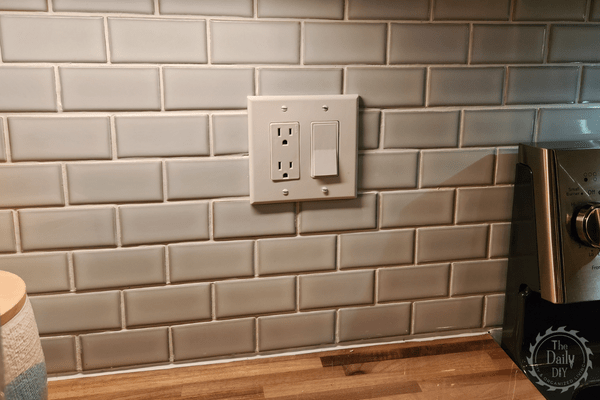
After you have enough spacers behind the outlet, put the faceplate back on. Then, turn the power back on to the outlet or switch and admire your handy work.
And that’s all there is to it. Four easy steps to fix your sunken outlet or switch that you can literally do in minutes.