How To Epoxy Your Wood Countertop
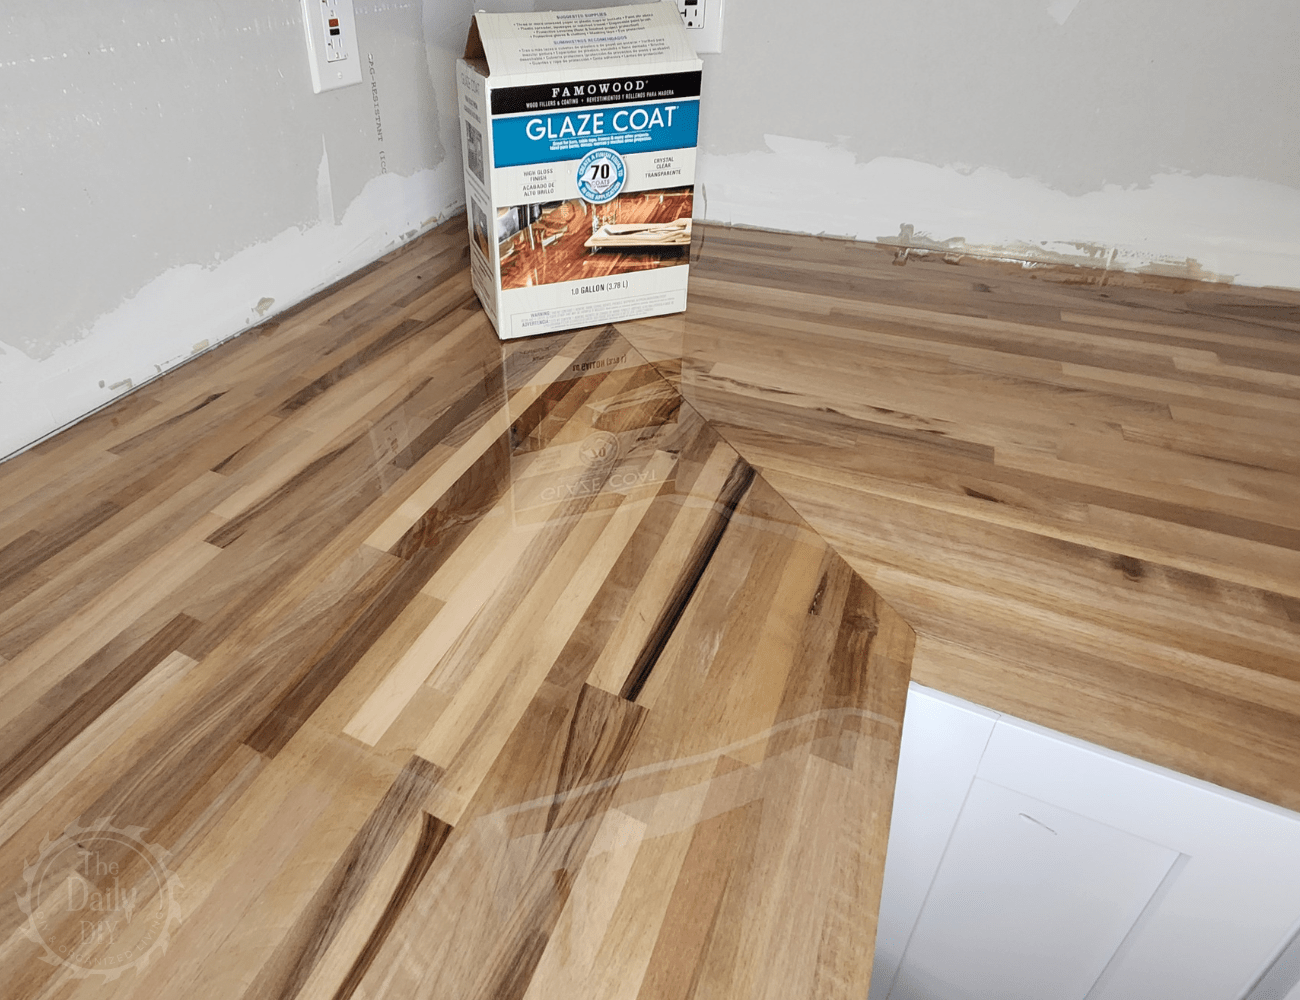
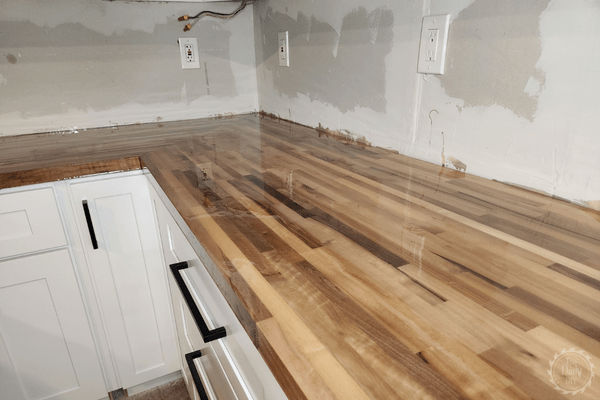
Applying an epoxy resin to your butcher block countertops is a great way to give them a durable, polished look while protecting them from everyday wear and tear. Applying the finish is also a great DIY project that you can complete in one afternoon. I recently used the Famowood Glaze Coat on the newly installed butcher block kitchen countertops. It is easier than you might think to apply epoxy to your wood countertop. Let me walk you through each step of the process using this product.
Materials / Tools Needed
- Famowood Glaze Coat
- Mixing Cups
- Plastic Spreader
- Paint Stir Sticks
- Foam Paint Brush
- Latex, Vinyl, or Chemical-Resistant Neoprene Gloves
- Painter’s Tape
- Painter’s Plastic
- Eye Protection
- Heat Gun
- Acetone
Preparation
Before you can apply the epoxy, you must prepare the surface of your countertop. First, clean the wood countertop of all stains, dust, grease, etc. Do not use a tack cloth. Use Acetone on a dry rag.
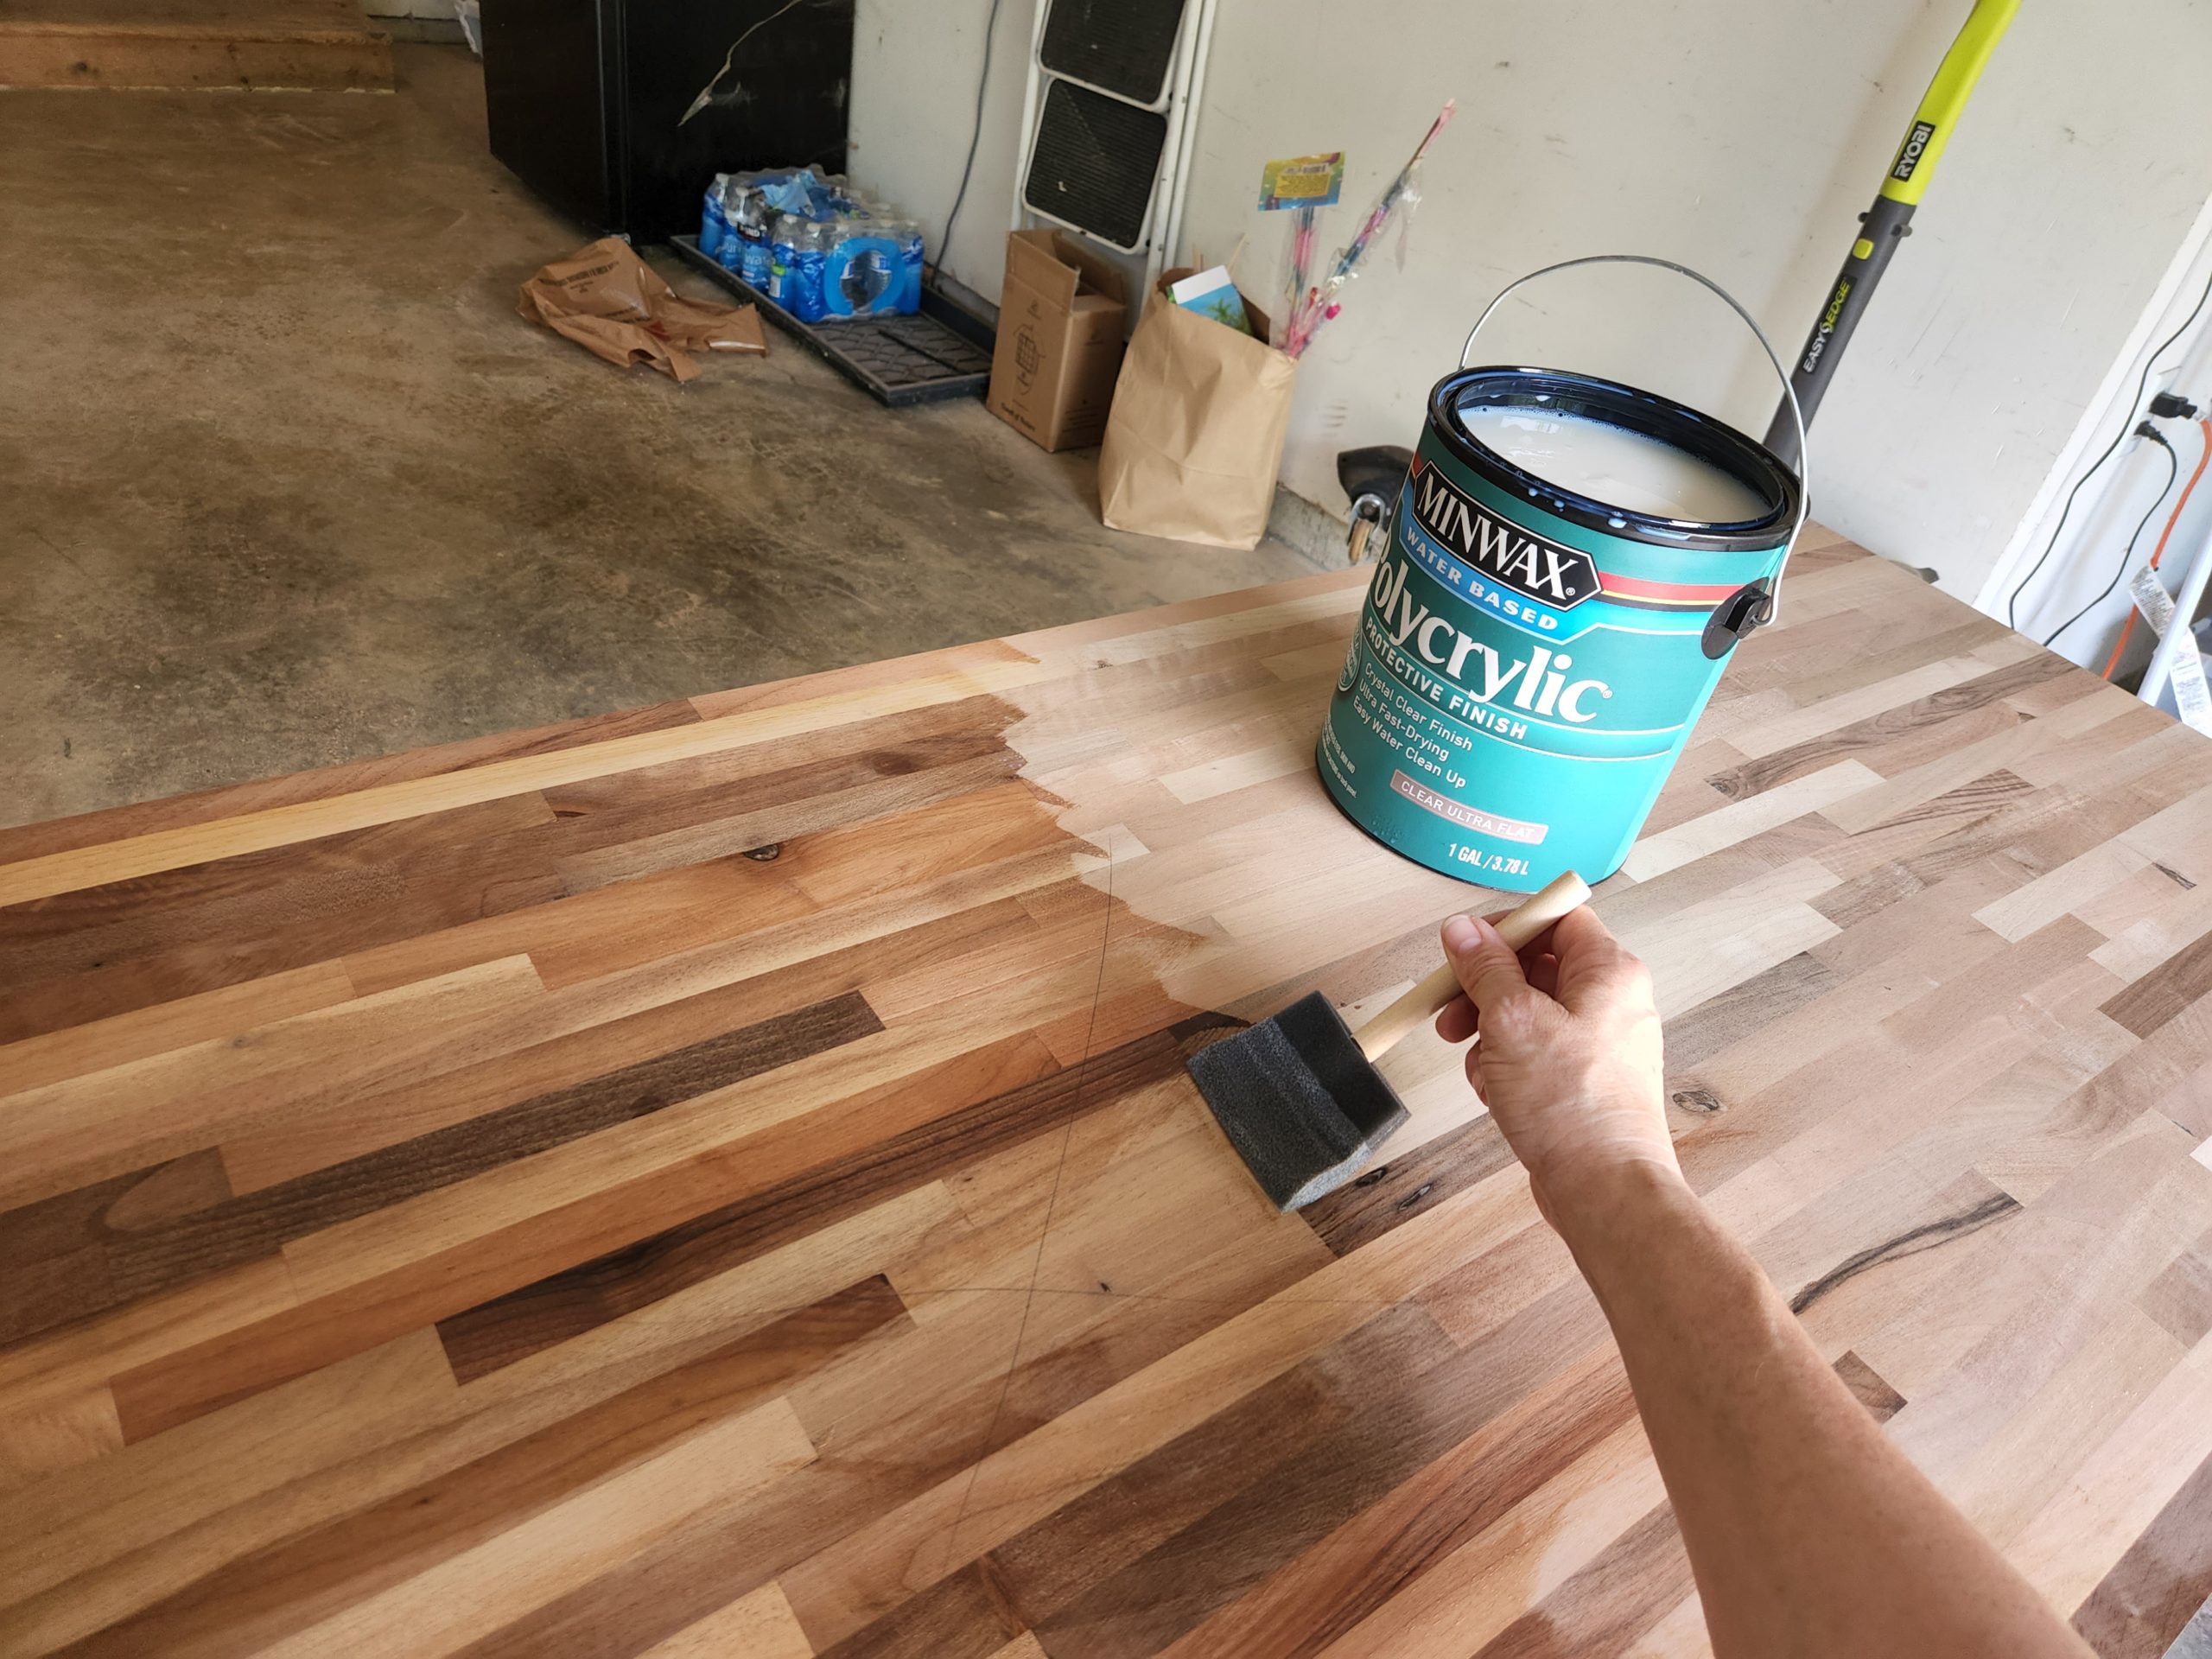
Next, you’ll need to seal the countertops. Apply two coats of a water-based polyurethane. Let dry and cure according to the product’s instructions.
Finally, you’ll want to prepare the surface around your countertops. Apply painter’s plastic over your cabinets to protect them from drips. Try using the pre-taped painter’s plastic to quickly wrap your cabinets. Additionally, use plastic and tape to tape off the walls and anything else that you want to protect. This product is very runny and sticky and will drip and stick to everything nearby.
Time For Epoxy
The Famowood Glaze Coat comes with a liquid resin, and a liquid hardner. There are specific instructions for measuring and mixing. Be sure to follow them exactly.
Please note: I called Eclectic Products, the maker of Famowood, and their technical support team told me that they do consider this product food safe, but they don’t have it classified as such. I don’t ever prep food directly on to my countertops so either way it’s not a problem for me.
Step 1 – Measure & Mix
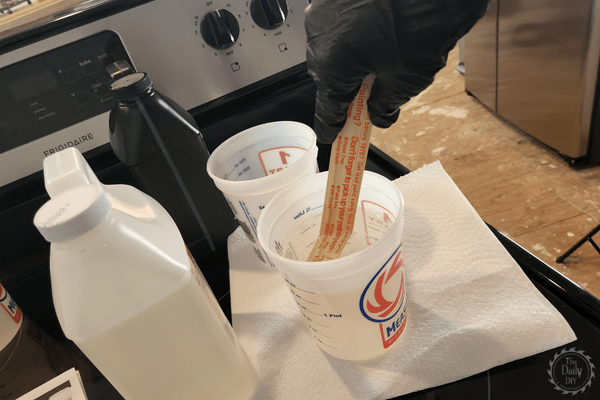
Measure equal parts of the resin and hardener and mix them according to the package instructions in the mixing cups. You can get mixing cups that have measurements marked on them to make it easy. Or use a scale and weigh it out. You’ll mix the two products together by hand with a paint stir stick for a total of twelve minutes. You cannot use a power device to mix them as it will create too many air bubbles. And, you must not let the mixture set. After the mixing time is up use it immediately. You only have about 10-15 minutes to use the product before it sets up. Therefore, work on one countertop at a time, and only mix what you can use in those 15 minutes.
Step 2 – Apply
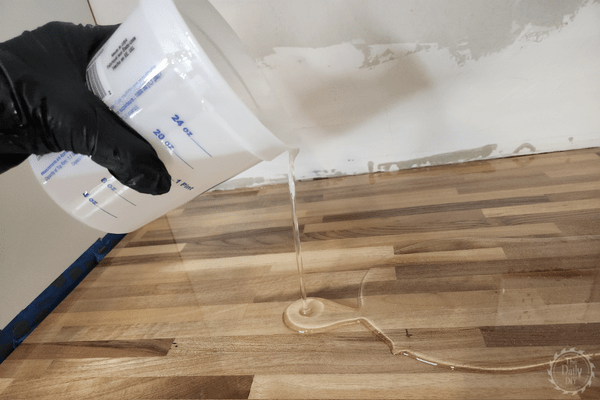
Pour the glaze coat directly onto the center of the countertop. Use the plastic spreader to work the mixture evenly over the entire counter. You’ll spread the mixture over the entire surface to no more than 1/8″ thick. Don’t worry too much with getting it perfect. The product is self leveling and will work itself level as it cures.
Work the product out from the center and over the edges. Use the foam paint brush to work it on to the edges.
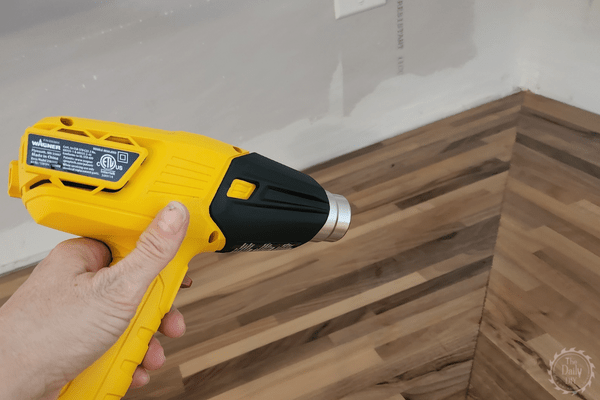
If you see surface bubbles begin to appear, us a heat gun to work those out. Slowly wave the heat gun about 8″ above the surface over the air bubbles. Don’t stay in one spot too long, wave the heat gun back and forth. And don’t get too close or you’ll burn the epoxy. This must be done while the mixture is still wet.
Curing
If you want to apply a second coat, you may do so after 4-5 hours of curing time. The countertops will still be a bit tacky, but that’s okay. Measure & mix, then apply like you did for the first coat. I found it easier to use a foam paint brush to spread the 2nd coat. After you’ve applied all the coats you want, let the countertops cure for 72 hours before using them.
And that’s all there is to it. Whether you have just installed new countertops, or have had them for many years, applying epoxy on your wood countertop is the best way to protect them.
Check out these other great articles in this Kitchen Renovation Series:
- How To Install New RTA Cabinets
- How To Install New Cabinet Pulls
- How To Install a Beautiful Wood Countertop
- How To DIY a Kitchen Tile Backsplash
- How To Install Luxury Vinyl Plank Flooring
- Easy DIY Kitchen Island Makeover

