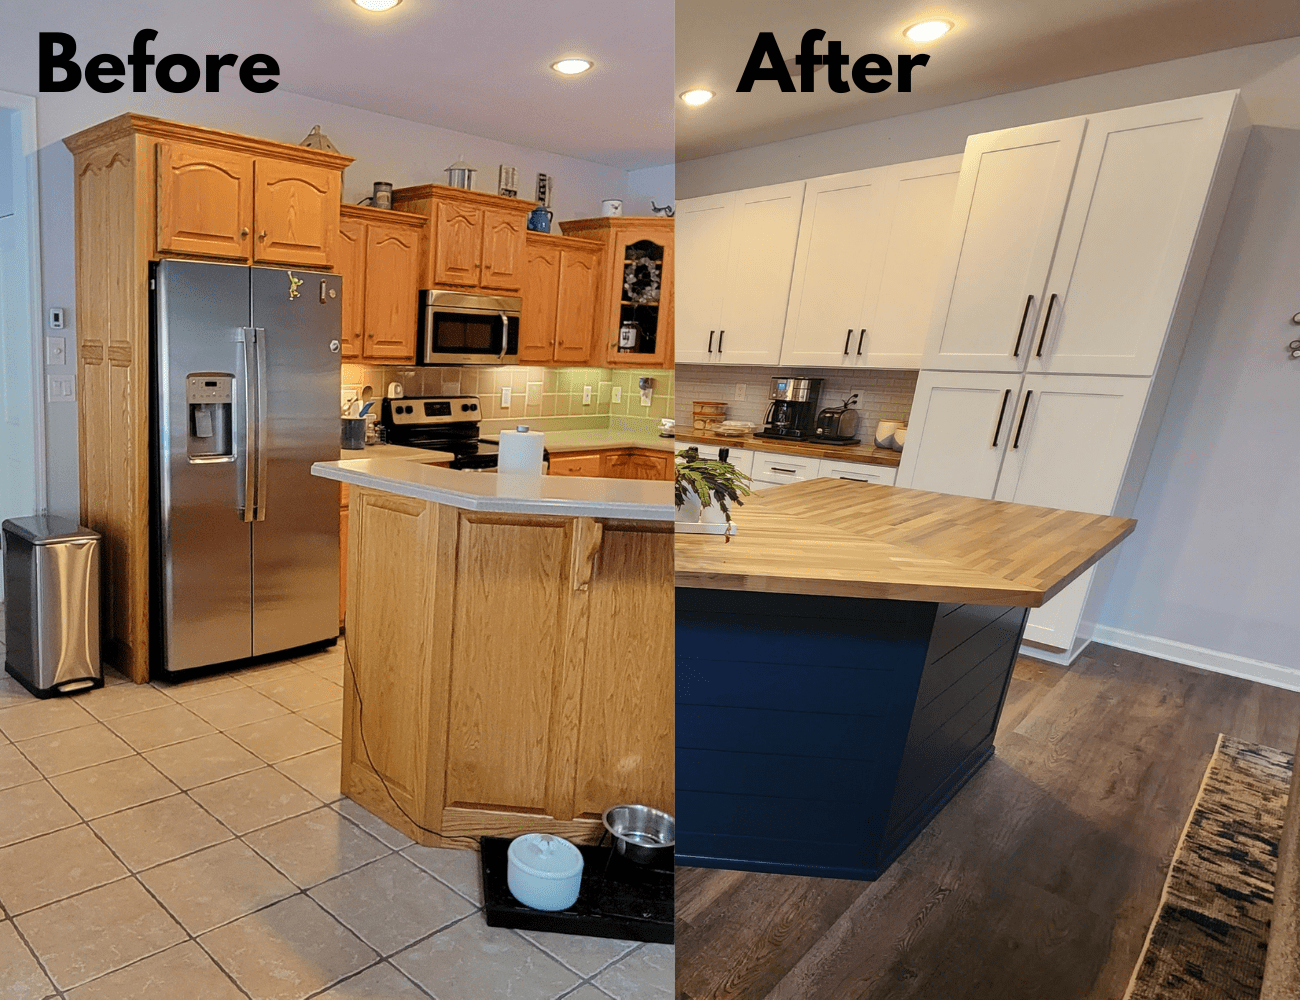
Easy DIY Kitchen Island Makeover You Can Do This Weekend
Have you wanted to change the look of your kitchen, but weren’t sure where to start? A quick and easy way to make a big impact is to give your kitchen island a makeover. We recently went through a complete kitchen renovation. I installed new cabinets from Lily Ann Cabinets, a new tile backsplash, new luxury vinyl plank flooring, and new butcher block countertops, and refacing the existing island. I chose to do a DIY kitchen island makeover instead of replacing it to keep my costs down. What an impact it made!
It took me just one weekend to complete this from start to finish. Here are step by step instructions on how to do this kitchen island transformation.
Materials
- Shiplap
- 2″ mdf trim
- 3″ mdf trim
- Finger-Jointed Stop Moulding (optional)
- Primer
- Cabinet Paint
- Paintable Trim Caulk
- Paint Brush
- 150 grit Sandpaper
- Aquacoat (optional to fill in wood grain)
- Plastic Scraper (optional to apply Aquacoat)
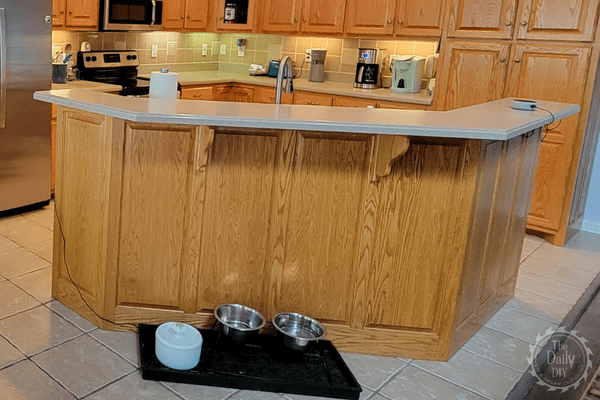
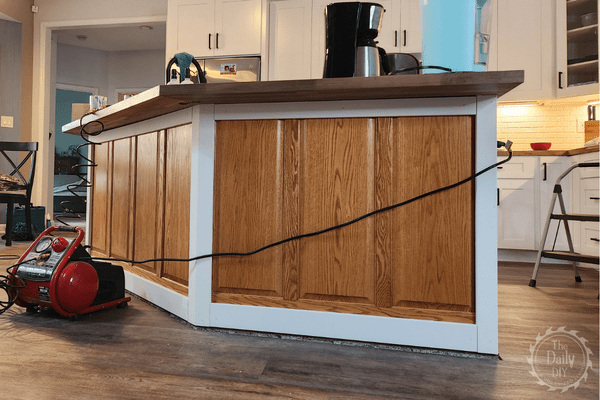
Here is the island before we started anything with this kitchen remodel. As you can see, there is a lot of honey oak going on here, which really dated the kitchen.
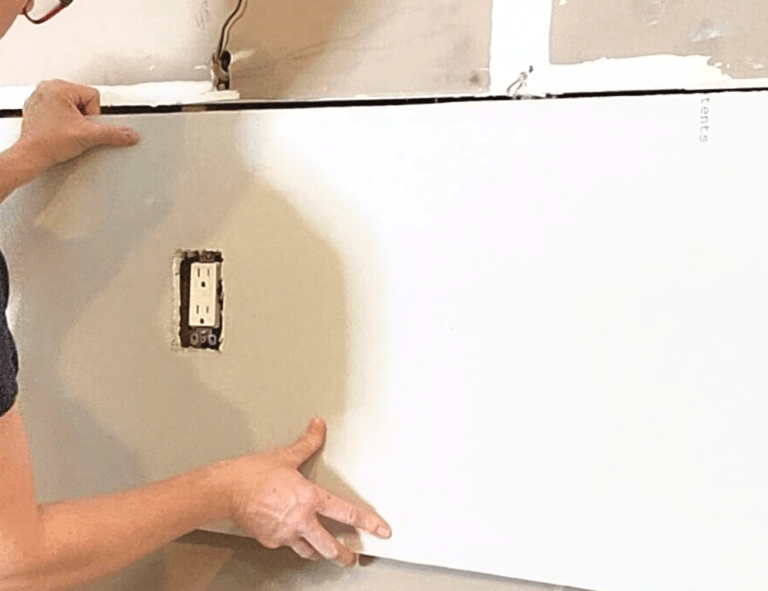
This island was made up of two levels, which really closed off the room and gave very little countertop space to do any food prep with. We decided to cut the top part of the island down so the island could be all the same height. This required moving the outlets down and putting on new countertops and a sink. You can skip this step obviously if you don’t need to change the shape of your island and want to leave the countertops the same.
Prep

For this island we did not reface the endcaps, and the front part of the island where the cabinet doors are. However, I needed to fill in the wood grain so it would be a smooth surface to match the shiplap and mdf trim. To do this, first sand the surface with 150 grit sandpaper. Then, apply Aquacoat to the entire surface using a plastic scraper. After that dries for at least an hour, lightly sand it with 150 grit again. I applied two coats of the Aquacoat to completely get rid of the wood grain.
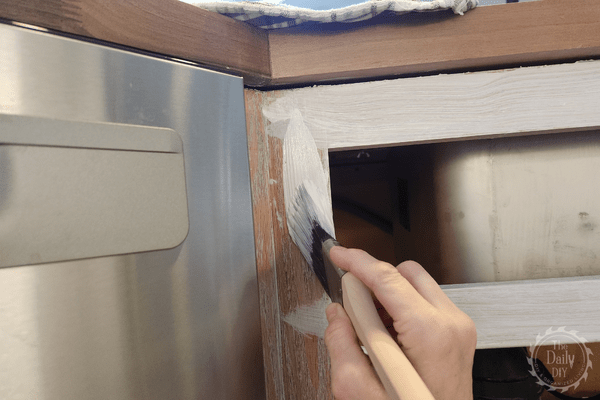
Next, sand and apply two coats of primer to any areas that you are not refacing.
Reface

Using the 2″ mdf trim molding, cut and attach to the top, and all sides of the kitchen island. Cut and attach the 3″ mdf trim molding to the bottom.
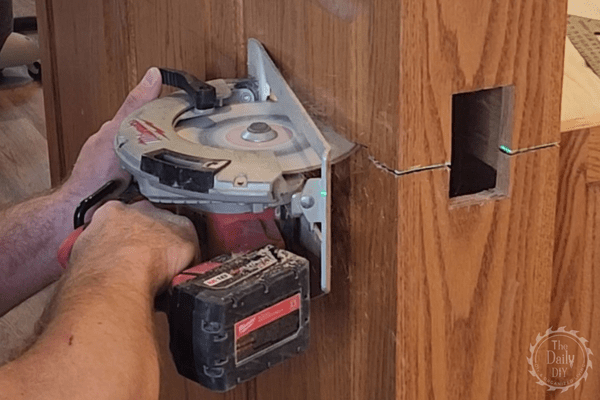
Since I replaced the countertops, I was able to see where the wiring was for the outlets, and made note of it. If you are not replacing your countertops, and have outlets, you’ll need to ensure you know where the wiring is run inside before you start nailing anything to it.
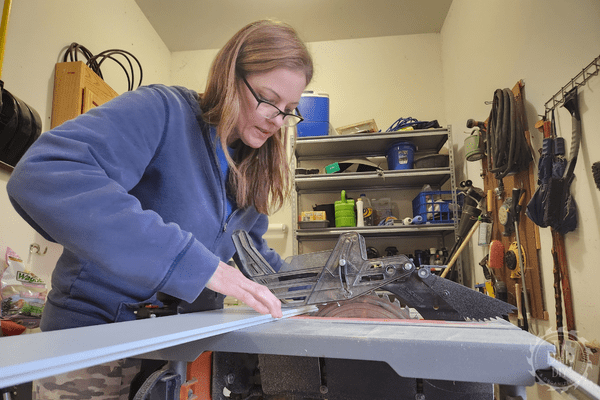
Next up is to cut and attach the shiplap to the rest of the island. And finish it off with the finger-jointed stop moulding at the very base where the island meets the floor. This stop moulding is optional if you want the extra decorative touch.
After all of the trim and shiplap is installed, take some paintable trim caulk and fill in all of the seams, and any gaps.
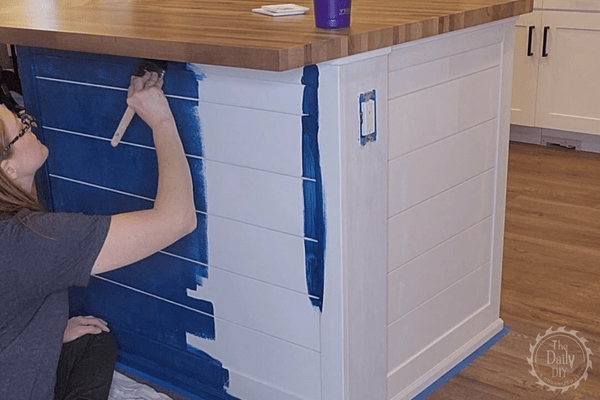
Finally, it’s time to paint the entire island and cabinet doors. As you can see, I chose a dark color, so it took three coats to completely cover everything.

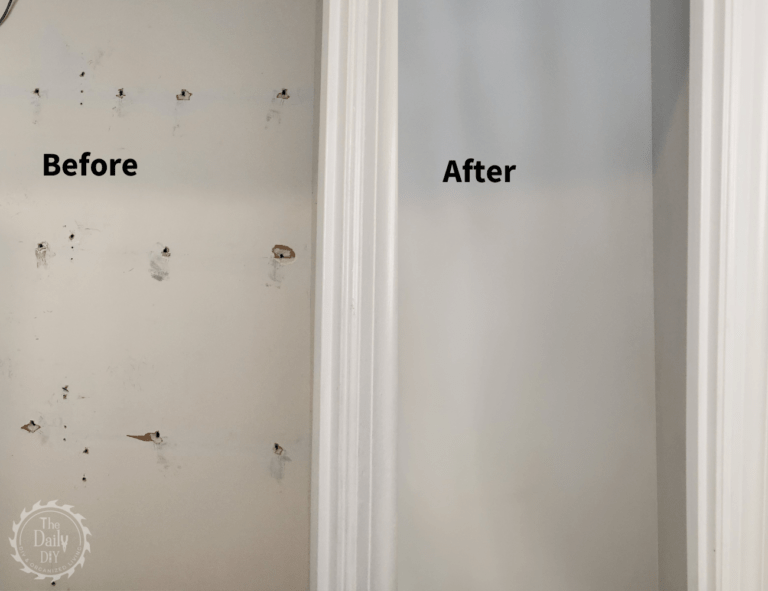
Here is the kitchen island after the makeover project. As you can see, it made such a big difference in this kitchen. If shiplap isn’t your style, you can also use beadboard, pole-wrap, or any other trim or paneling to transform your island.
Check Out These Other Great Articles In the Kitchen Renovation Series:
- How To Install New RTA Cabinets
- How To Install New Cabinet Pulls
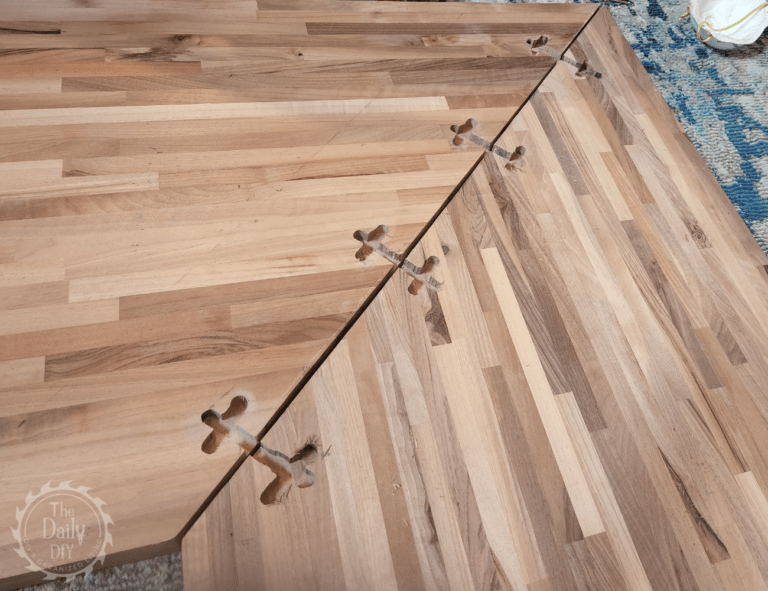
- How To Install a Beautiful Wood Countertop
- How To Epoxy Your Wood Countertop
- How To DIY a Kitchen Tile Backsplash
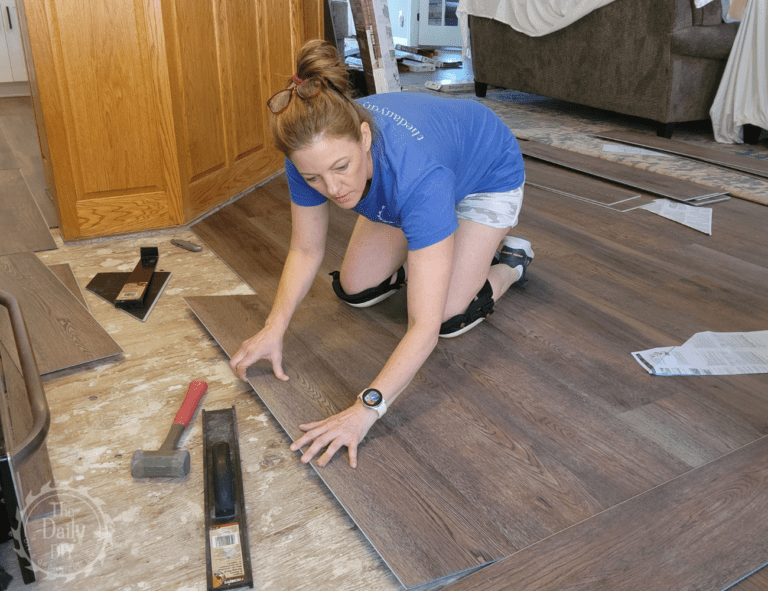
- How To Install Luxury Vinyl Plank Flooring
- Easy DIY Under Sink Storage Drawers You Can Build Today
- How to Build Pantry Shelves Easy