How To Install Luxury Vinyl Plank Flooring
There are many advantages of using luxury vinyl plank flooring (LVP) in your home. Want the look of wood, but need something more durable? LVP is the perfect choice. And, it’s so easy to install. You can use a utility knife to score and snap it if you don’t have a saw and only have easy cuts to make. Here’s a step by step guide on how to install luxury vinyl plank floors.
Why Luxury Vinyl Plank
Do you have kids or pets? Then you need something durable. Are you considering new flooring in a commercial space? You’ll need something that will hold up. Luxury Vinyl Plank checks all those boxes as it gives you the look of wood without the maintenance, and worry, of real wood.
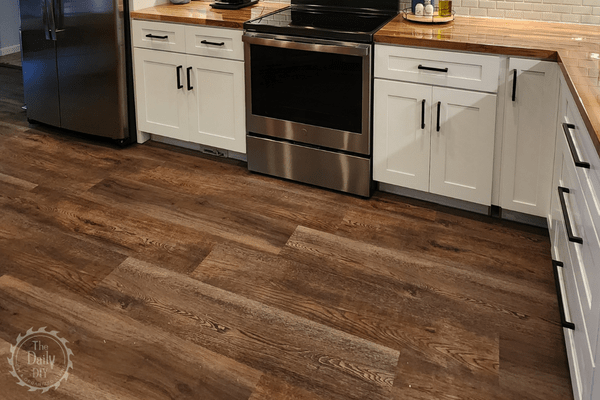
Two and a half years ago I installed the Lifeproof brand in my home. Recently I decided to extend the LVP to another room in my home. I purchased the same brand and color from Home Depot. The original floor from March of 2020 looks exactly the same as the new floor that I installed in October of 2022. This flooring has held up so well. It still looks just like the brand new floor. Check out my review of it here.
Lifeproof features an enhanced wear layer with ceramic bead technology to resist scratches and enhance durability. They treat it with “ultra fresh”, which is a product that prohibits the growth of mold and mildew. And, it also comes with an underlayment attached.
Another reason I’m a big fan of the Lifeproof LVP is that it’s waterproof for up to 36 hours. You can put it in your kitchen, bathroom, laundry room, or anywhere and know that it’s going to last.
How To Install LVP
Materials
- Luxury Vinyl Planks
- Shop Vac
- Utility Kinfe
- Extra Blades
- Safety Glasses
- Measuring Tape
- Work Gloves
- Knee Pads
- Dead Blow Hammer
- Tapping Block & Pull Bar
Surface Prep
You can install this over an existing floor, like vinyl or tile, or right on to the wood subfloor or concrete. Make sure the surface is level and free from debris.
When installing in a kitchen or bath, install the cabinets first, then install the LVP around those. Remove all baseboards and base trim.
Plan The Installation
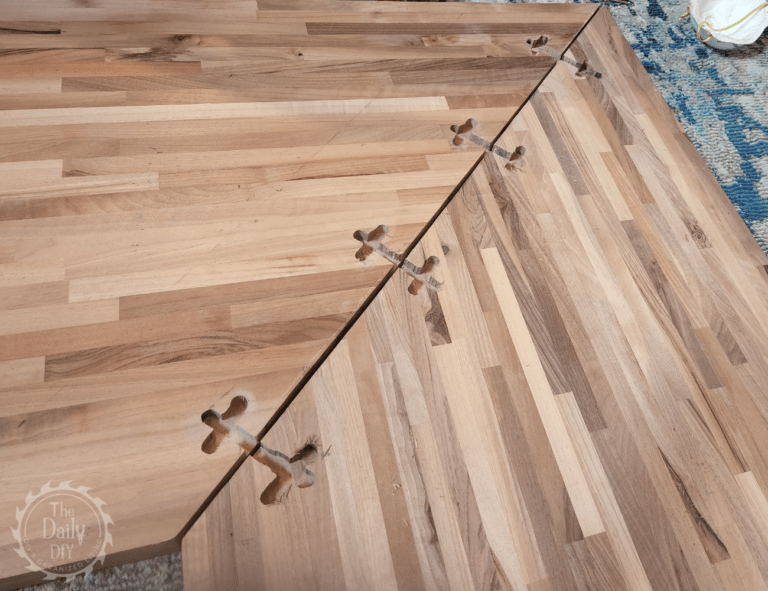
Start by measuring the room’s length, and divide that by the length of the planks. Allow for a 1/4″ gap on either end by using 1/4″ tile spacers. If that number is less than 8″, you’ll need to cut your first plank. This avoids having planks less than 8″ on the opposite side of the room.
Next, measure the width of the room and divide it by the width of the plank. If the number is less than half the width of the plank, you’ll need to trim the first and last row to equal widths.
Cutting The Planks
Simple cuts need only a utility knife to score the plank, right side up. Use a straight edge to give you a straight score. Then, snap the board back, and back-cut the underlayment.
For trickier cuts, like around an HVAC vent, or doorway, you can use a utility knife for those cuts too. Or use a jig saw or table saw. Have extra blades handy for your utility knife as you’ll need to change them often.
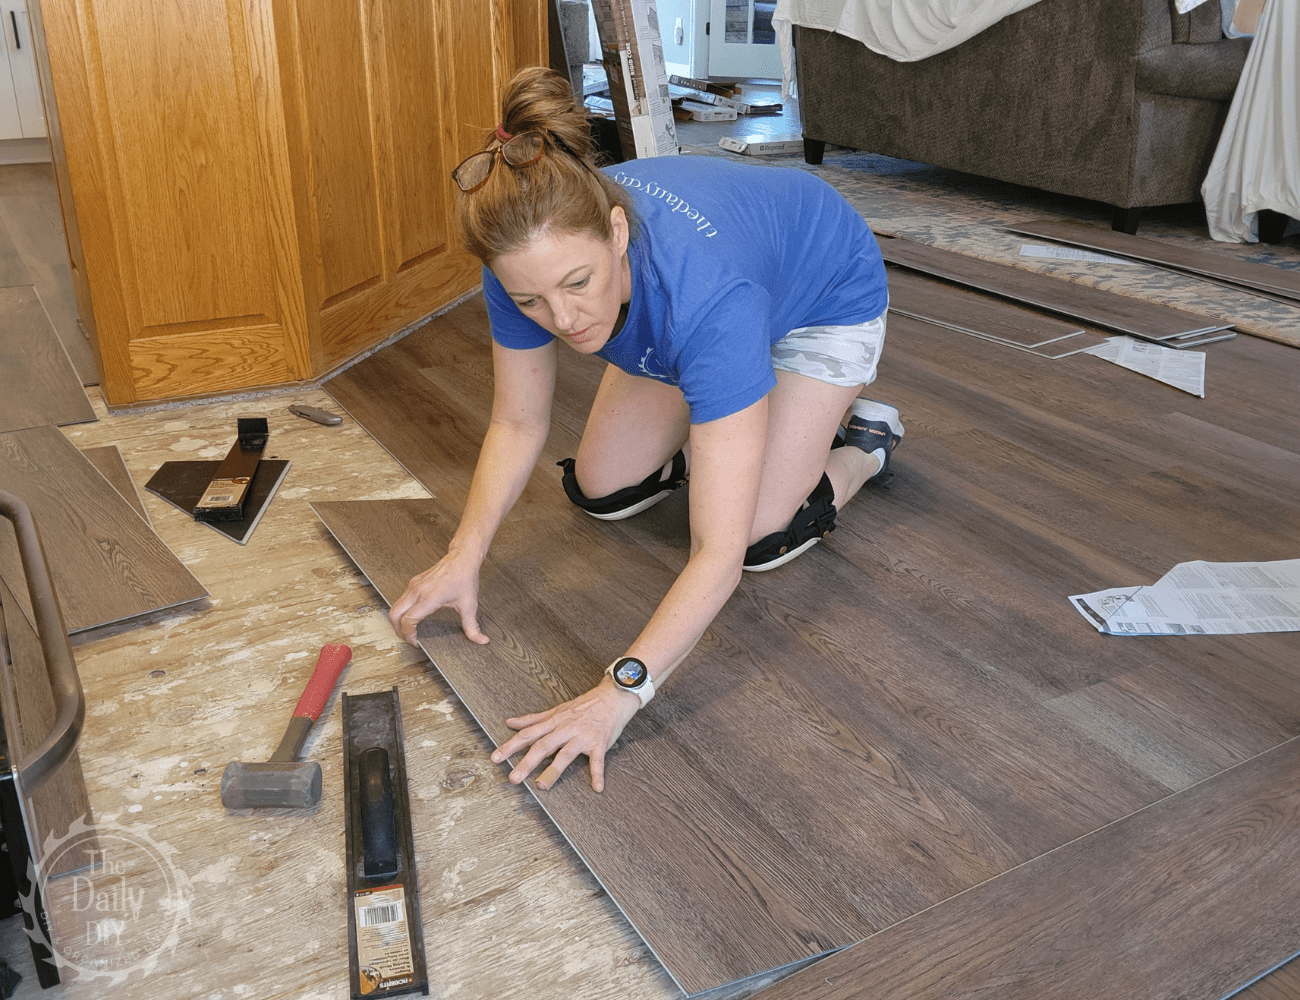
Installation
Begin by using the 1/4″ tile spacers between the wall and the first row of planks. Start your install in the left hand corner with the tongue facing the wall. When starting the first row, lock the first two planks in place. The grooves in the planks lock in and you’ll know they are locked tight when the planks lay flat at the seam.
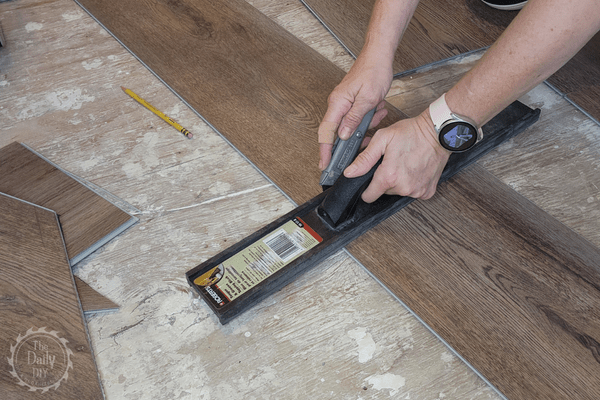
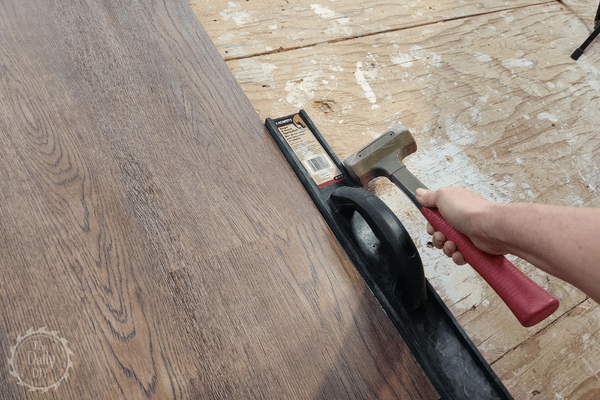
As for connecting both a long and short seam together, connect the long side first. Then slide the plank until the short sides meet and drop and lock the short ends. Finally, use a dead blow hammer to lightly tap the short ends in to place and a tapping block to ensure a tight fit on the long seams. You may also need a pull bar to tighten the long seams in spaces where a tapping block will not fit.
Continue laying planks until the row is complete. When starting on the second row, be sure to stagger the seams. Score and cut 8″ off the first board of the second row and go down from there. Place the cut edge against the wall. Stagger each row by 8″. The boards are 48″ long so that will give you 6 rows before the seam pattern repeats itself.
When cutting around irregular objects, use paper to trace and create a template. Trace that template on to the plank and make your cuts.
For transitioning between LVP and carpet, or LVP and tile, Lifeproof offers a few different transition pieces to make it easy.
And that’s all there is to it. By taking the time to do this yourself, you can have the new flooring of your dreams and save a lot of money on labor.
Watch The 6 Minute Install Video
Check out these other great articles in this Kitchen Renovation Series:
- How To Install New RTA Cabinets
- How To Install New Cabinet Pulls
- How To Install a Beautiful Wood Countertop
- How To Epoxy Your Wood Countertop
- How To DIY a Kitchen Tile Backsplash
- Easy DIY Kitchen Island Makeover