How To Mix Thinset For Tile
The art of tile setting has been around for thousands of years. Over time it has become an important feat of engineering and construction. It may be a scary thought for the do it yourselfer, but laying tile is actually quite easy to do. It all begins with the thin set, or mortar. It’s a mix of cement, water, and fine sand, and is used as the adhesive that makes your tiles stick. It also helps to level the tiles out. Let’s take a look at just how easy it is to mix thinset for your tile project.
Please note, they make different colors of thin set. Even though you won’t see the thin set after the tile is grouted, it is recommended that you choose a color close to your grout color. If some of the thin set shows through the grout it won’t be as noticeable.
Thinset can dry out quickly, so it’s best to mix together only what you can use up in 20-30 minutes.
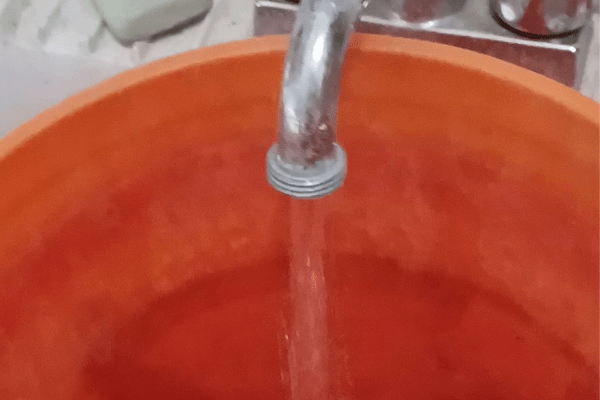
Step 1
Grab a five gallon bucket and add cool water first. Don’t use hot water as it will speed up the chemical reaction process of the thinset. The saying “a little goes a long way” certainly does apply here. It takes very little water to mix up your thinset. Start very small, you can always add more later.
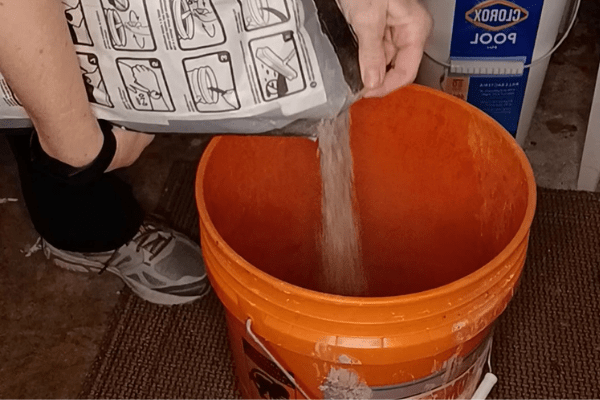
Step 2
Add some thinset to the water. Wear a mask as this will stir up a lot of dust. Apply a little to start, again you can always add more. The instructions on the bag will tell you the water-thinset ratio. It usually covers the entire bag so you may need to do a little math. After you’ve done this a few times you can do some guessing as you’ll get a feel for how much water to mix with how much thinset.
Step 3
Time to mix it together. You can mix this by hand, but that will take a long time and your hand will get pretty tired as it thickens up. It’s best to use a mixing tool, like a spiral mixer. The spiral mixer attaches to your corded drill and makes mixing it fast and easy. Mix it up for a few minutes. Take a trowel and scrape along the sides and the bottom of the bucket to reveal any dry material that gets hidden there. Mix again. Once it’s all mixed up completely, check the consistency. You are looking for a thick, peanut butter consistency. You don’t want the thinset to fall off of the trowel when you hold the trowel sideways. It it’s too thin, add more thinset. If it’s too thick, add more water.
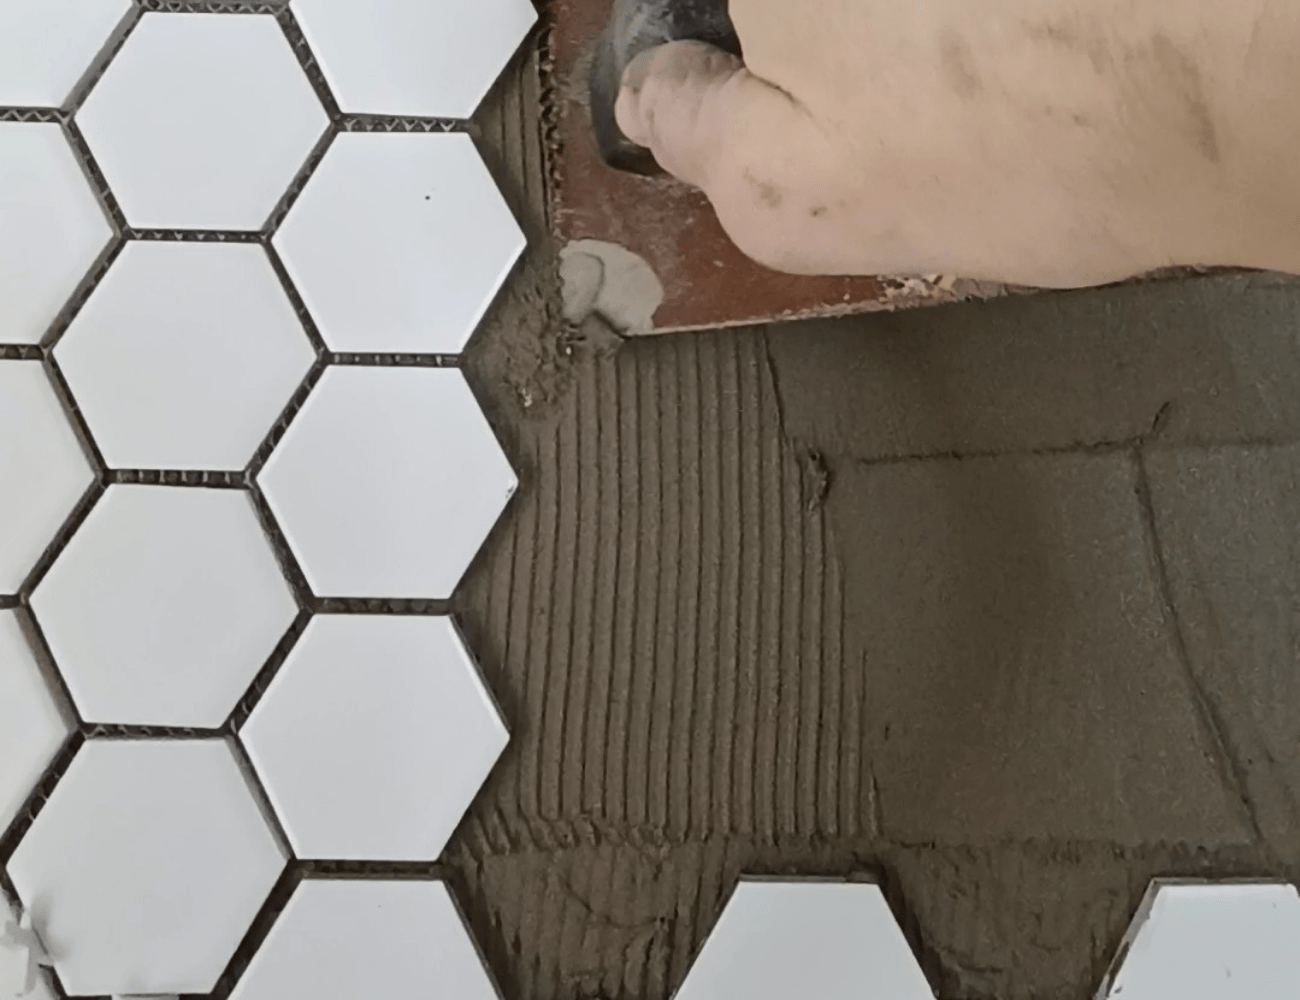
Once you’ve achieved the desired consistency, let it set up for 5 minutes. Then come back and mix it one more time. Now you are ready to start laying your tile.
When laying the tile, work in small sections as the thinset will dry out once it is applied to the surface. If your thinset in the bucket begins to get dry, you can add a little water and mix it up. Only add a few drops of water as it does not take much to bring it back to the consistency you need to work with it.
This is the first in a three part blog series on how to lay tile:
- Part 2 How To Tile a Wall
- Part 3 How To Apply Grout