Step-By-Step How To Power Wash Your Siding
Maintaining the exterior of your home is crucial to preserving its appeal and value. Over time, dirt, grime, and other contaminants can accumulate on your siding, making it look dull and worn out. One effective way to restore its original luster is by performing a power wash for your siding. Power washing not only removes stubborn stains but also ensures a thorough cleaning.
Additionally, mold, mildew, and algae growth can deteriorate the integrity of your siding if left unattended. Power washing removes these contaminants, preventing potential long-term damage and extending the lifespan of your exterior surfaces. In this step-by-step guide, we will walk you through this process, enabling you to revitalize the appearance of your home effortlessly
When Is a Good Time To Power Wash Your Siding?
You may be wondering how often you should power wash your siding, or when the best time of year is for this task. Generally, the best time to power wash your siding is during mild weather conditions, preferably in spring or fall when the temperature is moderate. Avoid power washing during extreme heat or freezing temperatures as these can affect the cleaning process.
It’s also advisable to choose a day when the weather is calm and dry. Power washing on a sunny day allows the siding to dry faster, reducing the risk of water damage or moisture-related issues. Additionally, avoid power washing on windy days as it can make it challenging to control the direction of the water spray and may cause debris to blow onto freshly cleaned areas.
Furthermore, take into account the specific needs of your siding material. Some materials, such as wood or vinyl, may have specific guidelines regarding the optimal time for power washing. Consult the manufacturer’s recommendations or seek advice from professionals to ensure you’re following the appropriate procedures.
By selecting the right time to power wash your siding, you can maximize the effectiveness of the cleaning process, prolong the lifespan of your siding, and maintain a visually appealing exterior for your home.
How To Power Wash Your Siding
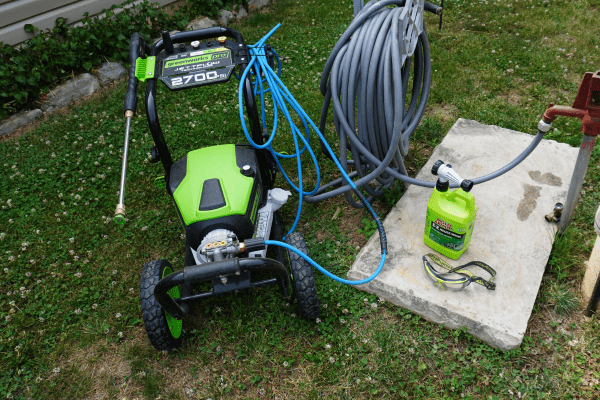
Step 1: Gather the Necessary Equipment
Before diving into the power washing process, it’s important to gather all the essential equipment. You will need a high-pressure power washer, a garden hose, a siding cleaning solution, safety goggles, gloves, and appropriate clothing to protect yourself from water and cleaning agents. Ensure that your power washer has an adjustable nozzle to control the pressure as needed.
Curious to know if electric power washers will get the job done for you? Check out my experience with one here.
Step 2: Prepare the Area
As with any home project, preparation is the key to a successful power washing session. Start by removing any outdoor furniture, potted plants, or decorations near the siding. Cover nearby electrical outlets, lights, and delicate plants with plastic or tarp to prevent damage from the water and cleaning solution.
Step 3: Test the Pressure
Before starting, test the pressure washer on a small, inconspicuous area to ensure it doesn’t cause any damage. Adjust the pressure accordingly, starting with a lower setting and gradually increasing if needed.
Step 4: Apply the Cleaning Solution
Prepare a solution of mild detergent or a specialized siding cleaning solution. Read and follow the instructions provided by the manufacturer for the recommended dilution ratio. Some power washers allow you to pour a soap solution directly in to the machine for automatic dispensing. If not, use a siding cleaning solution with a built-in hose attachment and use a garden hose to apply.
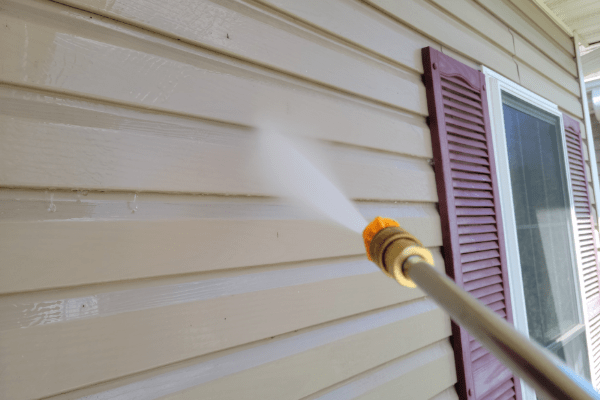
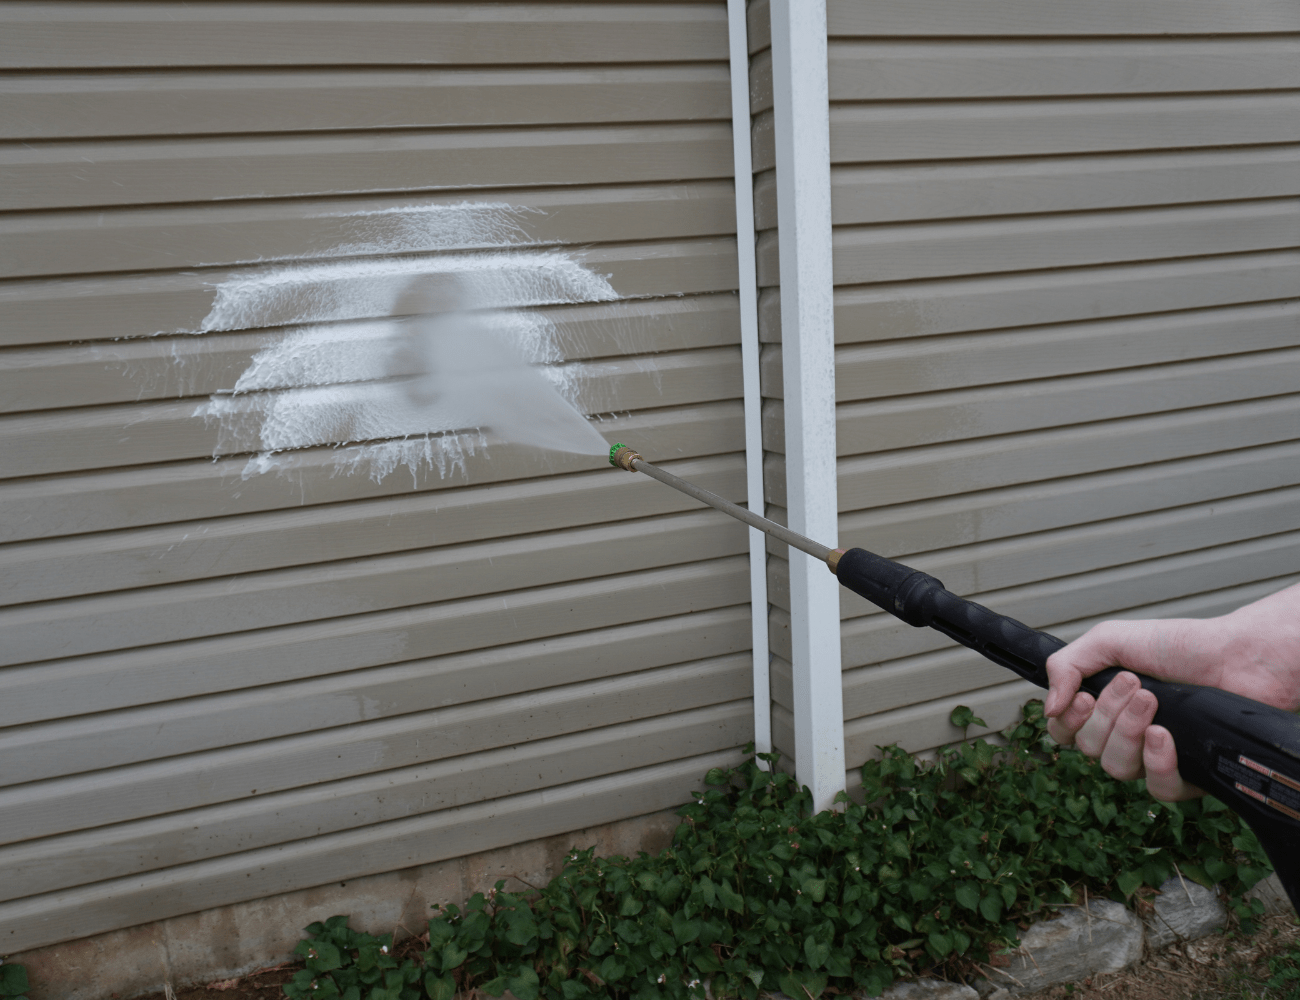
Step 4: Power Wash the Siding
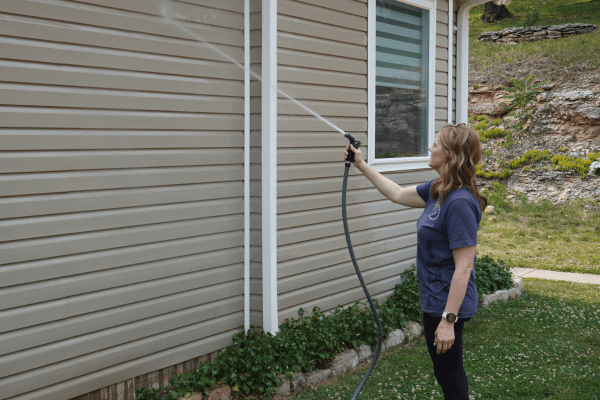
Now it’s time to use the power washer to clean the siding thoroughly. Start at the top of your house and work your way down, following the natural flow of water. Hold the power washer nozzle at a 45-degree angle and maintain a distance of around 1 to 2 feet from the siding. Move the nozzle in a sweeping motion, overlapping each stroke to ensure even cleaning. Be cautious not to direct the water under the siding, as it can cause damage.
If you’d like to clean your doors and windows too while you’re at it, do those on a lower pressure setting. Or, switch to a window-cleaning attachment. Apply a suitable glass cleaner and use a squeegee or soft cloth to remove any remaining streaks or residue.
Step 5: Rinse and Inspect
After power washing the entire siding, it’s crucial to rinse off any remaining cleaning solution. Switch to the garden hose and thoroughly rinse the siding, starting from the top and working your way down. Take the time to inspect the siding for any missed spots or stubborn stains that require additional attention.
Step 6: Dry and Assess the Results
Allow the siding to air dry naturally. Take a step back and admire the refreshed appearance of your home’s exterior. If necessary, repeat the power washing process for areas that need further cleaning. Always exercise caution and avoid using excessive pressure, especially on delicate surfaces.
By power washing your siding at least once annually, you can rejuvenate the exterior of your home, remove stubborn stains, and help protect against long-term damage. Remember to follow safety guidelines, choose the appropriate equipment, and work systematically to achieve the best results. Add this to your annual Home Maintenance Checklist so you remember to do it each year.