How To Fix a Door Frame Easy
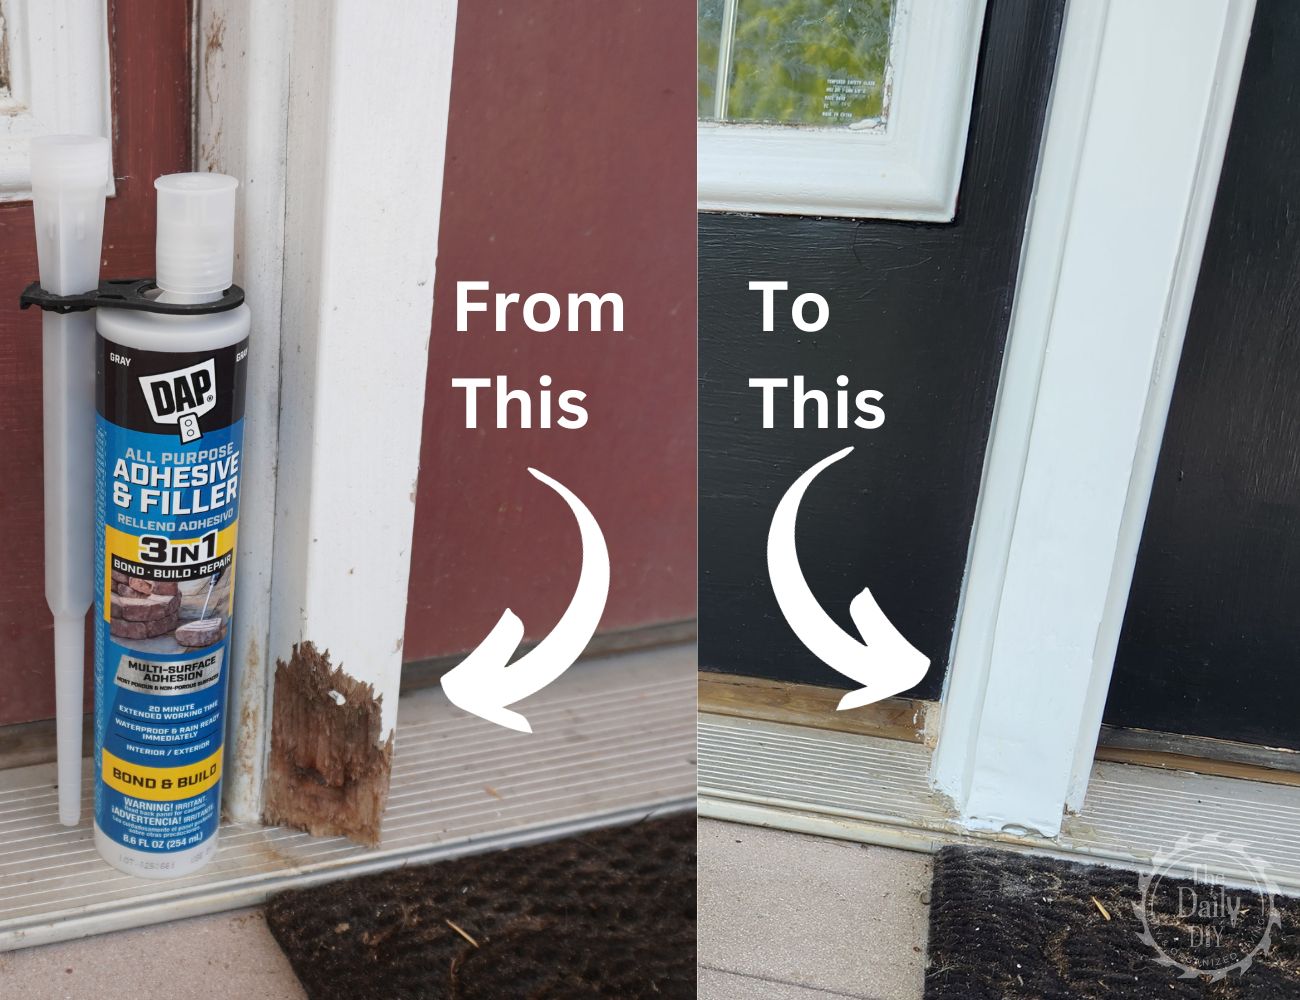
Rotted, or damaged, door and window trim is often caused by moisture, insects, or pets. When this happens, it not only affects the look of your home, but also poses a threat to the structural integrity. Ignoring this issue can lead to more significant problems, like water damage. That’s why it’s crucial to fix a door frame as soon as possible. In this guide, we’ll explore just how easy it is for you to do, using DAP’s All Purpose Adhesive and Filler ensuring your home remains both beautiful and secure for years to come.
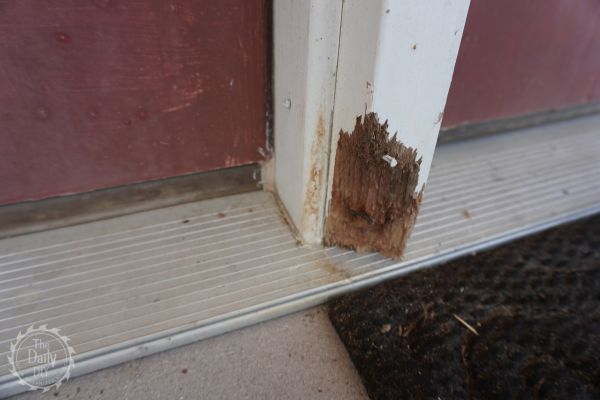
Understanding the Problem
Rot around the door trim, or often called door jamb, brick molding, or even door casing, is a common issue. Moisture is often the culprit, seeping into the wood causing decay. Other causes could be insects, or other pests, gnawing at the wood. Or perhaps your pets have chewed or clawed at the trim. Whatever the cause, this damage not only takes away from the aesthetic appeal of your home, but also jeopardizes it’s structural integrity.
Look for early signs of rotting or damage, such as discoloration, softness, or a musty odor. It’s also important to understand the root cause of this rot or damage and address that first to avoid even more long-term damage.
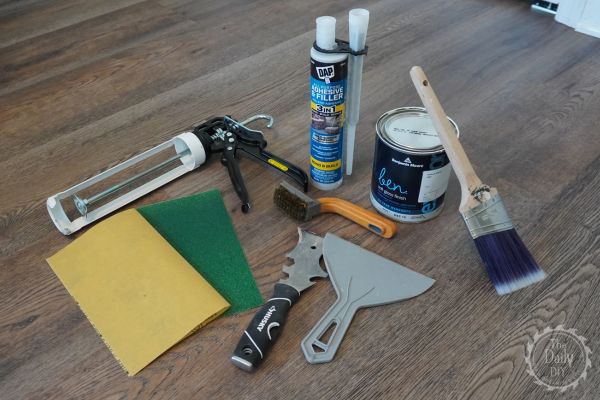
Gather Your Supplies To Fix a Door Frame
For this repair, we’ll be using DAP’s All Purpose Adhesive and Filler. This product is perfect for this type of repair because it’s waterproof, it can be used on horizontal or vertical surfaces, it’s easy to mold to fit the trim shape and design, and it’s paintable. It can be used on wood, brick, stone, concrete, PVC, uncoated metal, mortar, fiber cement, and stucco so it’s perfect for almost any application.
It’s important to note to only work when the temperature is between 40 and 100 degrees Fahrenheit so the product can set up properly.
- Stiff Bristle Brush
- DAP All Purpose Adhesive & Filler
- Caulk Gun
- Putty Knife
- Sandpaper (60 grit and 120 grit)
- Paint
- Paint Brush
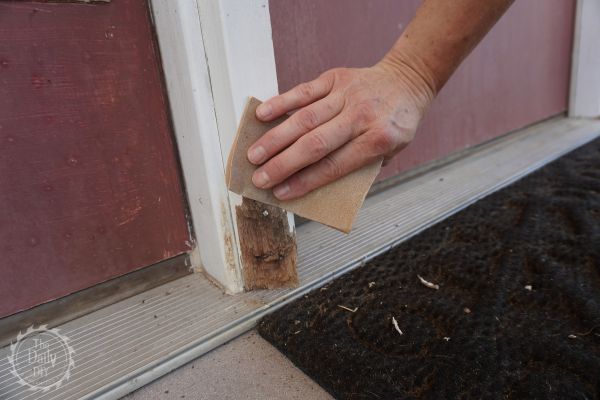
Step 1 – Prepare The Area and Product
Before you begin the process to fix a door frame, it’s important to clean the area first. Start by carefully removing any loose pieces of trim. Use a stiff bristle brush to brush any dirt and debris away. If the trim is painted, lightly sand the area to remove any flaking paint. If the damage was caused by moisture, ensure it’s completely dry for this repair.
When you’re ready to begin the repair process, prepare the product according to the package instructions.
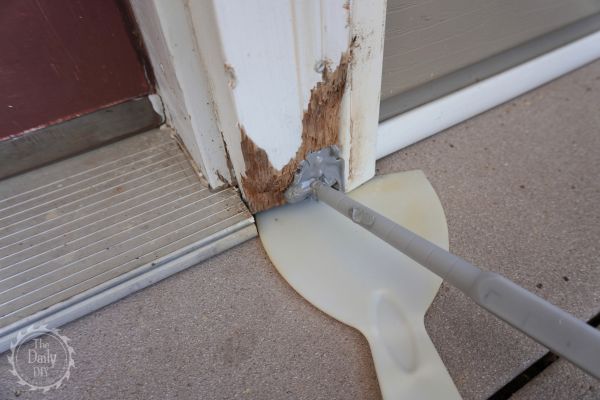
Step 2 – Appling DAP All Purpose Adhesive & Filler
Using a caulk gun, apply DAP All Purpose Adhesive & Filler to the damaged area. Ensure that you cover all of the affected areas thoroughly, filling in all gaps and holes. While the filler is still wet, use the putty knife to shape and smooth it, ensuring it blends seamlessly with the surrounding trim. You have about 20 minutes of working time with this product before it begins to set up.
If you need another coat or two to fill large voids, you can apply it after the first coat has fully cured. Continue with more coats as needed until you reach the desired look. After you’ve applied your coats and are happy with the repair, let it dry and cure overnight to give it a solid, sturdy surface for the next step.
Step 3 – Sanding and Smoothing
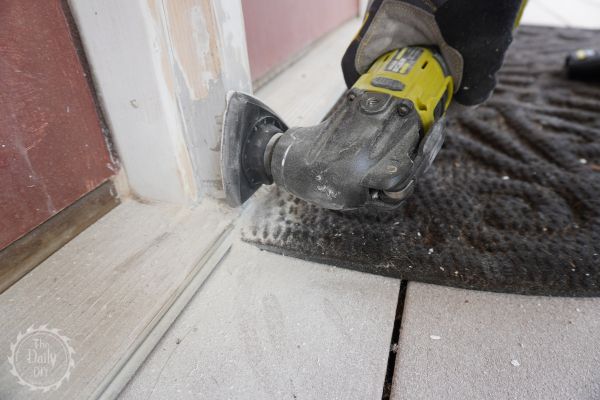
After the DAP All Purpose Adhesive & Filler has completely cured and hardened, it’s time to refine and shape your repair. Begin by gently sanding the repaired area. If you have sections where you’ve applied too much product, use 60 grit sandpaper to remove some. Once you’ve got it to match the shape and design of your trim, use 120 grit sandpaper to smooth it out. Be patient through this step, as a well-sanded surface is key to a professional-looking final result. Once sanding is complete, clean away the dust.
If it’s easier, you can use an oscillating tool with a sanding attachment, pictured above, to quickly and easily sand the door trim.
Step 4 – Finishing Touch: Painting
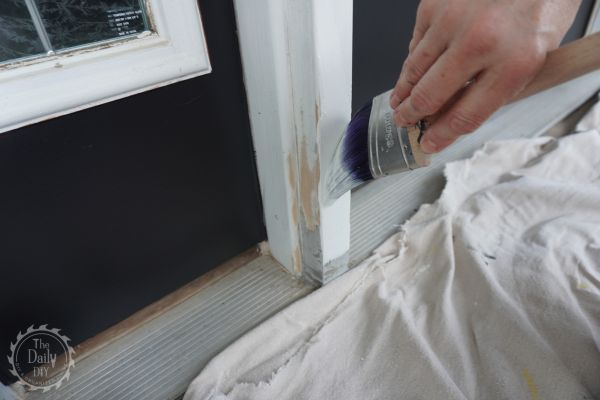
With your trim now smooth and even, it’s time to give it a fresh coat of exterior paint to match the rest of the door frame. Choose an exterior paint that matches the color of your existing trim, or you can paint the entire trim at this time. It may take two or three coats of paint over the repaired area to cover the filler product completely. Use a paint brush or roller to apply. When painting around trim, a good quality, angled brush works best. Here is my favorite, Best Paintbrush For Easy Cutting In.
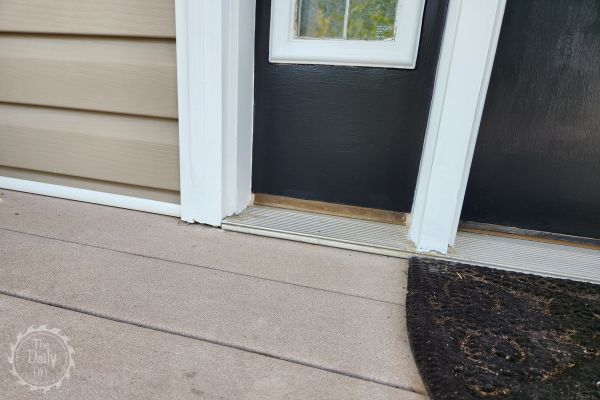
Once the final coat of paint is dry, step back and admire how well you did to fix a door frame since it is now a thing of the past! You can even use this same method to repair rotten or damage to window trim and molding as well.
This is a sponsored post but reflects my personal opinion and experience with DAP All Purpose Adhesive & Filler.
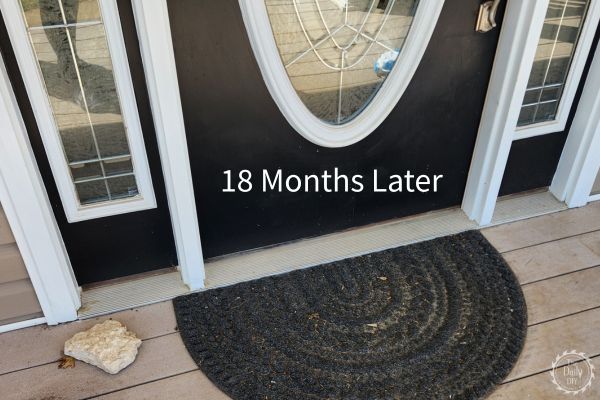
UPDATE 18 Months Later
Now, 18 months later, I can confidently say this fix has held up through every season! From the summer heat to the winter cold, the repair looks just as good as the day I finished it—no cracks, no shifting, and no signs of wear. If you’re wondering how to repair a door frame and want a long-lasting solution, this method works! So if you’ve been putting off tackling how to fix a door frame, take this as your sign to get it done—it’s easier than you think, and the results speak for themselves!

